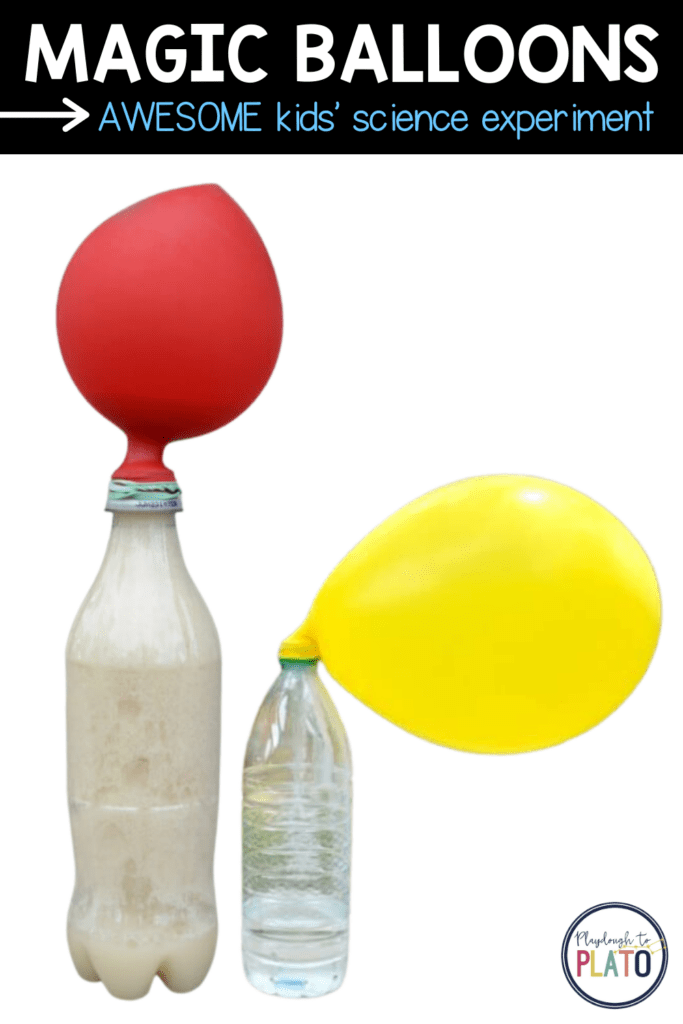
Get ready for plenty of “oohs” and “aahs” from this surprisingly simple balloon science experiment! Kids will LOVE watching balloons magically inflate four different ways.
Follow the simple step-by-step below and then grab 30 more easy-to-follow science experiments kids will beg to repeat (plus a no-prep science journal to keep track of their results!) in our shop!
To Prep
I grabbed my supplies for this balloon science experiment:
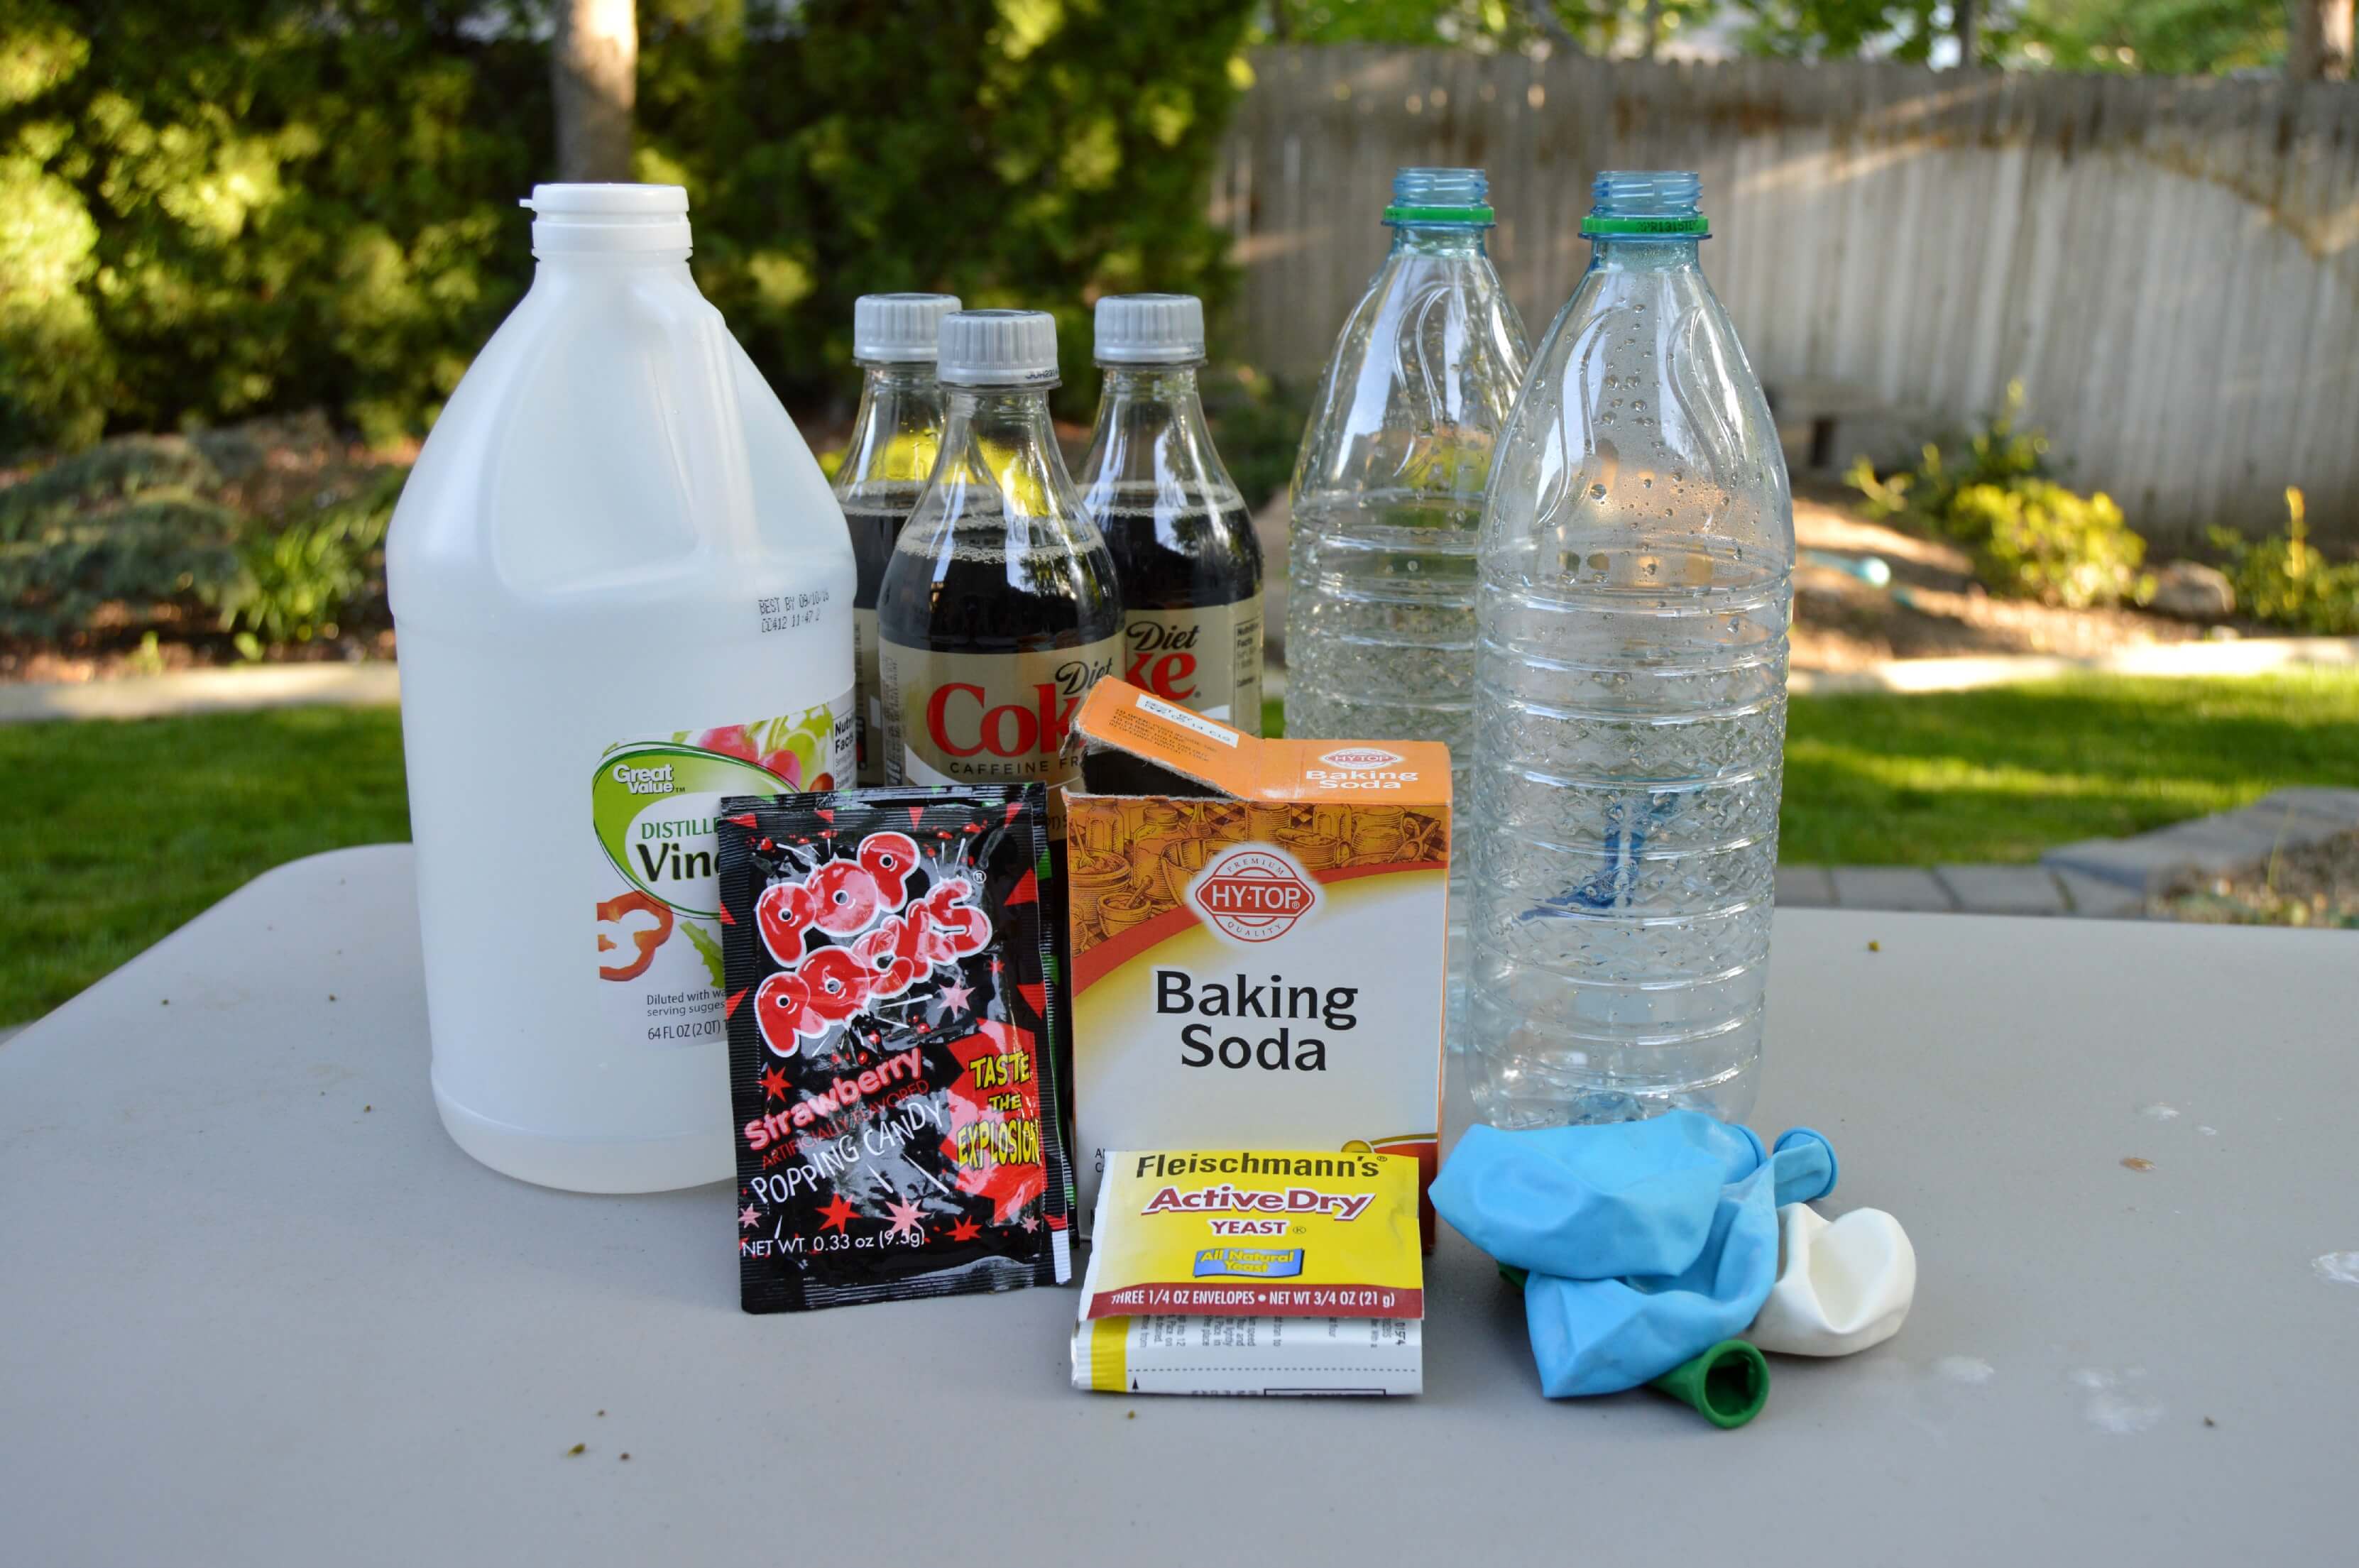
- 2 clean bottles
- yeast
- a teaspoon of sugar
- vinegar
- baking soda
- a packet of Pop Rocks candy
- a roll of mint Mentos
- a couple bottles of soda
- a funnel
- and balloons {You’ll want the big, regular-sized balloons rather than water balloons.}
Magic Balloon #1: Warm Water and Yeast

In our first bottle, we poured in about an inch of warm water and then dumped in the entire packet of yeast. We swirled the yeast around a bit and then added the teaspoon of sugar and gave it another good swirl. We put the balloon over the mouth of the bottle and then let it sit in the sun.
It only took about five minutes for the yeast to start bubbling and our balloon to start inflating! “Ew, what is it?” C asked, looking at the foam that was starting to bubble. “Yeast is a type of bacteria, so it’s actually a living thing,” I explained. “It’s eating the sugar that we added and when it eats the sugar, it creates a gas called carbon dioxide that makes all those bubbles. That carbon dioxide is filling up the balloon.”
Magic Balloon #2: Vinegar and Baking Soda

In our second bottle for this balloon science experiment, we poured a couple inches of vinegar. We prepped the balloon by using the funnel to fill half of it with baking soda. I put the balloon over the mouth of the bottle and then C dumped in the baking soda. The effect was instantaneous and the balloon quickly inflated as the bicarbonate baking soda reacted with the acetic acid in the vinegar making carbon dioxide.
Magic Balloon #3: Diet Coke and Pop Rocks

Our third bottle was half filled with Diet Coke. I liked the Diet Coke because it didn’t leave a sticky mess, but any soda would work. We found that we got a better reaction if we opened a fresh bottle and poured out the soda we didn’t want rather than pouring soda into an empty bottle — I think it stayed better carbonated.
To prep this balloon experiment, we dumped a pack of Pop Rocks into it. I stretched the balloon over the mouth of the bottle and C dumped them into the Diet Coke.
This one was definitely the noisiest! You could hear all the popping going on in the bottle as the Pop Rocks released their pressurized carbon dioxide.
Magic Balloon #4: Diet Coke and Mentos

For the last bottle, we filled half of it with Diet Coke again. We put two Mentos in the balloon, stretched it over the mouth of the bottle, and then dumped them into the Coke.
We actually ended up doing this experiment twice because the first time we didn’t have enough soda in the bottle so it produced a pretty weak reaction. Half a bottle seemed to work just fine and the Mentos were a great catalyst, causing the Diet Coke release its carbon dioxide.
We lined up our bottles to check out the results.
 “Which bottle do you think blew up the balloon the best?” I asked C.
“This one!” he exclaimed, pointing to the yellow balloon of the vinegar and baking soda bottle. I explained to C that all of these combinations created carbon dioxide. The carbon dioxide fills the bottle and then moves into the balloon, blowing it up. Each reaction produces a different amount of carbon dioxide. Which one did he think made the most?
“The one with the yellow balloon,” he said. “It’s the biggest.” We tried the experiment a couple times more to see if our results were the same. We used the same color balloon for each reaction to make it easier to compare past and current results. The bottle with vinegar and baking soda was the clear winner again.
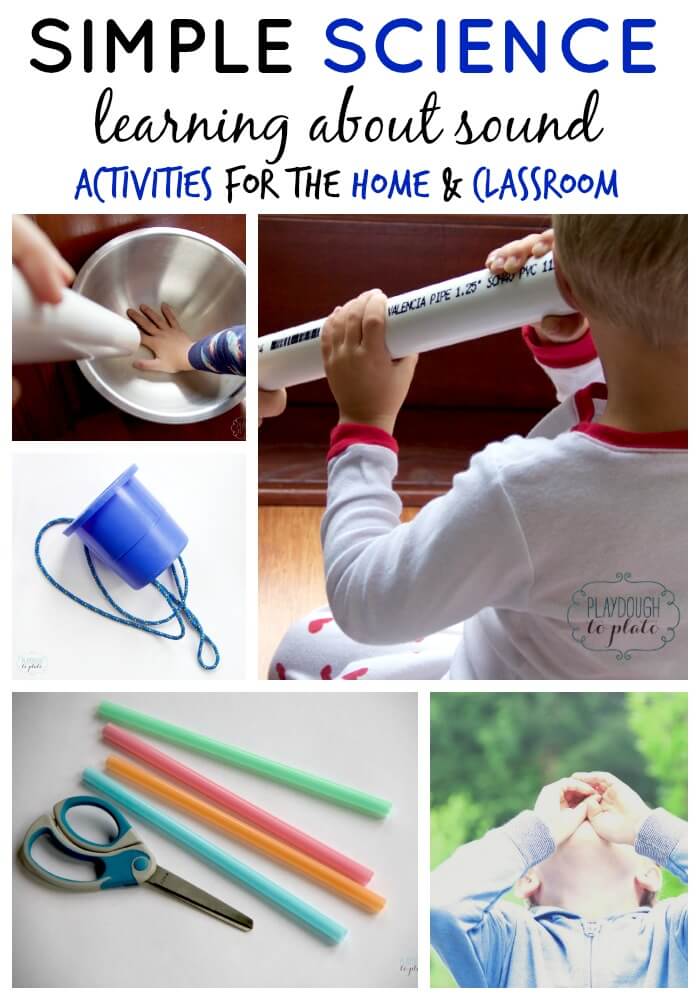
More Inspiring Science Experiments!
Want a simple, low-prep science experiment that wows students? The Walking Water Rainbow is a colorful way to explore capillary action and color mixing!


Love this- lots of super fun things to learn about gas produced in rxns, but just wanted to mention that yeast is not a type of bacteria, but rather a type of fungus. Great experiments! Thanks much.
These are fantastic!Thank you for sharing! Do you have printable directions of these experiments?
I would love to have parent helpers do these experiments with my students.
Thank you so much!
Sharon
Just FYI: Yeast isn’t a type of bacteria. It is a type of single-celled fungus, so eukaryotic rather than prokaryotic.
Thanks for these. Bit of help needed, though. In some of these experiments, you say that you first stretch the balloon over the mouth of the bottle, then drop in the poprocks or vinegar. But how do you do that if the balloon is already covering the mouth of the bottle? Do you peel it back a bit and then pour in the remaining ingredient, then quickly recover the mouth? Maybe there is another way? I’ve never done these before, and didn’t want to try until I checked (unless I have some crazy mess on my hands! haha).
Thanks!
Hi Lindy,
Great question! In both of those recipes, the balloon is prepped by filling it with either the pop rockets or baking soda with a funnel and then once the respective item is in the balloon, closing the top of the balloon with your hand so that the item doesn’t fall out and then carefully pulling the balloon over the bottle until you release it and allow the dry goods to fall into the bottle.
Hope this helps!
Warmly,
Kimberleigh
This really helped me with my physics project thanks !!?
Hooray Sara! I am so glad that you found a great resource for your project.
Warmly,
Kimberleigh
Hi there! I could have sworn I’ve vissited this web site
before but after going through a few of the posts
I realized it’s new to me. Anyhow, I’m definitelyy pleased I came across it
and I’ll be book-marking it and checking back
regularly!
Yay!
We’re so glad you found us! Hope you enjoy the resources 😀
Warmly,
Ashley // Happiness Ambassador
Does this project have to be done outside? Do you need sun for this experiment. My STEM programs runs after the sun goes down.
Hi Alexandra,
No, it does not need to be done outside. But I would suggest an open area – and I’d put down a disposable table cloth, just in case you get some spills.
Warmly,
Ashley // Happiness Ambassador
Good morning,
I love this experiment! I have tried it with the baking soda and vinegar, but I never tried using the other materials. Thanks so much for posting these awesome ideas on your website. I love to have the children experience STEM activities and learn new concepts about Science.
Thank you so much, Mary!
We hope your kids love it too!
Warmly,
Ashley // Happiness Ambassador
Hi there,
Just found a small misconception that I wanted to note. Yeast, is not a bacteria, it is a eukaryotic microorganism in the kingdom Fungi, so they are related to mushrooms. Bacteria are in a whole separate kingdom and are prokaryotes.
Thanks!