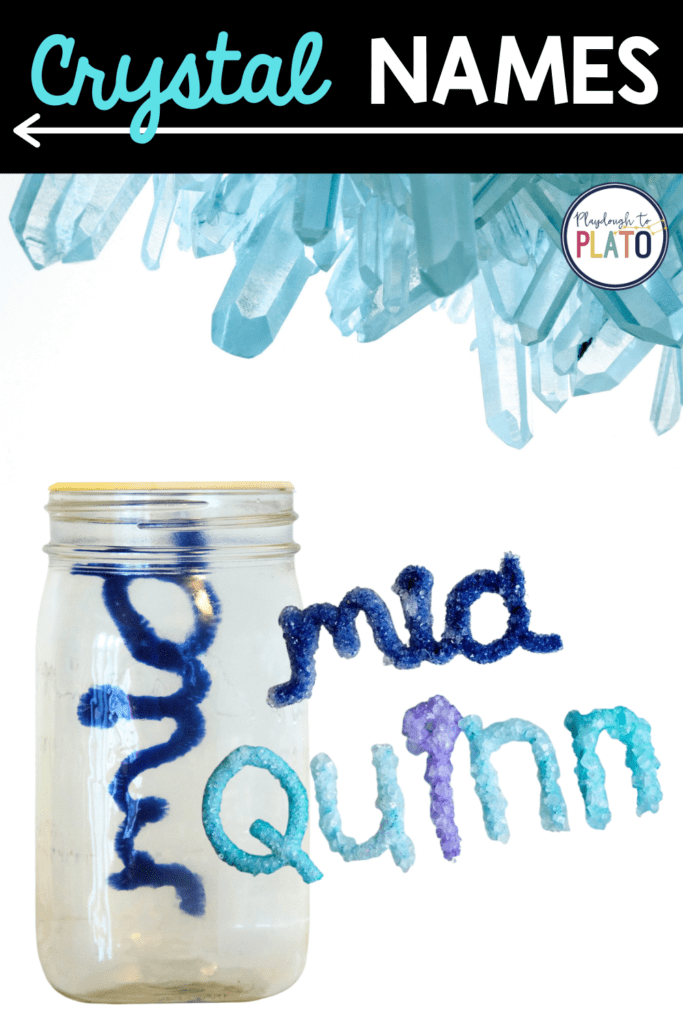
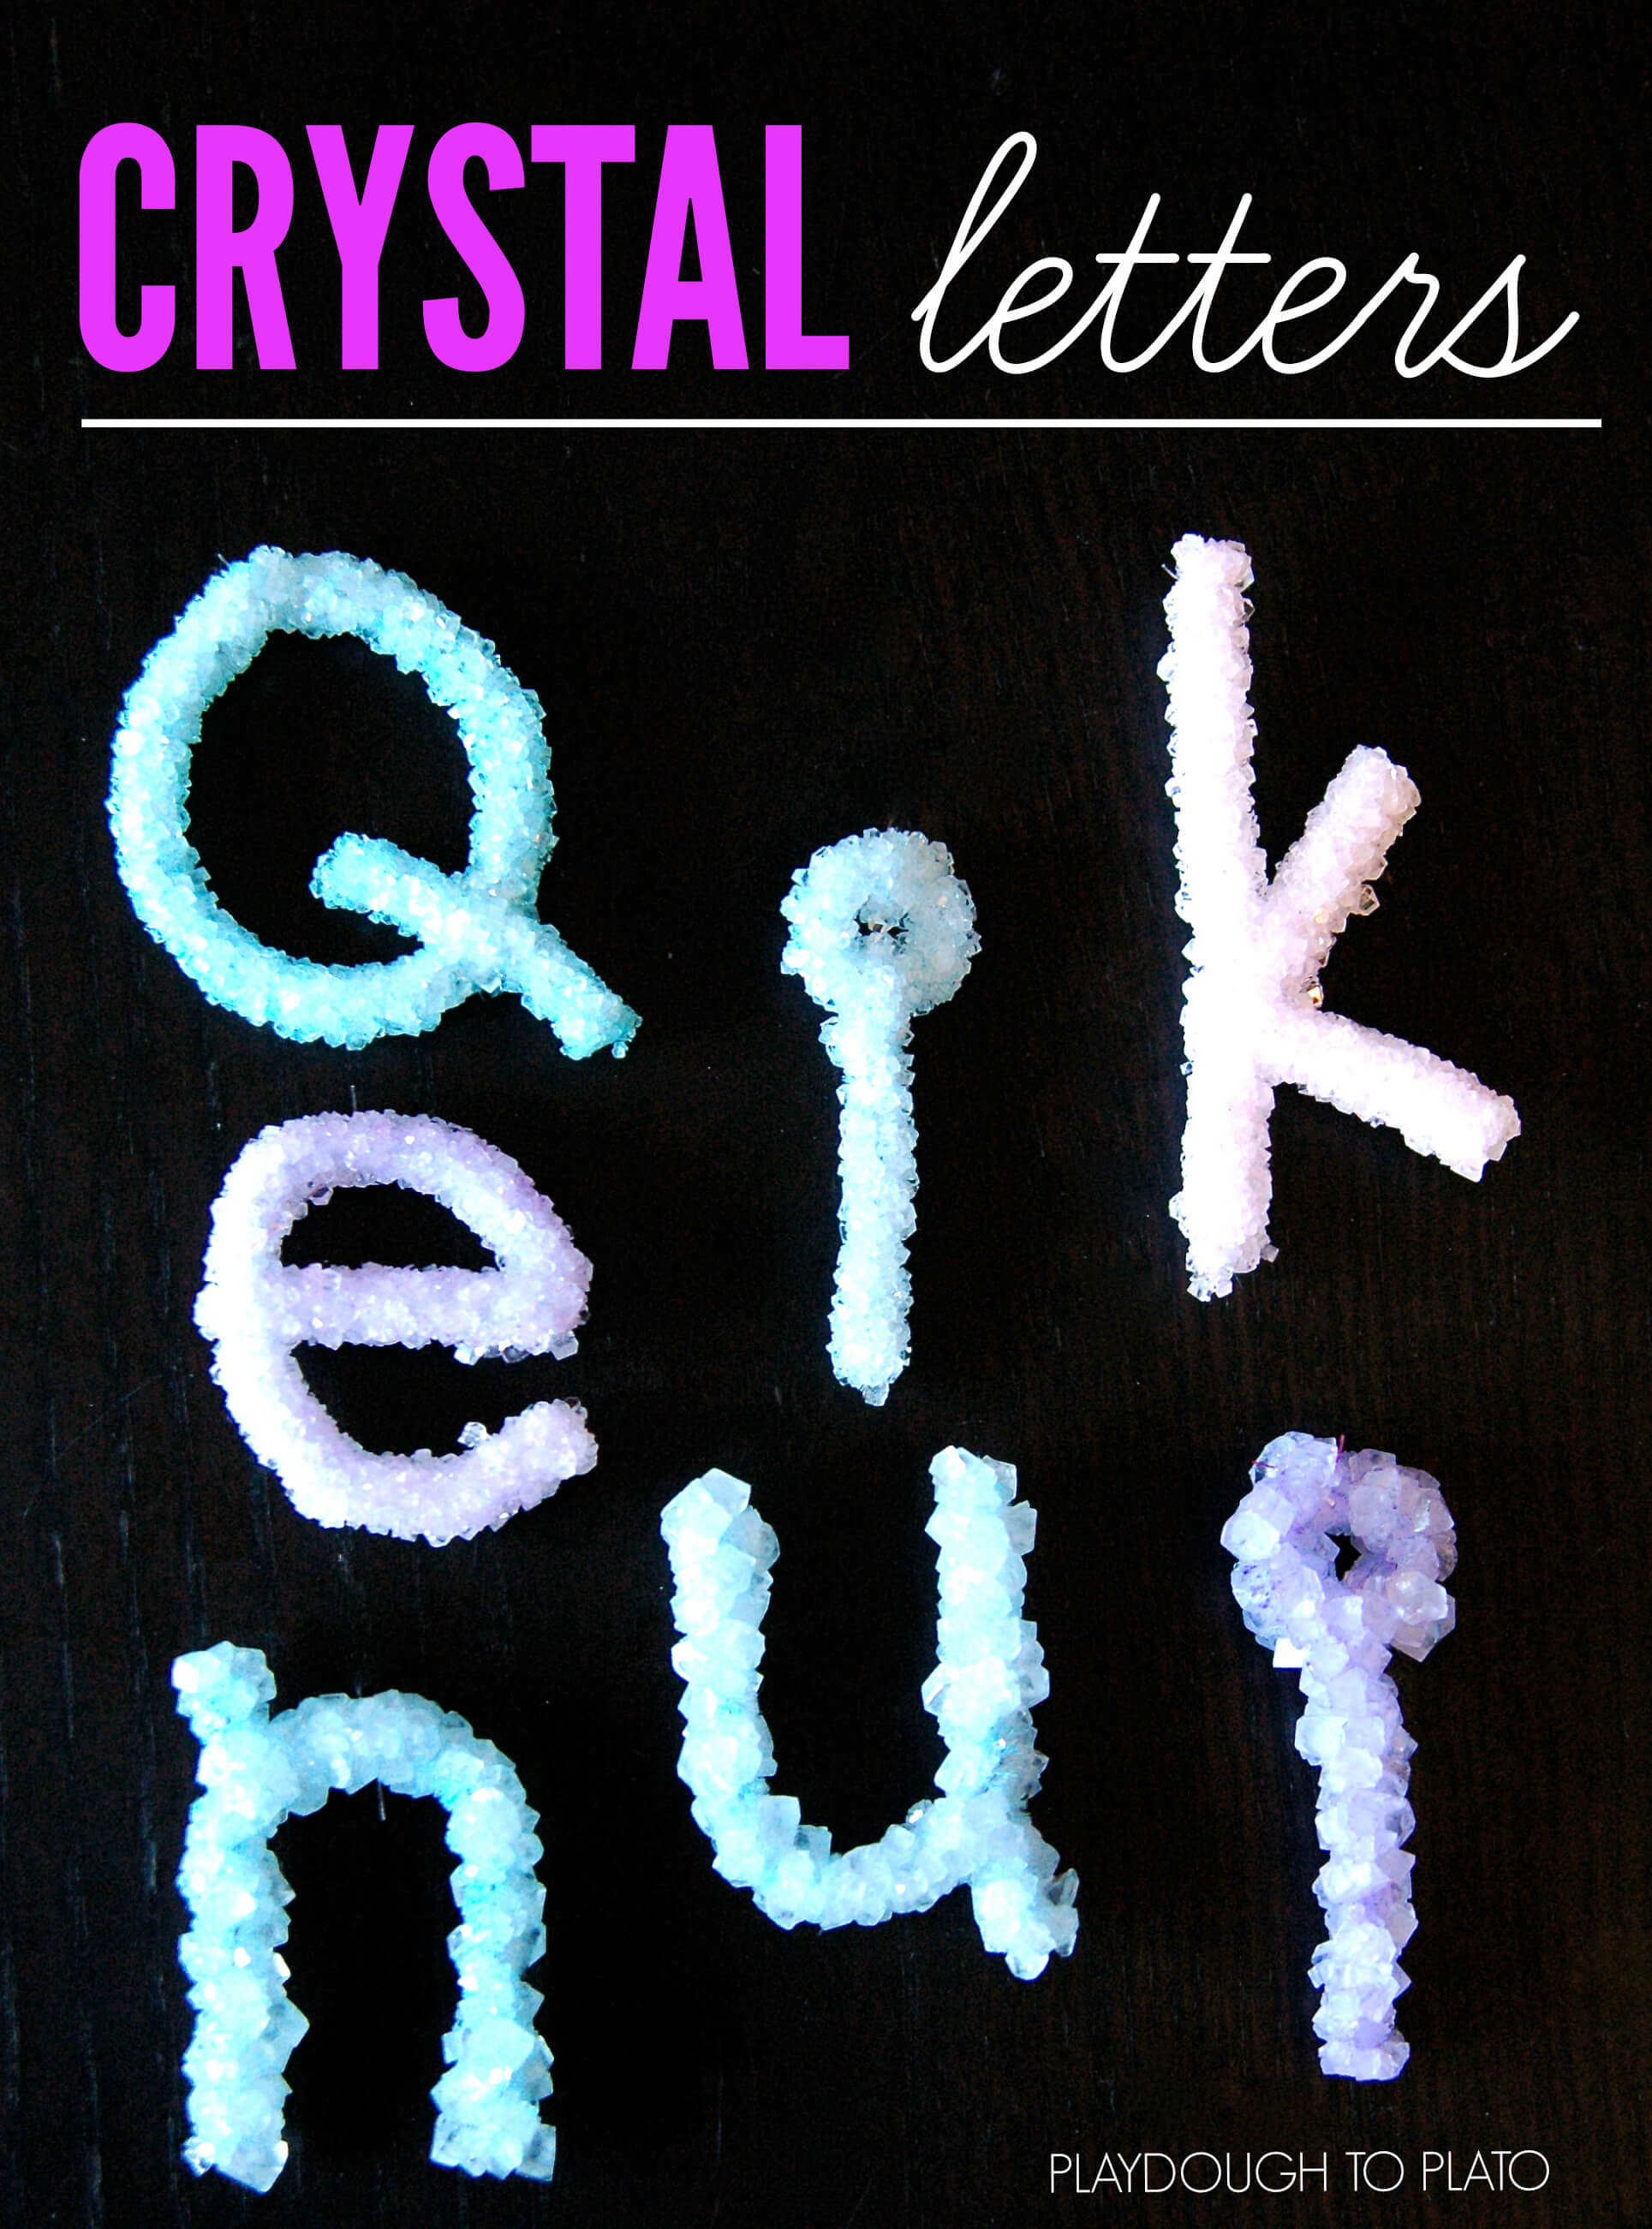
This easy-peasy, low-cost kids’ science experiment uses borax to grow crystal names. All kiddos will love seeing their name shimmer and sparkle in the sunlight!
Crystal names are one of our favorite science experiments EVER.
Follow the simple step-by-step below and then grab 30 more easy-to-follow science experiments kids will beg to repeat (plus a no prep science journal to keep track of their results!) in our shop!
Even though my 5 year-old can easily write her name, she never tires of seeing it, especially when it sparkles and glistens.
We decided to use the same technique used to make crystal snowflakes using borax, a common household laundry product, to make crystal names. The results were gorgeous and soon everyone in the family wanted their names in crystal too!
Getting Ready
To prep for this science activity, I gathered a few supplies:
- Pipe cleaners
- Fishing line (twine or yarn will work too_
- Pencils or wooden skewers
- Scissors
- Glasses or plastic container {one for each color}
- A container large enough to hold your name (if doing your name as a single piece written in cursive)
- Borax
- Food coloring (optional, if you want colored letters you can dye the borax solution or use colored pipe cleaners)
- Liquid measuring cup
- Tablespoon
- Heat safe mixing bowl
Shaping the Crystal Names
Once I gathered all my supplies, I called my daughter, A, over and explained that we were going to make the letters of her name and then grow crystals on them.
I had her take white pipe cleaners and use them to form the letters of her name.
I showed her the plastic container we were going to use to suspend the pipe cleaner letter in and explained that the letter had to fit in the container without touching any sides.
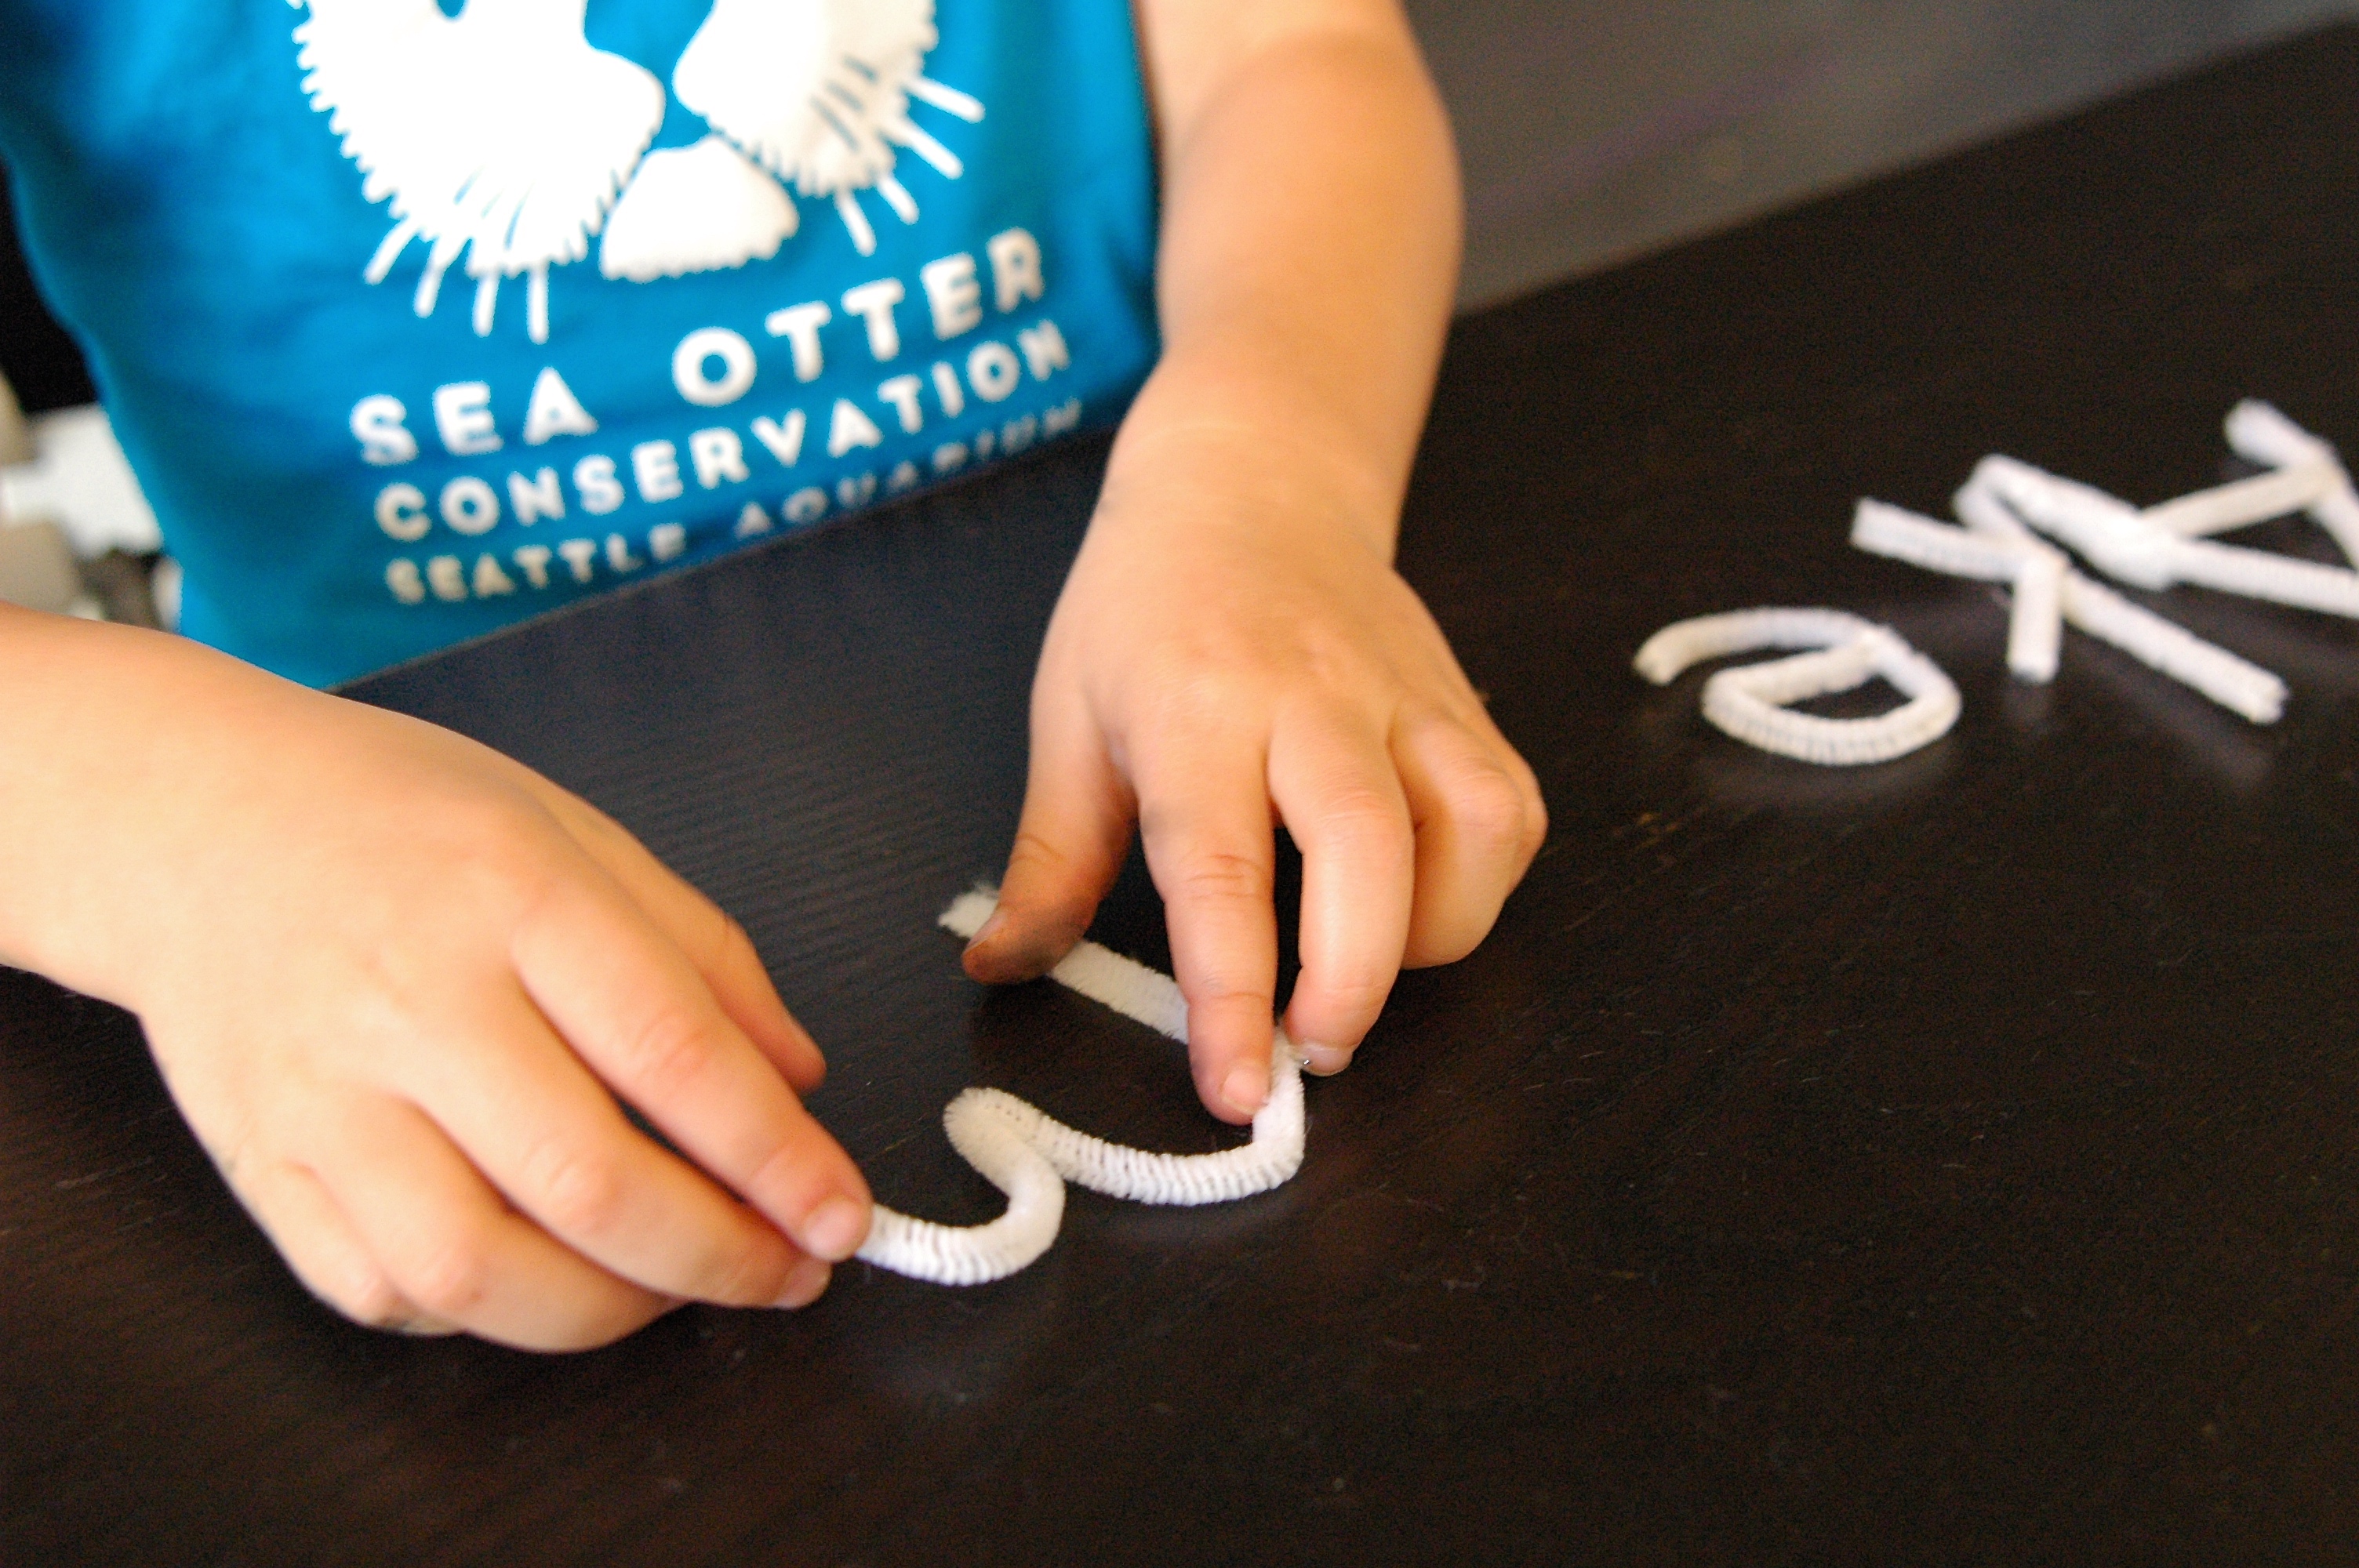
I wanted A to work on noticing what lines and curves made up each individual letter, so I intentionally had her form the letters one by one.
(Older children could connect a few pipe cleaners to form their name in cursive, making this activity even easier.)
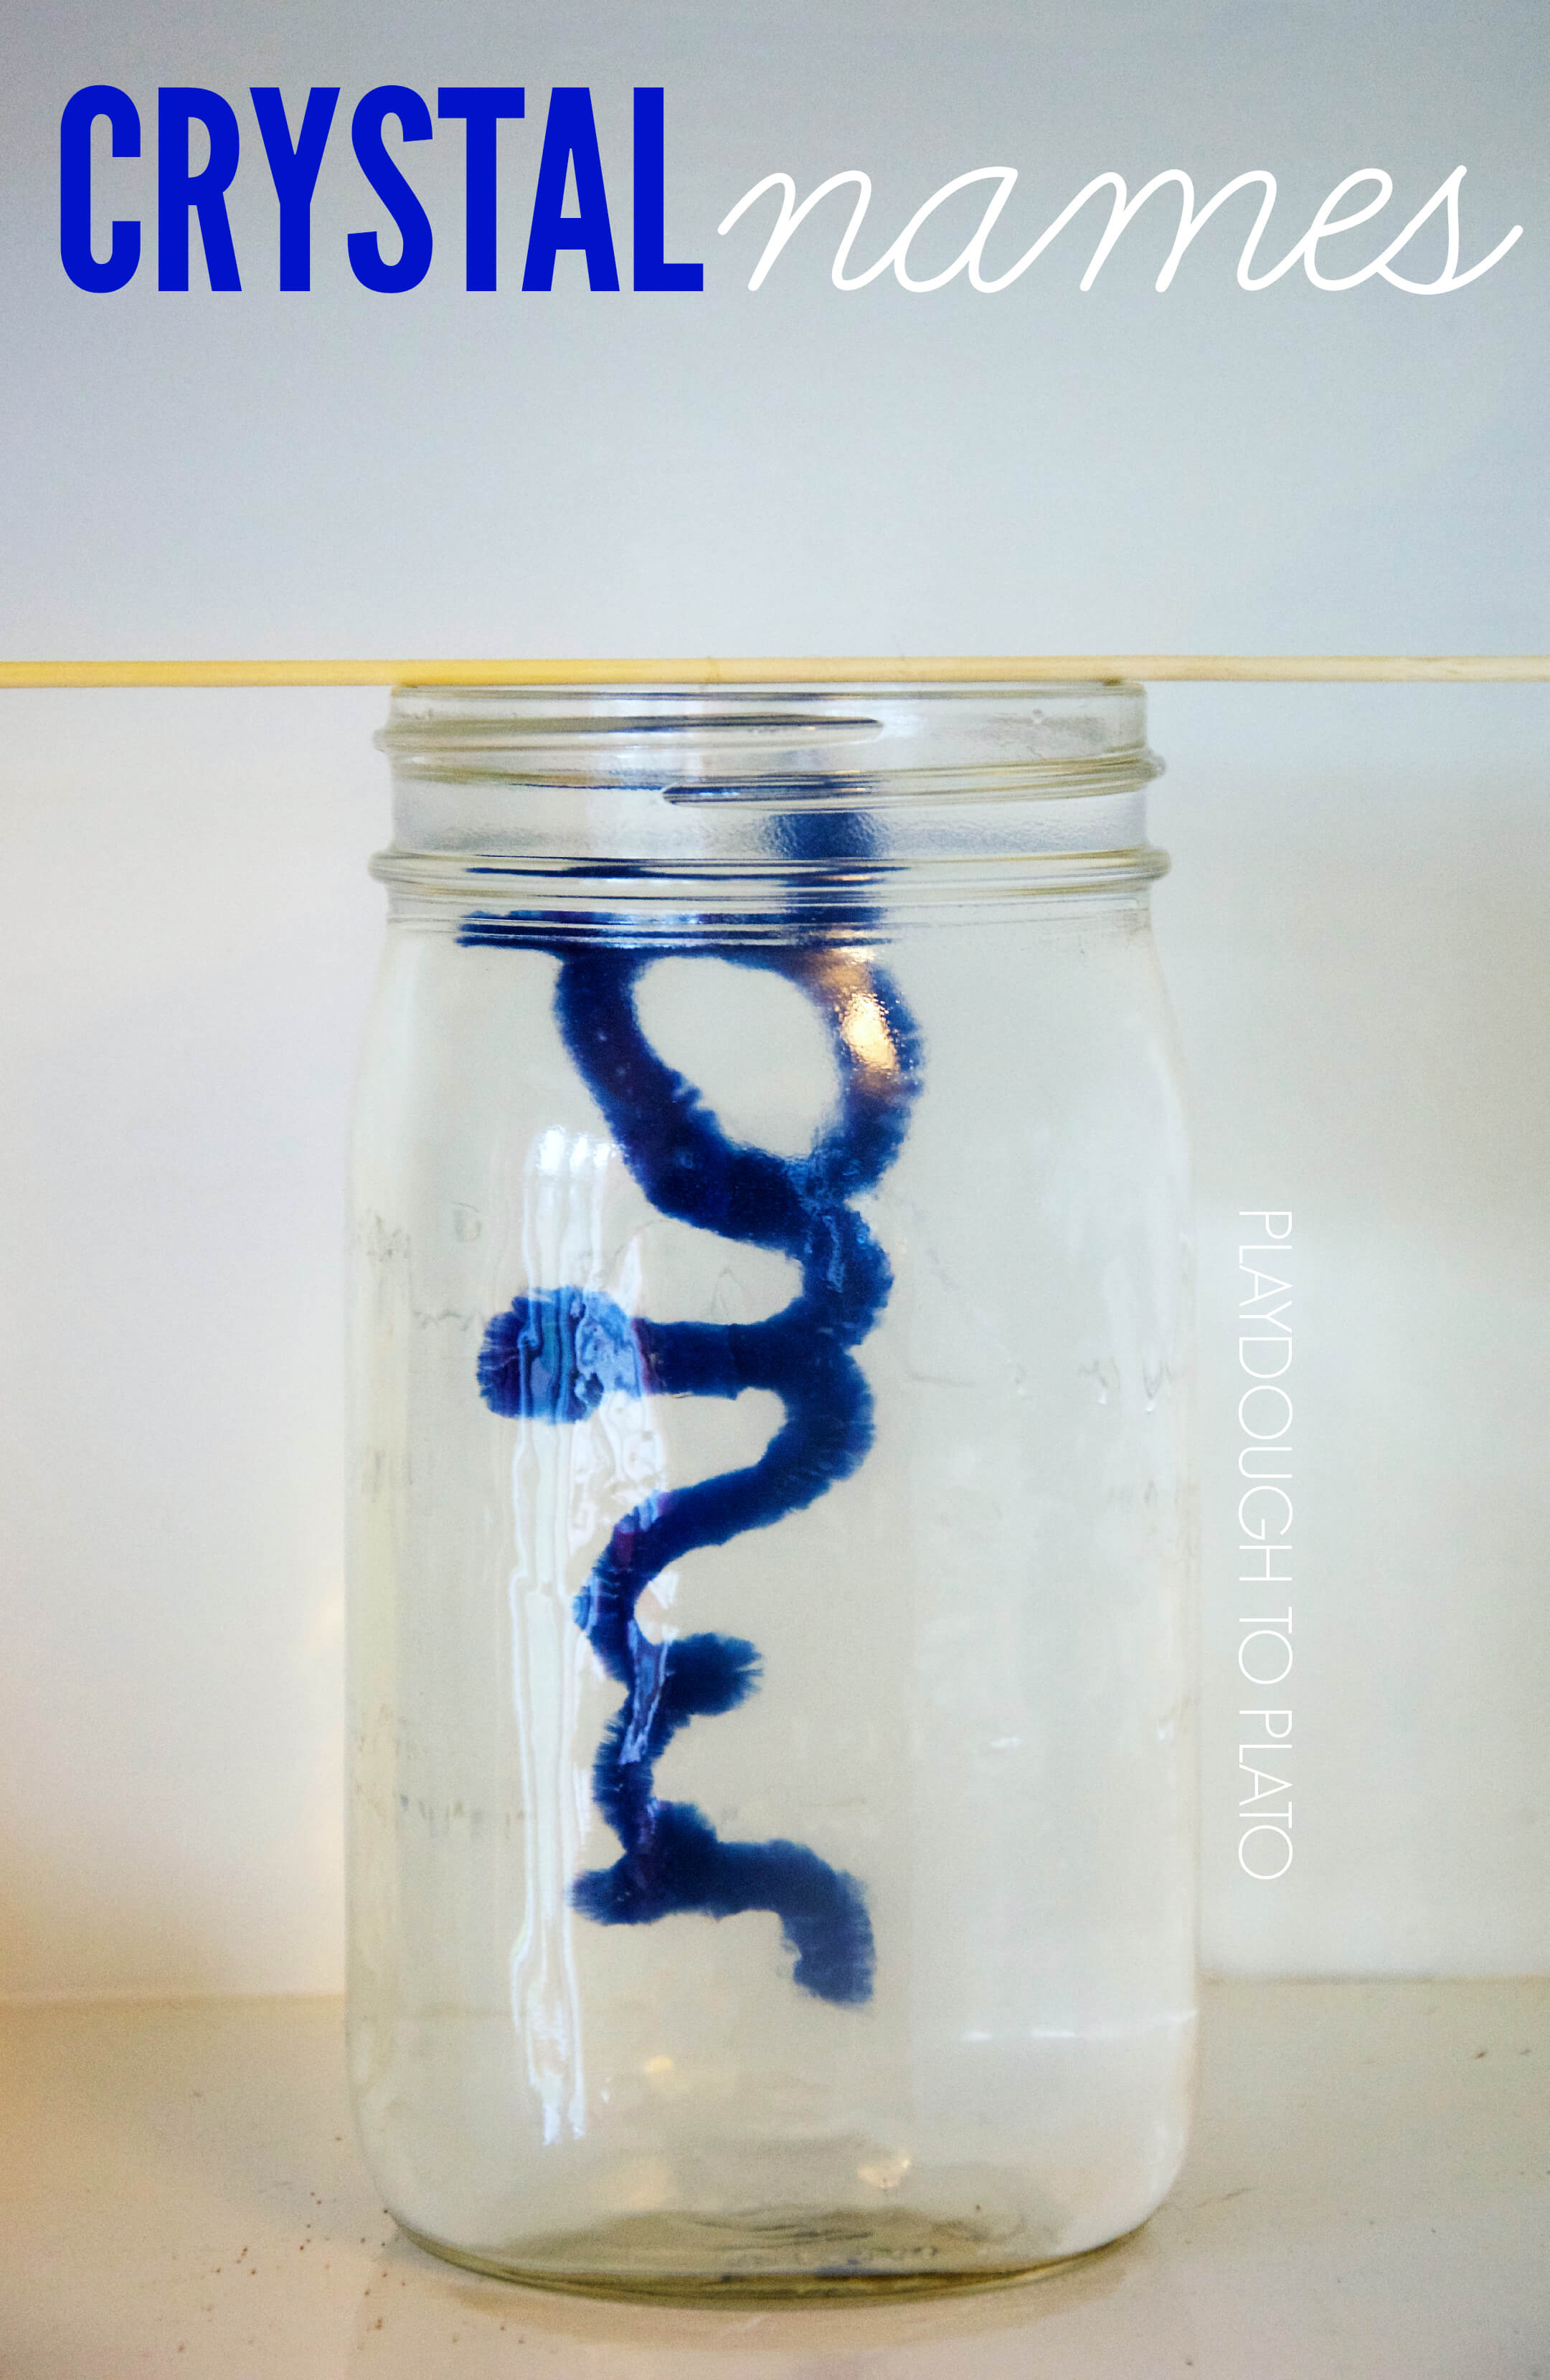
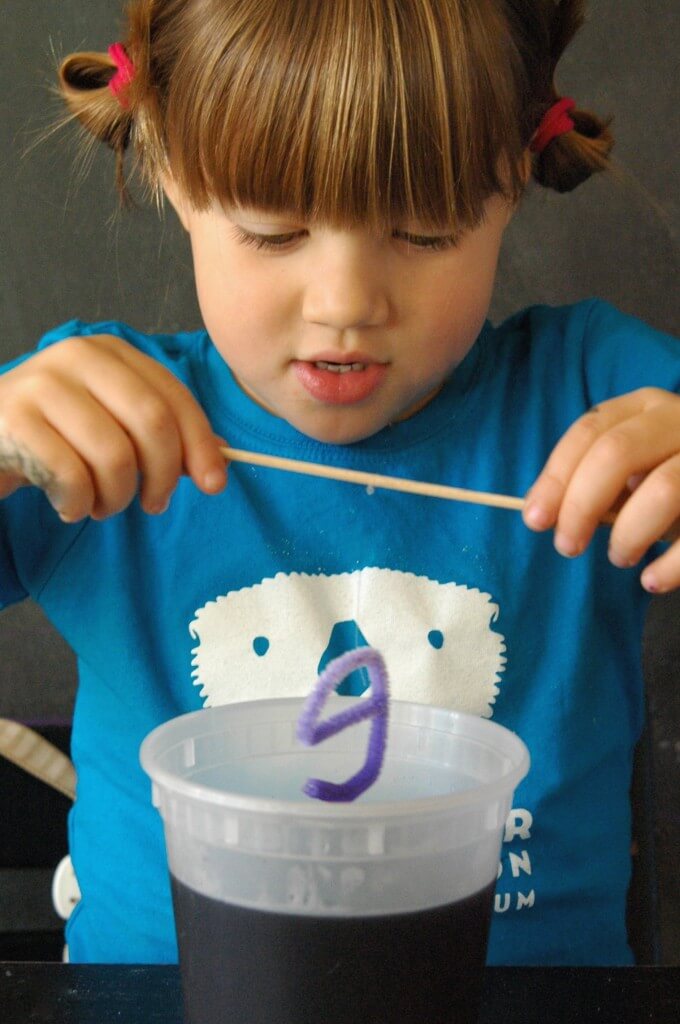
Once formed, we used fishing line to suspend each letter a few inches from wooden skewers.
Making the Solution
While A finished making her letters, I began heating a large pot of water.
I knew my 5 year-old would want to do the measuring and mixing, so I made sure the water was as hot as possible to help dissolve the borax quickly, without being hot enough to scald her.
A decided she wanted to make each letter a different color, so I set out 5 quart sized plastic containers and had A measure out 3 tablespoons of borax per cup of hot water (we used 9 tablespoons per container).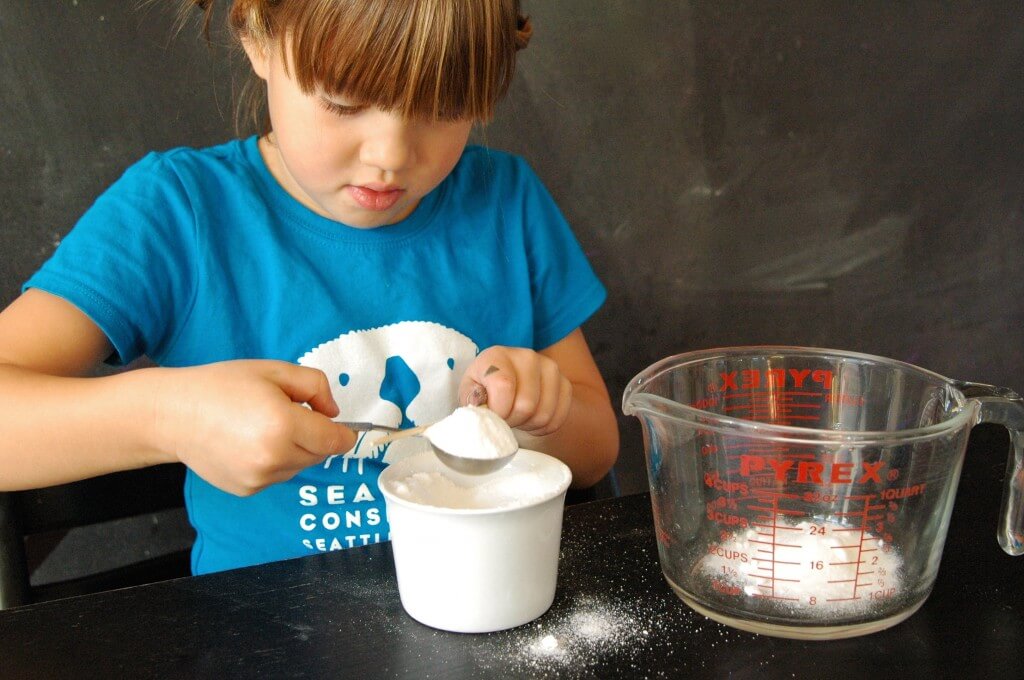
Once all the borax was measured, I poured 3 cups of almost boiling water into each of the 5 containers.
A, armed with a long wooden spoon, mixed each container until the borax dissolved. She felt like a real scientist in this kids’ science experiment!
Next, she added several drops of food coloring to every container and carefully lowered each letter into the color of choice.
Waiting for the Crystals
Next came the hardest part of the kids’ science experiment – waiting!
I put the containers on a shelf and let them sit overnight where they wouldn’t be disturbed by curious hands.
After a couple hours, we saw some changes – mostly crystals forming on the sides of the container and also settling onto the bottom.
It was difficult to see what was happening to the pipe cleaners through the dark food coloring solution.
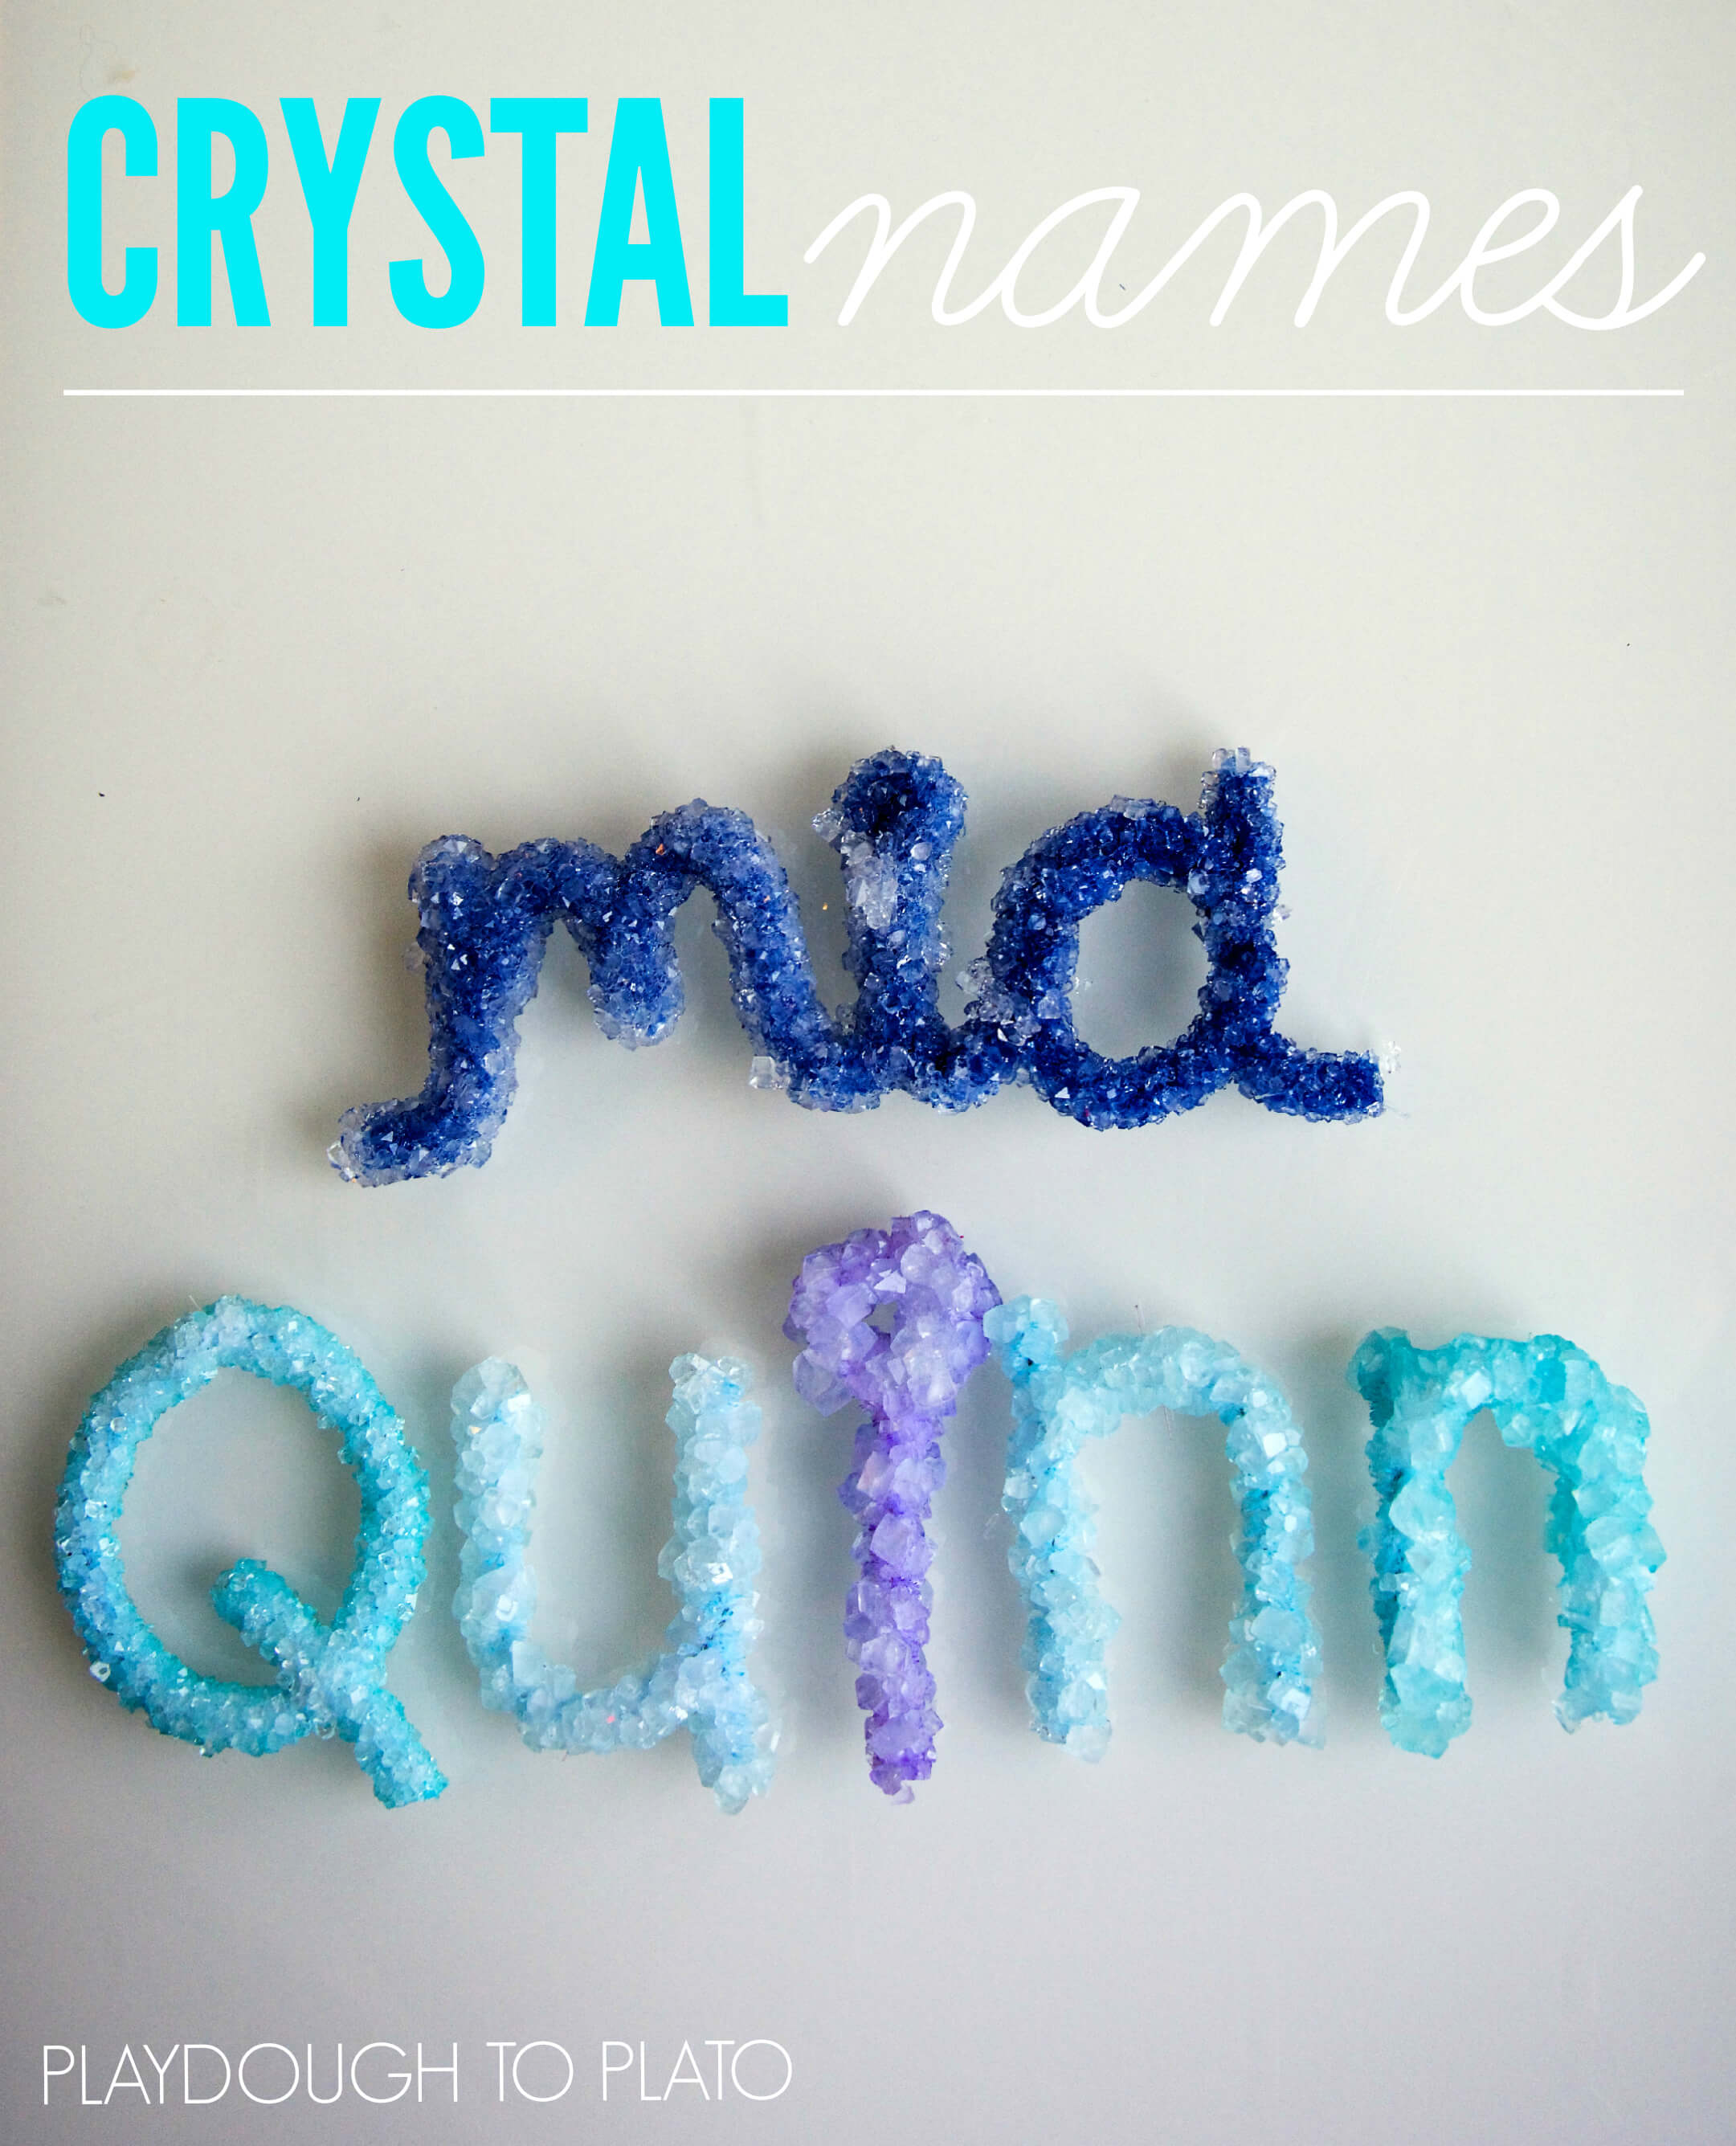
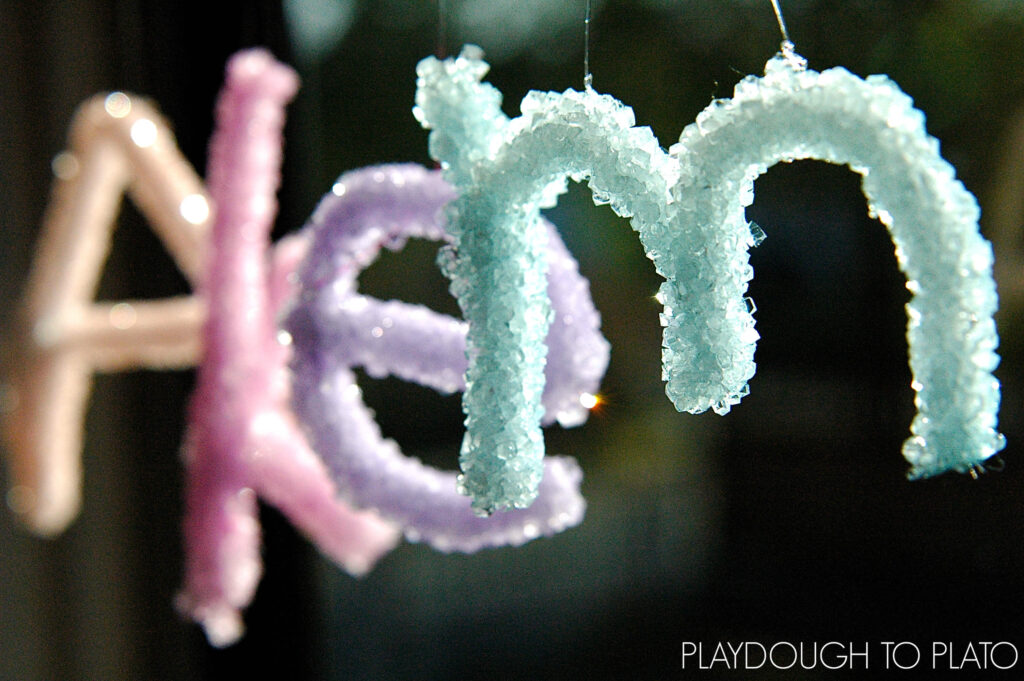
A and her little brother Q couldn’t wait to see how each of their names turned out and spent nearly an hour touching, arranging, and holding their letters up to the windows to see the crystals sparkle.
Once they were finished exploring their glistening letters, I carefully taped each child’s name up in a sunny window so they could be admired in all their sparkling glory. This kids’ science experiment was fun because it was so personal!
The Science Behind It
When borax is dissolved in water a suspension is created. A suspension is a mixture that has solid particles (the borax) that are large enough for sedimentation (settling out).
As the borax begins to settle, it starts to crystalize on all the surfaces it comes in contact with – including the pipe cleaner letters.
As the borax continues to settle out, it builds crystals on top of other borax crystals creating a thick layer.
More Kids’ Science Experiments
Inspire kids to LOVE science with 30 more jaw-dropping experiments they’ll beg to repeat!
Grab the mega pack of easy-to-follow science experiments kids will beg to repeat (plus a no prep science journal to keep track of their results!) in our shop!


I’ve done these before and seem to remember that the faster they cool the smaller their crystals. I think the slow cool down creates the biggest crystals. I and my granddaughter are working on them now and are experimenting by cooling them at different temperatures.
Any tips on cleanup? I can’t seem to get the crystals out of my jar. :O
Hi Becky,
Soaking your jar in hot water should dissolve the borax. I usually just run mine under hot tap water and it loosens the crystals enough so I can pour them out. I hope this helps.
A great article. Thank you very much
How do the crystals hold up? If I did this with my afterschool kids would they make it home or would the kids end up with a baggy full of dust?
Hi Anna,
The crystal are pretty sturdy. They should make them home in a backpack provided the backpack isn’t tossed around a bunch. My kids never tire of making these so I’m sure your afterschool kids will love doing it too. It might be worth making one at home as a test run before trying it with a group of kids, then you can see how durable they are. Good Luck! Hope it’s a success!
Awesome. I will try this with my class. Thank you so much.
Thank you so much for this awesome post! Its such a lovely idea!
I looked for borax but its not so easy to find here in germany. Is it also possible to produce crystals with salt or Alaun?
Thank you and I wish you a great and sunny day! 🙂
Louisa
Will the crystals form overnight or is it best to leave them for a few days? I teach a five day fairy camp and thought this would be a great craft to introduce ourselves!
Hi Vanessa,
The crystals take overnight to form. This would be such a fun craft to do for fairy camp!
We are doing this right now. Our pipe cleaners are floating. Any idea why?
Hi Stacey,
The only reason I could think of for your pipe cleaners floating is perhaps tiny air bubbles are trapped on the little fibers of the pipe cleaner and making it buoyant. I think of you give the pipe cleaner a few taps in the solution it should sink. Hope this works!
HI! so we tried this yesterday and three of the colors seem to be working but one is not, and definitely not as cute and crystal covered as yours. Can you think of something I may have done wrong? I added as much borax as you did for 3 cups to 2.5 of hot water. Was that to much?
My girls were so pumped to do it and I feel like I messed up somehow. Any suggestions?
Correction to my quick typing. “too much” sorry!
Hi Marisa,
Just to be clear, you added 9 tablespoons of borax to 2.5-3 cups of boiling water? That should have worked. Did all your borax dissolve in the hot water before adding the letters? If some of the crystals don’t dissolve the borax that does dissolve tends to precipitate out to the bottom where the undissolved crystals are ans not onto the suspended pipe cleaner. Also colored pipe cleaners produce brighter letters (although the crystals are clear/white) than the colored crystal solution does. I hope this helps.
Thanks…. I am thinking that I did not put enough borax in…. For an ex teacher my direction reading skills seem to be suffering…. 3 tbsp per cup not container.. ohhhhhhh hahaha I will try again.
thanks. 🙁 sorry for being “that” person.
I’m planning to do this tomorrow. The only food coloring I could find was a Betty Crocker gel. Its made from corn syrup, sugar, water and artificial colors. I’m afraid the corn syrup will interfere with the process. Is this what you used?
I did something similar trying to make a snowflake and used gel. It works but for deeper colors use more than you think you need. The solution was a deep blue I couldn’t see through it. The crystals came out a pretty baby blue but I wanted a deeper color.