Wondering how to make homemade butter? This quick and easy science activity combines two of kids’ favorite things: food and science. My children were riveted watching the cream go through its various stages to become butter and couldn’t wait to taste the homemade goodness.
With a few simple supplies and a little muscle power, you will be enjoying fresh butter in less than 10 minutes, too!
Follow the simple step-by-step below and then grab 30 more easy-to-follow science experiments kids will beg to repeat (plus a no prep science journal to keep track of their results!) in our shop!
Getting Ready
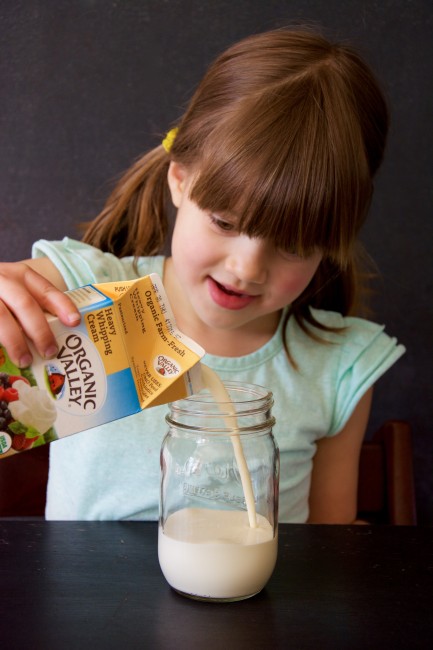
To make the homemade butter, you’ll need at least 8oz of heavy whipping cream (room temp), a mason jar, 2 marbles (optional), and a medium-sized bowl. It’s a simple as that.
How to Make Homemade Butter
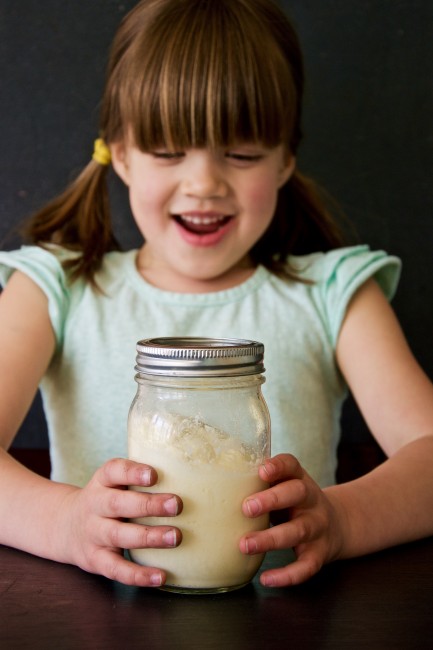
First, I had my 5 year-old, A, fill the mason jar about half full of heavy whipping cream, leaving plenty of room for the cream to slosh up and down as you shake it. Room temperature cream becomes butter more quickly than cold cream, so we left ours out for about 40 minutes before beginning this activity.
Next, I had my 2 year-old, Q, plop in two marbles. The marbles aren’t essential, but they do help agitate the cream and speed up the whole process. We shook the jar pretty hard and never had any issues with broken glass. Finally, I made sure the lid was on tight and handed the jar to A to begin the shaking. Apparently, shaking cream is hysterical…
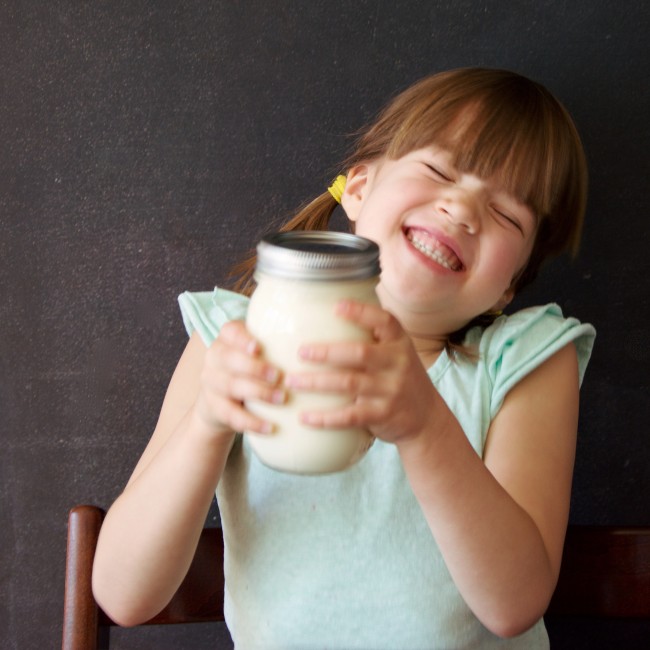
for about one minute!
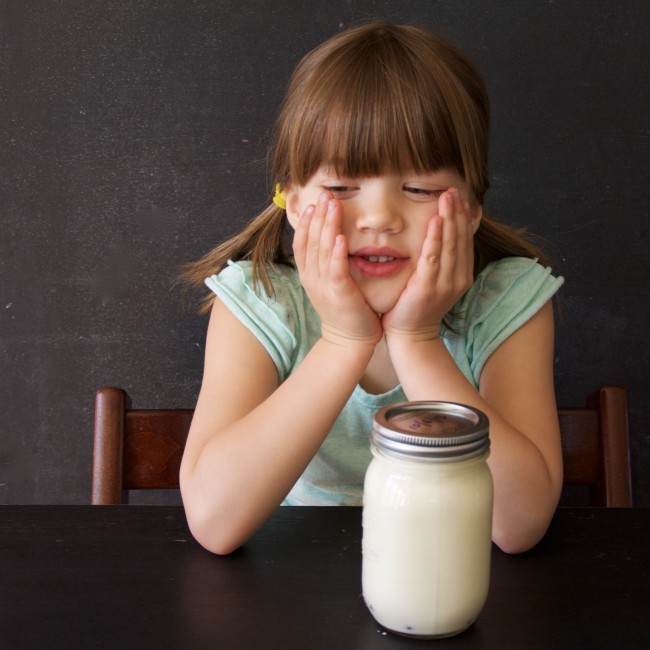
After another minute or two of shaking, A noticed the marbles weren’t clinking as loudly. We opened the jar for a peek and found whipped cream. Of course, they both had to have a taste!
Once we made whipped cream, the shaking became a little harder.
Since the cream was thicker, it took more muscle to get it to really move up and down in the jar. This was when I had to take over.
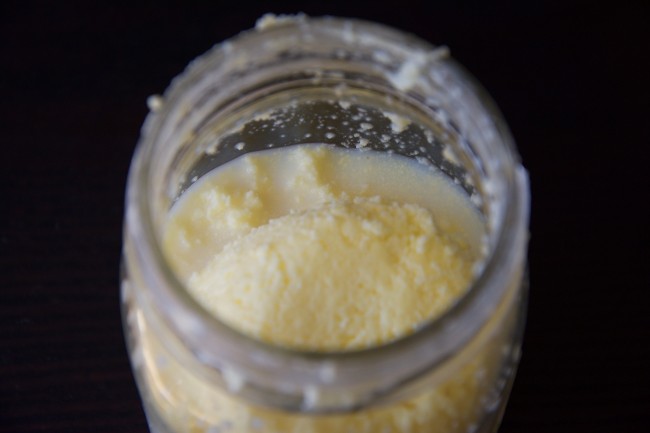
After another few minutes, we began to hear a thump when we shook and noticed there was a solid mass forming.
It looked a little like thick curdled milk.
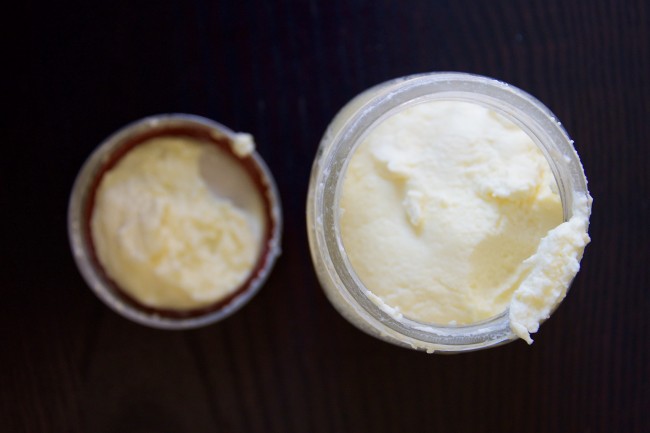
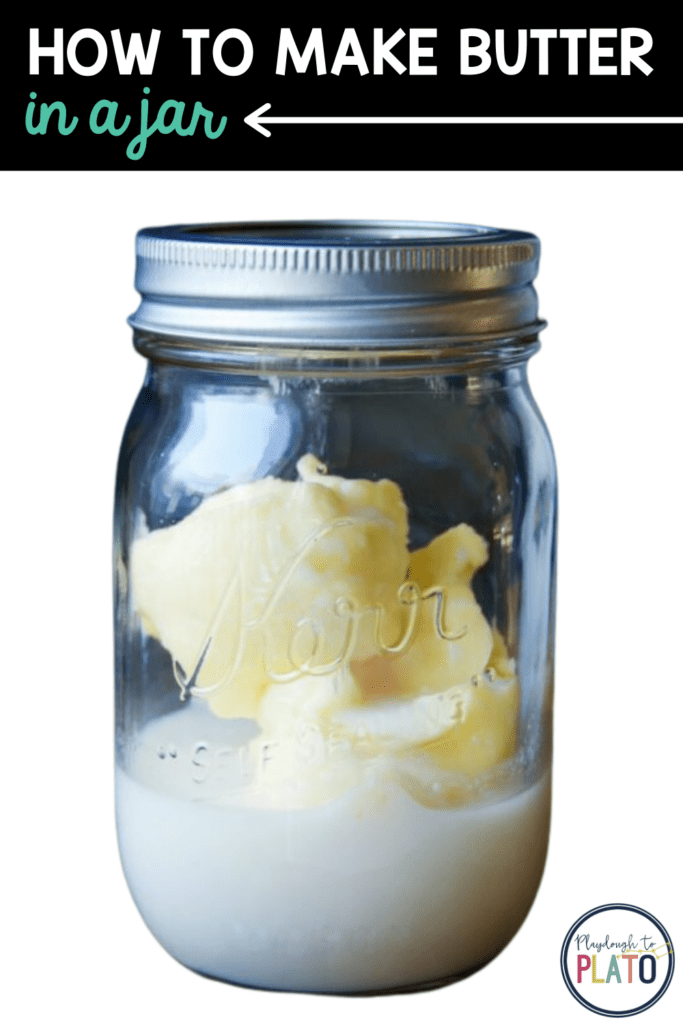
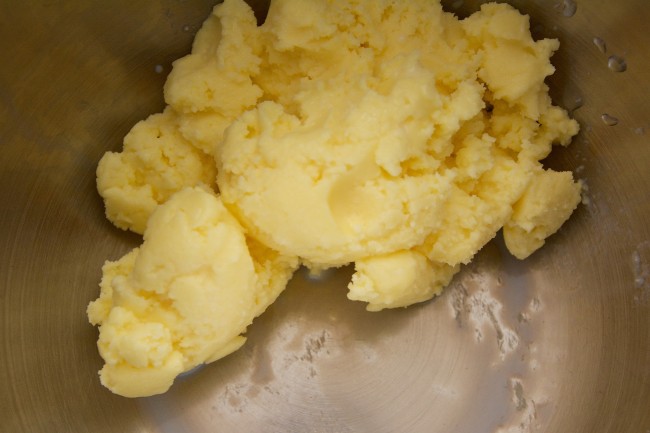
We put the lid back on and shook for another minute. The fat in the cream continued to clump together, forming butter as we shook. By now, the buttermilk began to separate out.
Again, we screwed on the lid and shook for another 30 seconds or so. Soon, we had butter! My kiddos couldn’t wait to taste the homemade butter but first we had to rinse it. Q carefully poured off the buttermilk. You can save the buttermilk for cooking, but my little scientists were too curious and wanted to taste it.
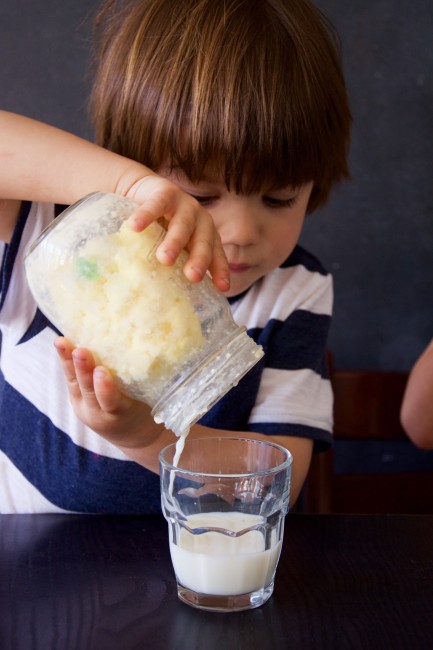
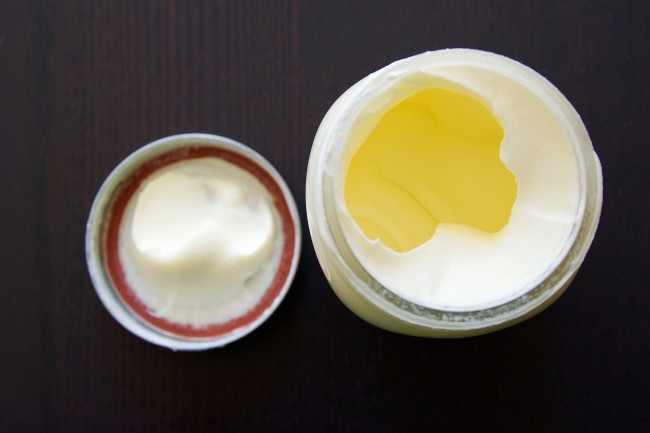
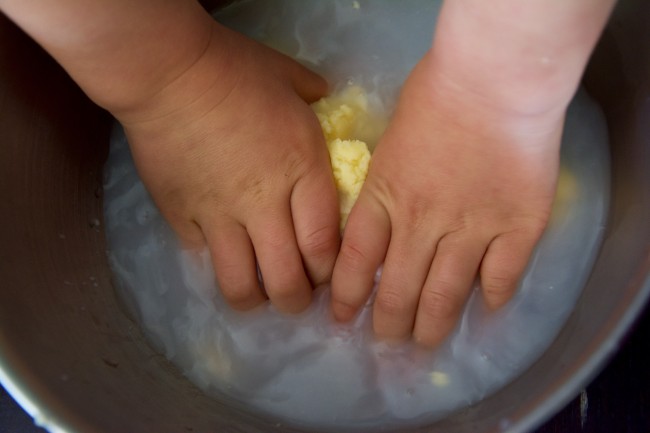
I then scraped the clump of butter into a medium-sized bowl and removed the two marbles for rinsing. It’s important to rise any buttermilk trapped in your butter to prevent spoiling.
You can do this with the back of a wooden spoon, but where’s the fun in that? I placed about a cup of ice cold water in the bowl with the butter and let the kids gently kneaded the butter to remove the buttermilk. When the water became cloudy, we dumped the water and repeated until the water remained clear. The cold water helped to keep the butter from melting while kneading. It took about 4 or 5 rinses.
Once the butter was rinsed, we added a little salt and we were ready to taste!
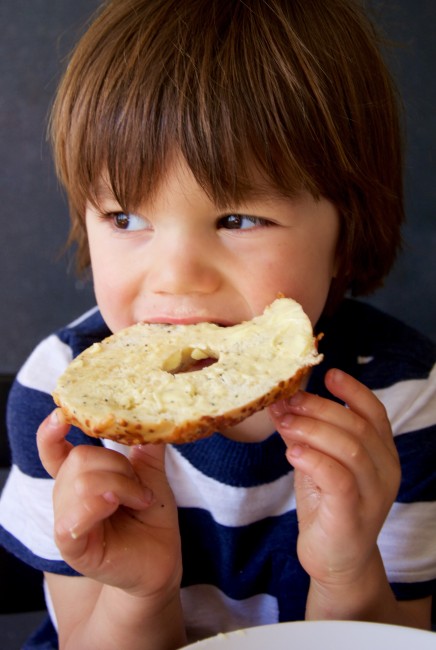
Mmmm…science sure tastes good!
The Science Behind It
Heavy cream is milk that contains a high percentage (35% or more) of milk fat in the form of fat globules. Fat globules are microscopic membranes filled with fat molecules. When shaken, the membranes smash into each other and burst, spilling out the fat molecules.
Now fat and water don’t mix, so as the fat molecules burst from the membranes, they seek out other fat molecules. At first, not enough globules have burst and the fat molecules have to align themselves with somewhat neutral air molecules that have been forced into the cream as it’s been shaken. When this happens, the air becomes trapped in the cream and whipped cream is formed.
As you continue to shake the whipped cream, more globules burst and the freed fat can now clump together with other fat molecules. The once fluffy whipped cream releases the trapped air and the fat solidifies into butter while the liquid buttermilk separates out.
Simply agitating cream can take it from liquid to foam to a solid and liquid. Science is simply delicious in its many forms!
More Inspiring Science
Want a simple, low-prep science experiment that wows students? The Walking Water Rainbow is a colorful way to explore capillary action and color mixing!


I love every science project that Noirin comes up with but especially the edible ones! We can’t wait to try this one b/c everything is better with a little butter.
Just made this butter yesterday! Was so good and easy!
I remember doing this in school when I was little. Going to try it this week with my kiddos!
Making butter
Do you have the actual recipe?
Hello Tami,
Great question! The only things you need to make butter are 8 oz or more of heavy whipping cream {room temp}, a mason jar, 2 marbles {optional}, and a medium sized bowl.
I hope this helps!
Warmly,
Kimberleigh
I cant wait to try this with my Preschool Class! Since we are making corn muffins for our feast this will be perfect!! Thank you
Hooray Karen!
That sounds so fun! I know your kids will love it as much as we do.
Warmly,
Kimberleigh // Happiness Ambassador
OMG!!! This was so much fun. I grew up on a farm, but ours was pigs, chickens and goats. I always enjoyed ” churned” butter, and this was much easier than the big butter churn. I don’t know if anyone still churns butter at home or not. If you don’t mind, I would love to share this with my Mom, her grandkids, and mine. This was great! THANK YOU
Hooray, Beth! It sounds like you had a fabulous time.
I am so glad that you found this activity and do feel free to share it.
Warmly,
Kimberleigh
How much salt do you put in? Can’t wait to make this.
We really just add a little salt to taste.
Warmly,
Ashley // Happiness Ambassador
This was both fun and exciting. I made the butter just before dinner, so we had it on garlic toast already. I cant wait to experiment and come up with different recipes and flavors.
Thanks for sharing.
Oooooh, that sounds so yummy!
Thanks for sharing!
Warmly,
Ashley // Happiness Ambassador
I made butter with my mother when I was a child. My mother would save the cream in a basin. When she had enough we would put it in a wooden churn. Then turn the handle for a long time and wella butter!
What a wonderful memory with your mother, Betty!
Hope many more kids get to have that experience through this experiment.
Warmly,
Ashley // Happiness Ambassador
My Aunt Margaret taught me how to make butter like this during vacation bible school one year. She was the teacher in the pre-school class and she used to put the heavy cream into an empty 2-liter soda bottle (which she would thoroughly clean beforehand). After putting the cream in the bottle, she would let the toddlers in her class roll the bottles back and forth between them on the floor until the butter formed. Then she would serve warm rolls with the butter and a little honey to them. The kids were amazed and delighted every time to see the results of their “play” turn into something good to eat.
What a wonderful memory! Thank you for sharing 🙂
Warmly,
Ashley // Happiness Ambassador