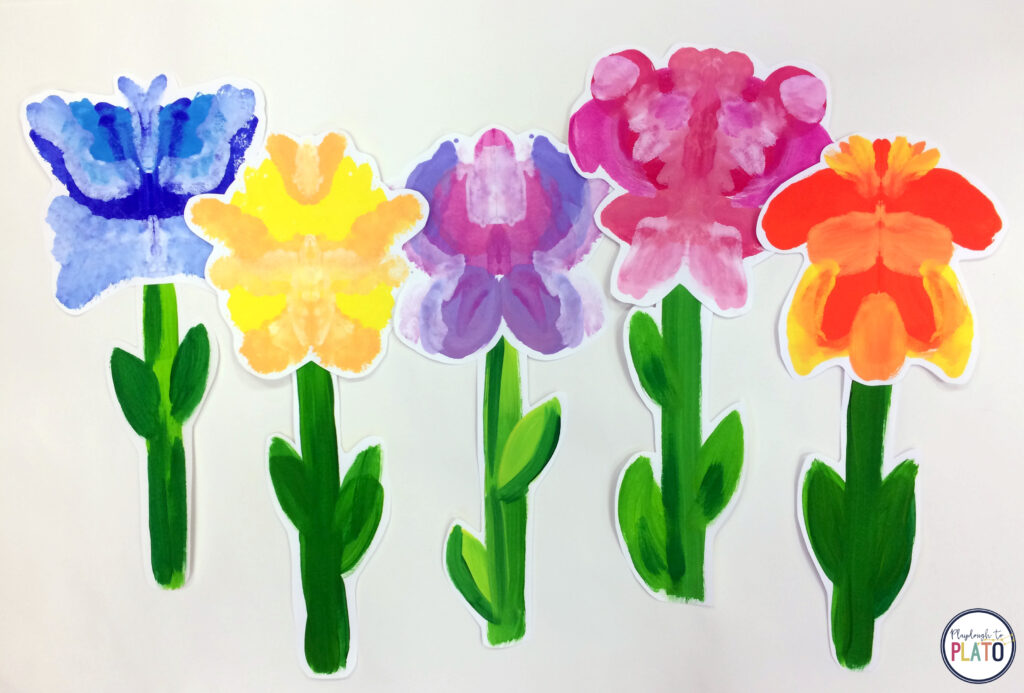
Spring is one of my favorite seasons! I love watching the bright, bold flowers appear in the garden after the long, gray days of winter. This symmetrical flowers painting activity will add the right pop of color into your classroom! This art project has so much color and variety! It’s perfect for primary-age students.

Getting Ready
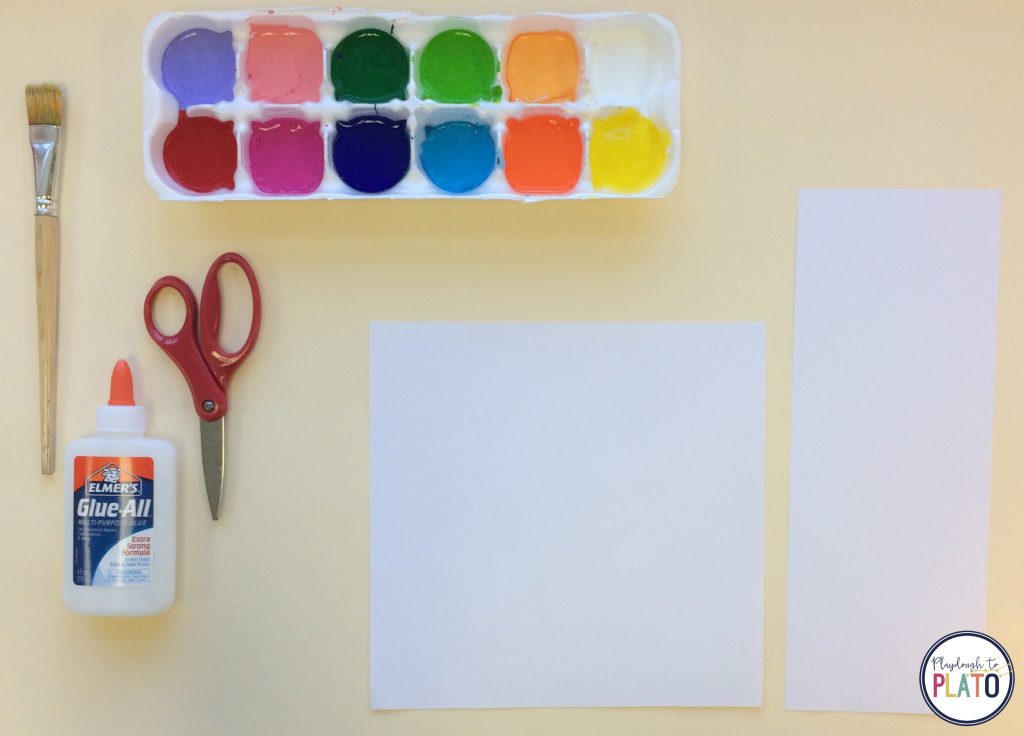
To get ready, I gathered supplies for each student:
- One 9 x 9-inch square piece of white paper for the flower.
- One 4 x 12-inch piece of white paper for the stem.
- Tempera paint in various colors such as green, yellow, orange, red, pink, etc. poured into a palette.
- Large 1-inch paint brushes.
- Scissors to cut the flowers out.
- Glue for attaching the stem to the flower.
Tip: I decided to use 80 pound sulphite paper so that the art project would have extra durability, but cardstock would work as well.
Tip: I used old egg cartons as paint containers. They’re perfect for distributing small amounts of paint to students.

Creating Symmetrical Flowers
To start, I had each child fold the 9 inch x 9 inch paper in half, creating a line down the middle of the page.
Once the paper was opened again, each child choose one color and painted a dot to one side of the line.
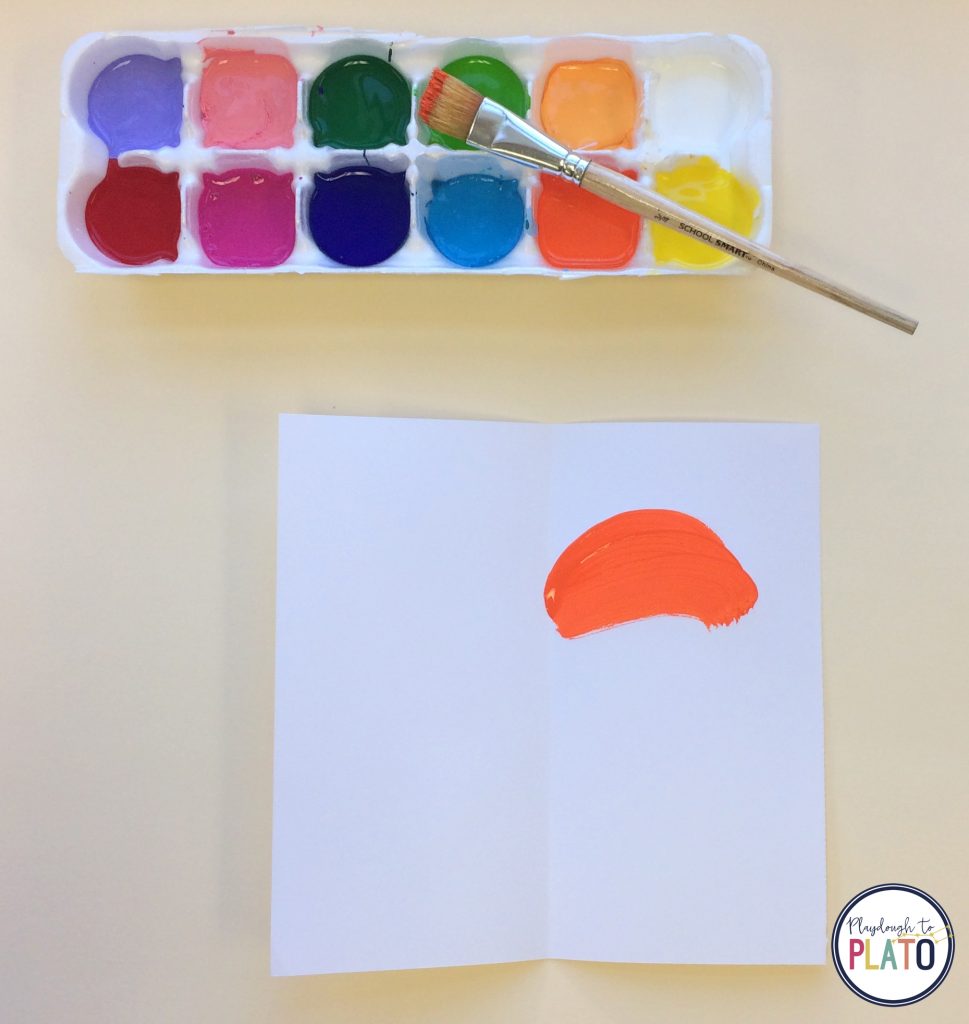
Together, we folded the paper over and rubbed.
This transferred the paint to the opposite side of the paper and created a symmetrical flower shape.
![]()
![]()
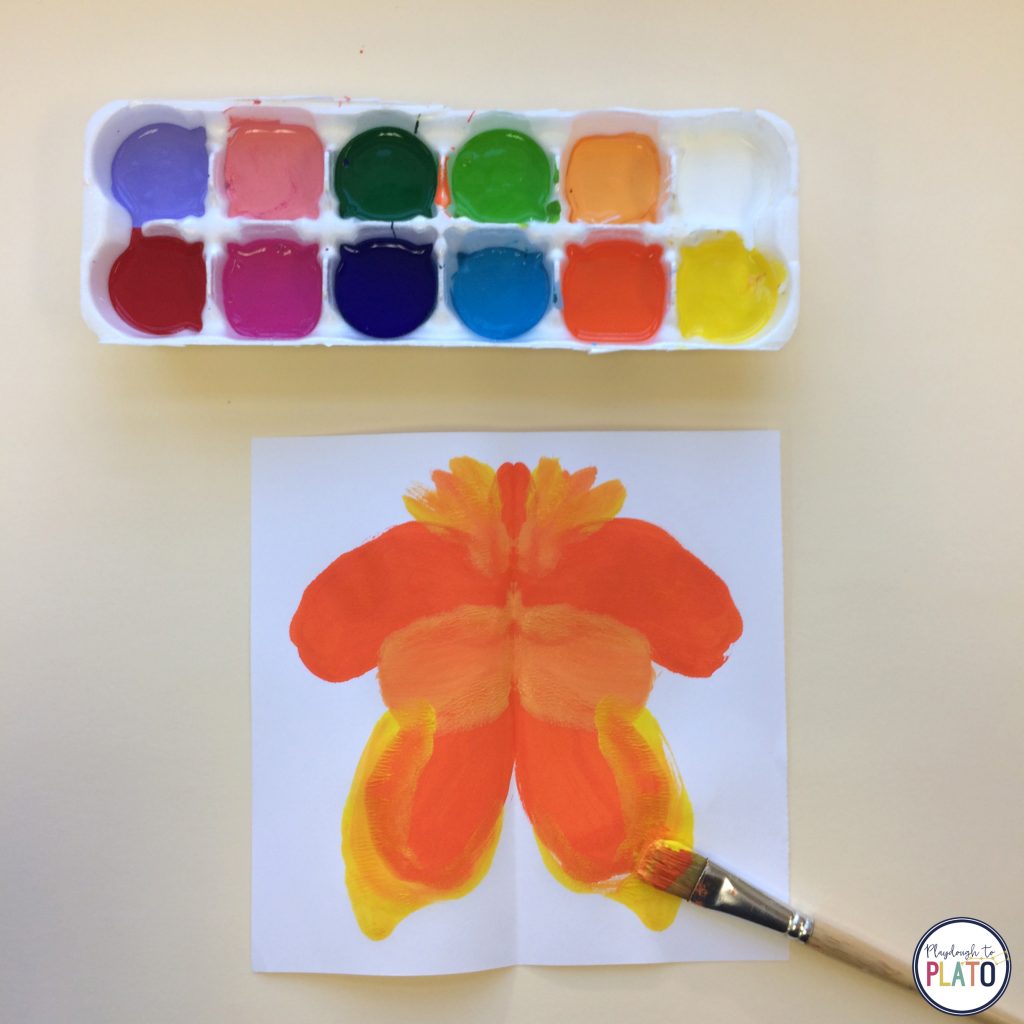
We repeated drawing dots, folding the paper and rubbing the paint until the flower head was filled.
Although this student chose to use all orange for her flower, I encouraged students to use colors next to each other on the color wheel. For example, red, orange and yellow.
I also suggested choosing one color and adding white to it to create a tint for extra visual interest.
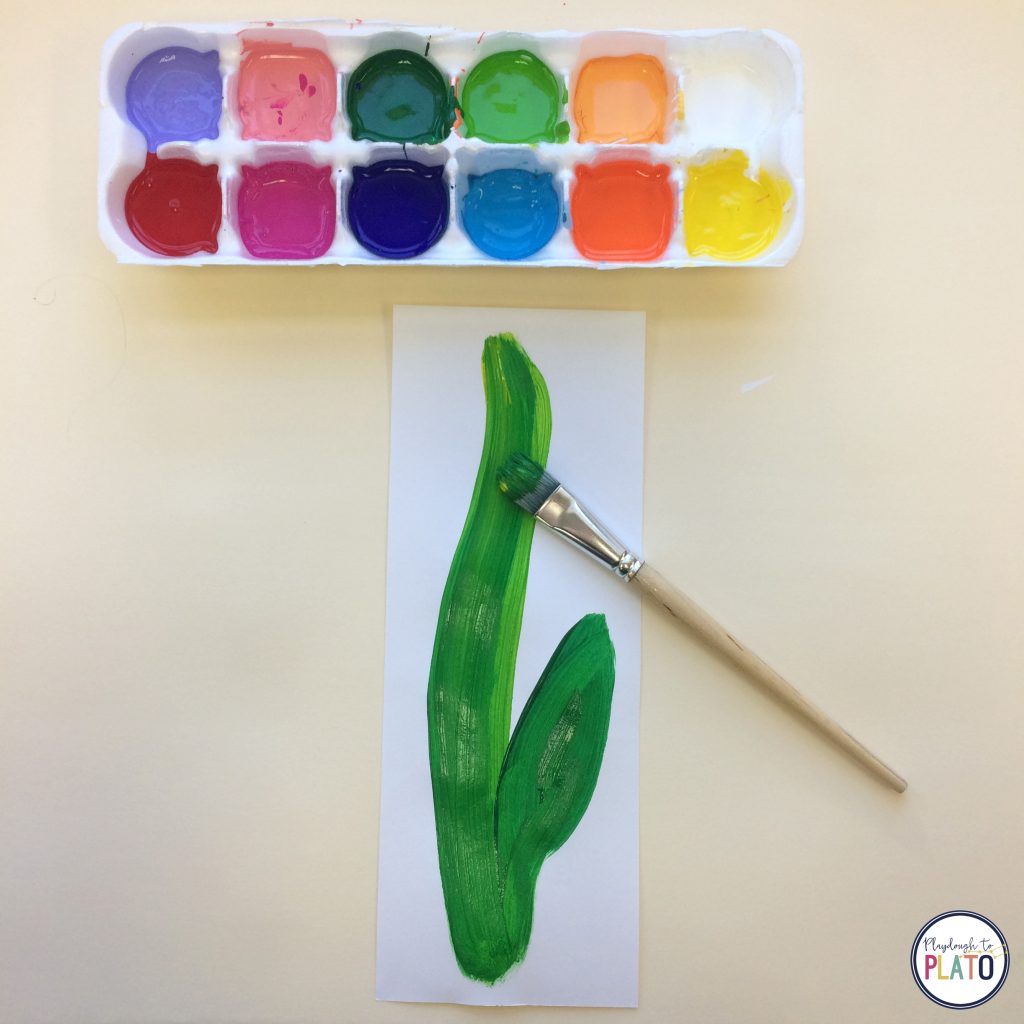
Once the flower top was completed, we moved on to the stem.
Students painted one stem on the 4 inch x 12 inch white paper.
I suggested the kids use various shades of greens and add a few leaves as well.
Once the all the parts of the flowers had dried, I gave each student a pair of scissors.
They carefully cut out the flower top and stem.
Then, we glued the flower on top of the stem and displayed all the art together as a large garden!
Kids loved seeing what their classmates had created and I loved the flower garden we now had in the classroom.
More Inspiration
Follow our arts and crafts board on Pinterest and check out our list of 30 must-have craft supplies and fun ways to use them.
Teaching can feel lonely sometimes, especially when you’re trying to figure out what actually works in your classroom. That’s why The Science of Reading Formula isn’t just about resources—it’s about community. When you join, you’ll be surrounded by like-minded educators who truly get it and are ready to cheer you on. You don’t have to do this alone!


One Comment