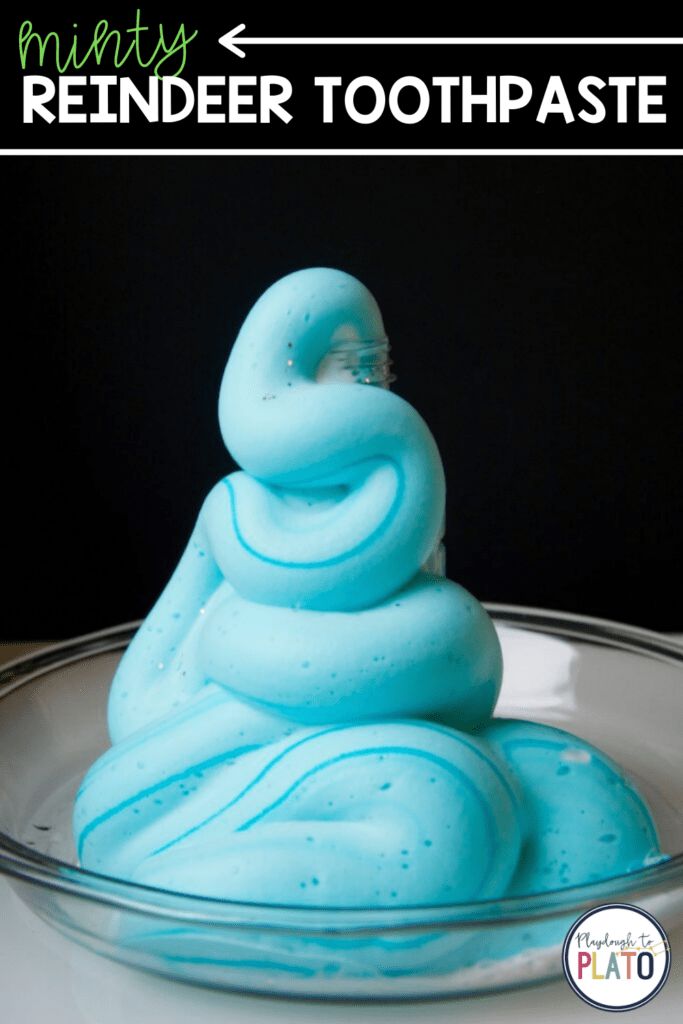
Mixing up a batch of this sparkly reindeer toothpaste is sure to get any little scientist excited about chemistry. This is a pepperminty holiday twist on the popular Elephant Toothpaste demonstration. With just a few ingredients, the results are amazing!
Grab 30 easy-to-follow science experiments kids will beg to repeat (plus a no prep science journal to keep track of their results!) in our shop!
Getting Ready
For this reindeer toothpaste demo, you’ll need to make a quick run to the beauty supply store as well as gather a few supplies from around the house:
- A clean 12-16 oz plastic bottle (one with a narrow opening is best)
- 1/2 cup of 20-volume (6%) hydrogen peroxide liquid (This is a higher concentrated hydrogen peroxide than you can find at a beauty supply store. It is often called “developer”.)
- 1 tablespoon of dish soap
- Food coloring (optional, about 8-10 drops)
- Plastic glitter (optional, metal glitter may react with the peroxide so make sure it is plastic glitter)
- Peppermint essential oil (a few drops for that wintery smell)
- 1 tablespoon of active dry yeast (1 packet)
- Warm water
- Small cup or bowl
- Funnel (optional)
- Baking pan or something to catch the foam
- Safety goggles
Making the Reindeer Toothpaste
Once we had all of our supplies, I called my kiddos over and explained we were going to make reindeer toothpaste.
We started by mixing the 1 tablespoon of yeast with 4 tablespoons of warm water until most of the clumps were gone.

While we waited for the yeast to bubble a bit, we turned our attention to the plastic bottle. My 3 year old added a squirt of dish soap, while my 5 year old added several drops of wintery blue food coloring.
Next, we added several good shakes of plastic silver glitter to the bottle using a funnel.
 I added a few drops of peppermint essential oil to give the solution a wintry scent.
Finally, I added a 1/2 cup of the 6% hydrogen peroxide solution to the bottle and gently swirled it around to mix it.
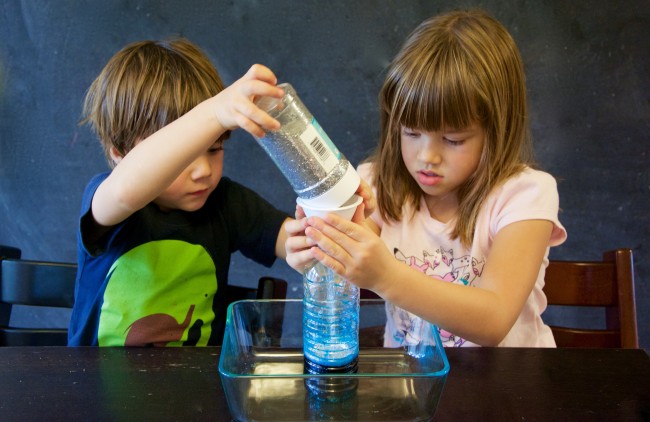
We couldn’t find our kiddos’ safety goggles so I quickly poured the yeast solution into the bottle using a funnel. The reaction was immediate! I could barely get the funnel out before the foam had reached the mouth of the bottle.
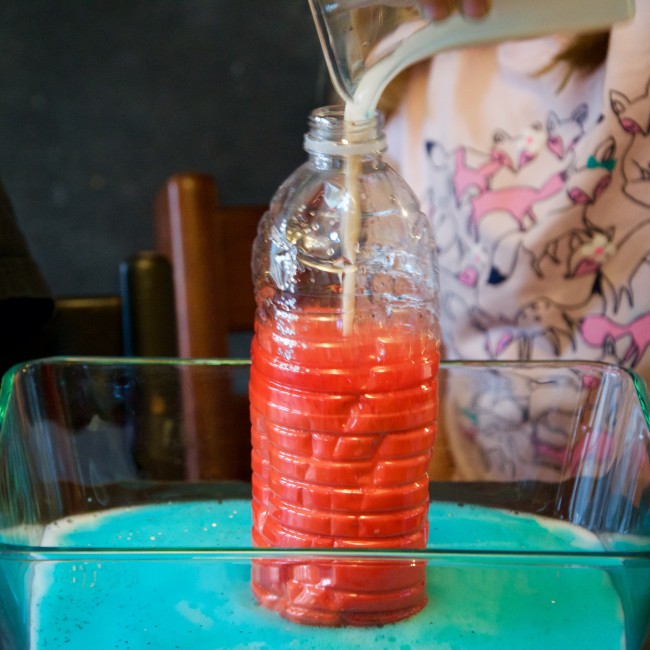
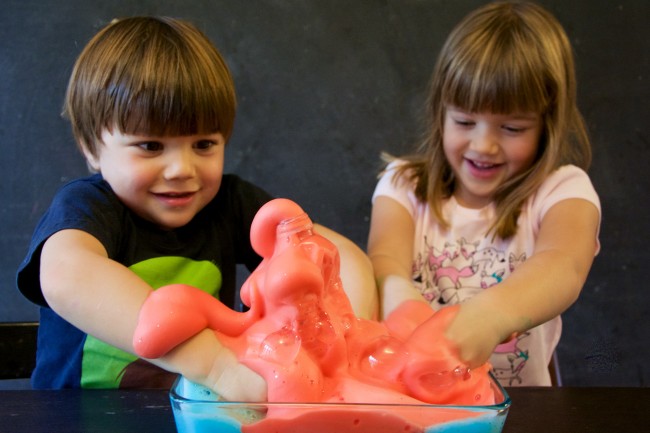
You can see how fast the reaction is in during our second time making the reindeer toothpaste. There’s no funnel this time to get in the way of all of that foam!
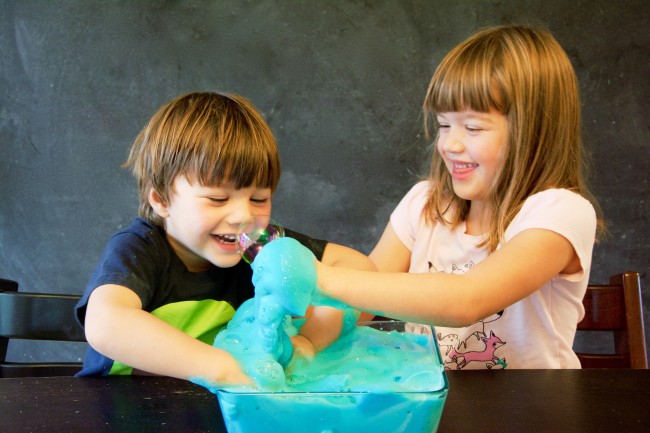
Both of my children were amazed and couldn’t stop staring as the foam oozed over the edge of the bottle and down the side, filling the pan.
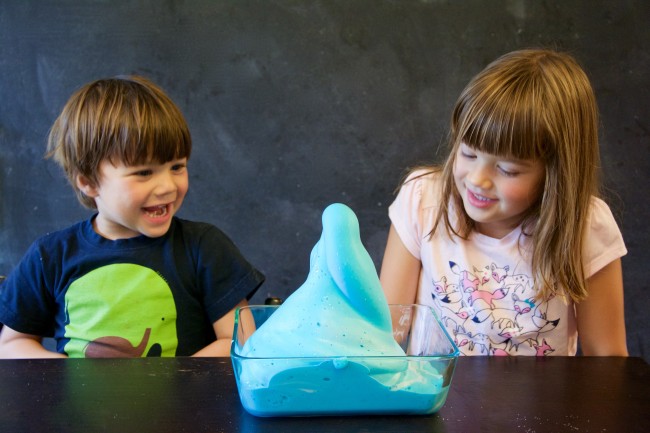
Of course they couldn’t resist touching the sparkly foam!
While they were playing with it, they noticed that the bottle was warm. and while playing with it noticed the bottle was warm!
After I explained that it was safe, they both demanded that we do it again. Good thing I got the large bottle of peroxide!
The Science Behind It
The yeast we added to the hydrogen peroxide acted as a catalyst (a helper) that sped up the breaking down of the hydrogen peroxide into water and oxygen.
The oxygen gas became trapped by the soap and made the massive amount of bubbly foam that oozed out of the top of the bottle.
The bottle felt warm because the breaking down of hydrogen peroxide into water and oxygen is an exothermic reaction that produces heat.
The specific enzyme that acts a a catalyst in yeast is called catalase – a common enzyme found in almost all living organisms exposed to oxygen including people.
So what do you think will happen when you pour hydrogen peroxide on a cut? It reacts with the catalase enzyme in your body and the hydrogen peroxide breaks down forming oxygen bubbles on your skin!
Super Cool Science
Grab 30 easy-to-follow science experiments kids will beg to repeat (plus a no prep science journal to keep track of their results!) in our shop!

Hello, is the resulting toothpaste safe for my kiddo to play with? He LOVES sensory stuff. He will want to immerse his hands in this when it’s done. Will the hydrogen peroxide hurt his skin?
REINDEER TOOTHPASTE LOOKS LIKE A BLAST!
Hi there! This craft looks amazing. I was under the impression that these “toothpaste” science experiments that use hydrogen peroxide aren’t safe to touch? Is this one special? It would be amazing if my students could actually use the substance as a sensory material once the “explosion” is done
I’ve done this exact experiment and it’s always a hit (even for me). I read that the kids shouldn’t touch it. One of my students managed to stick her finger in it when I wasn’t looking and it slightly burned her finger(she also had very sensitive skin) not sure what’s different with this one that lets kids touch it but no matter what it’s a fun experiment