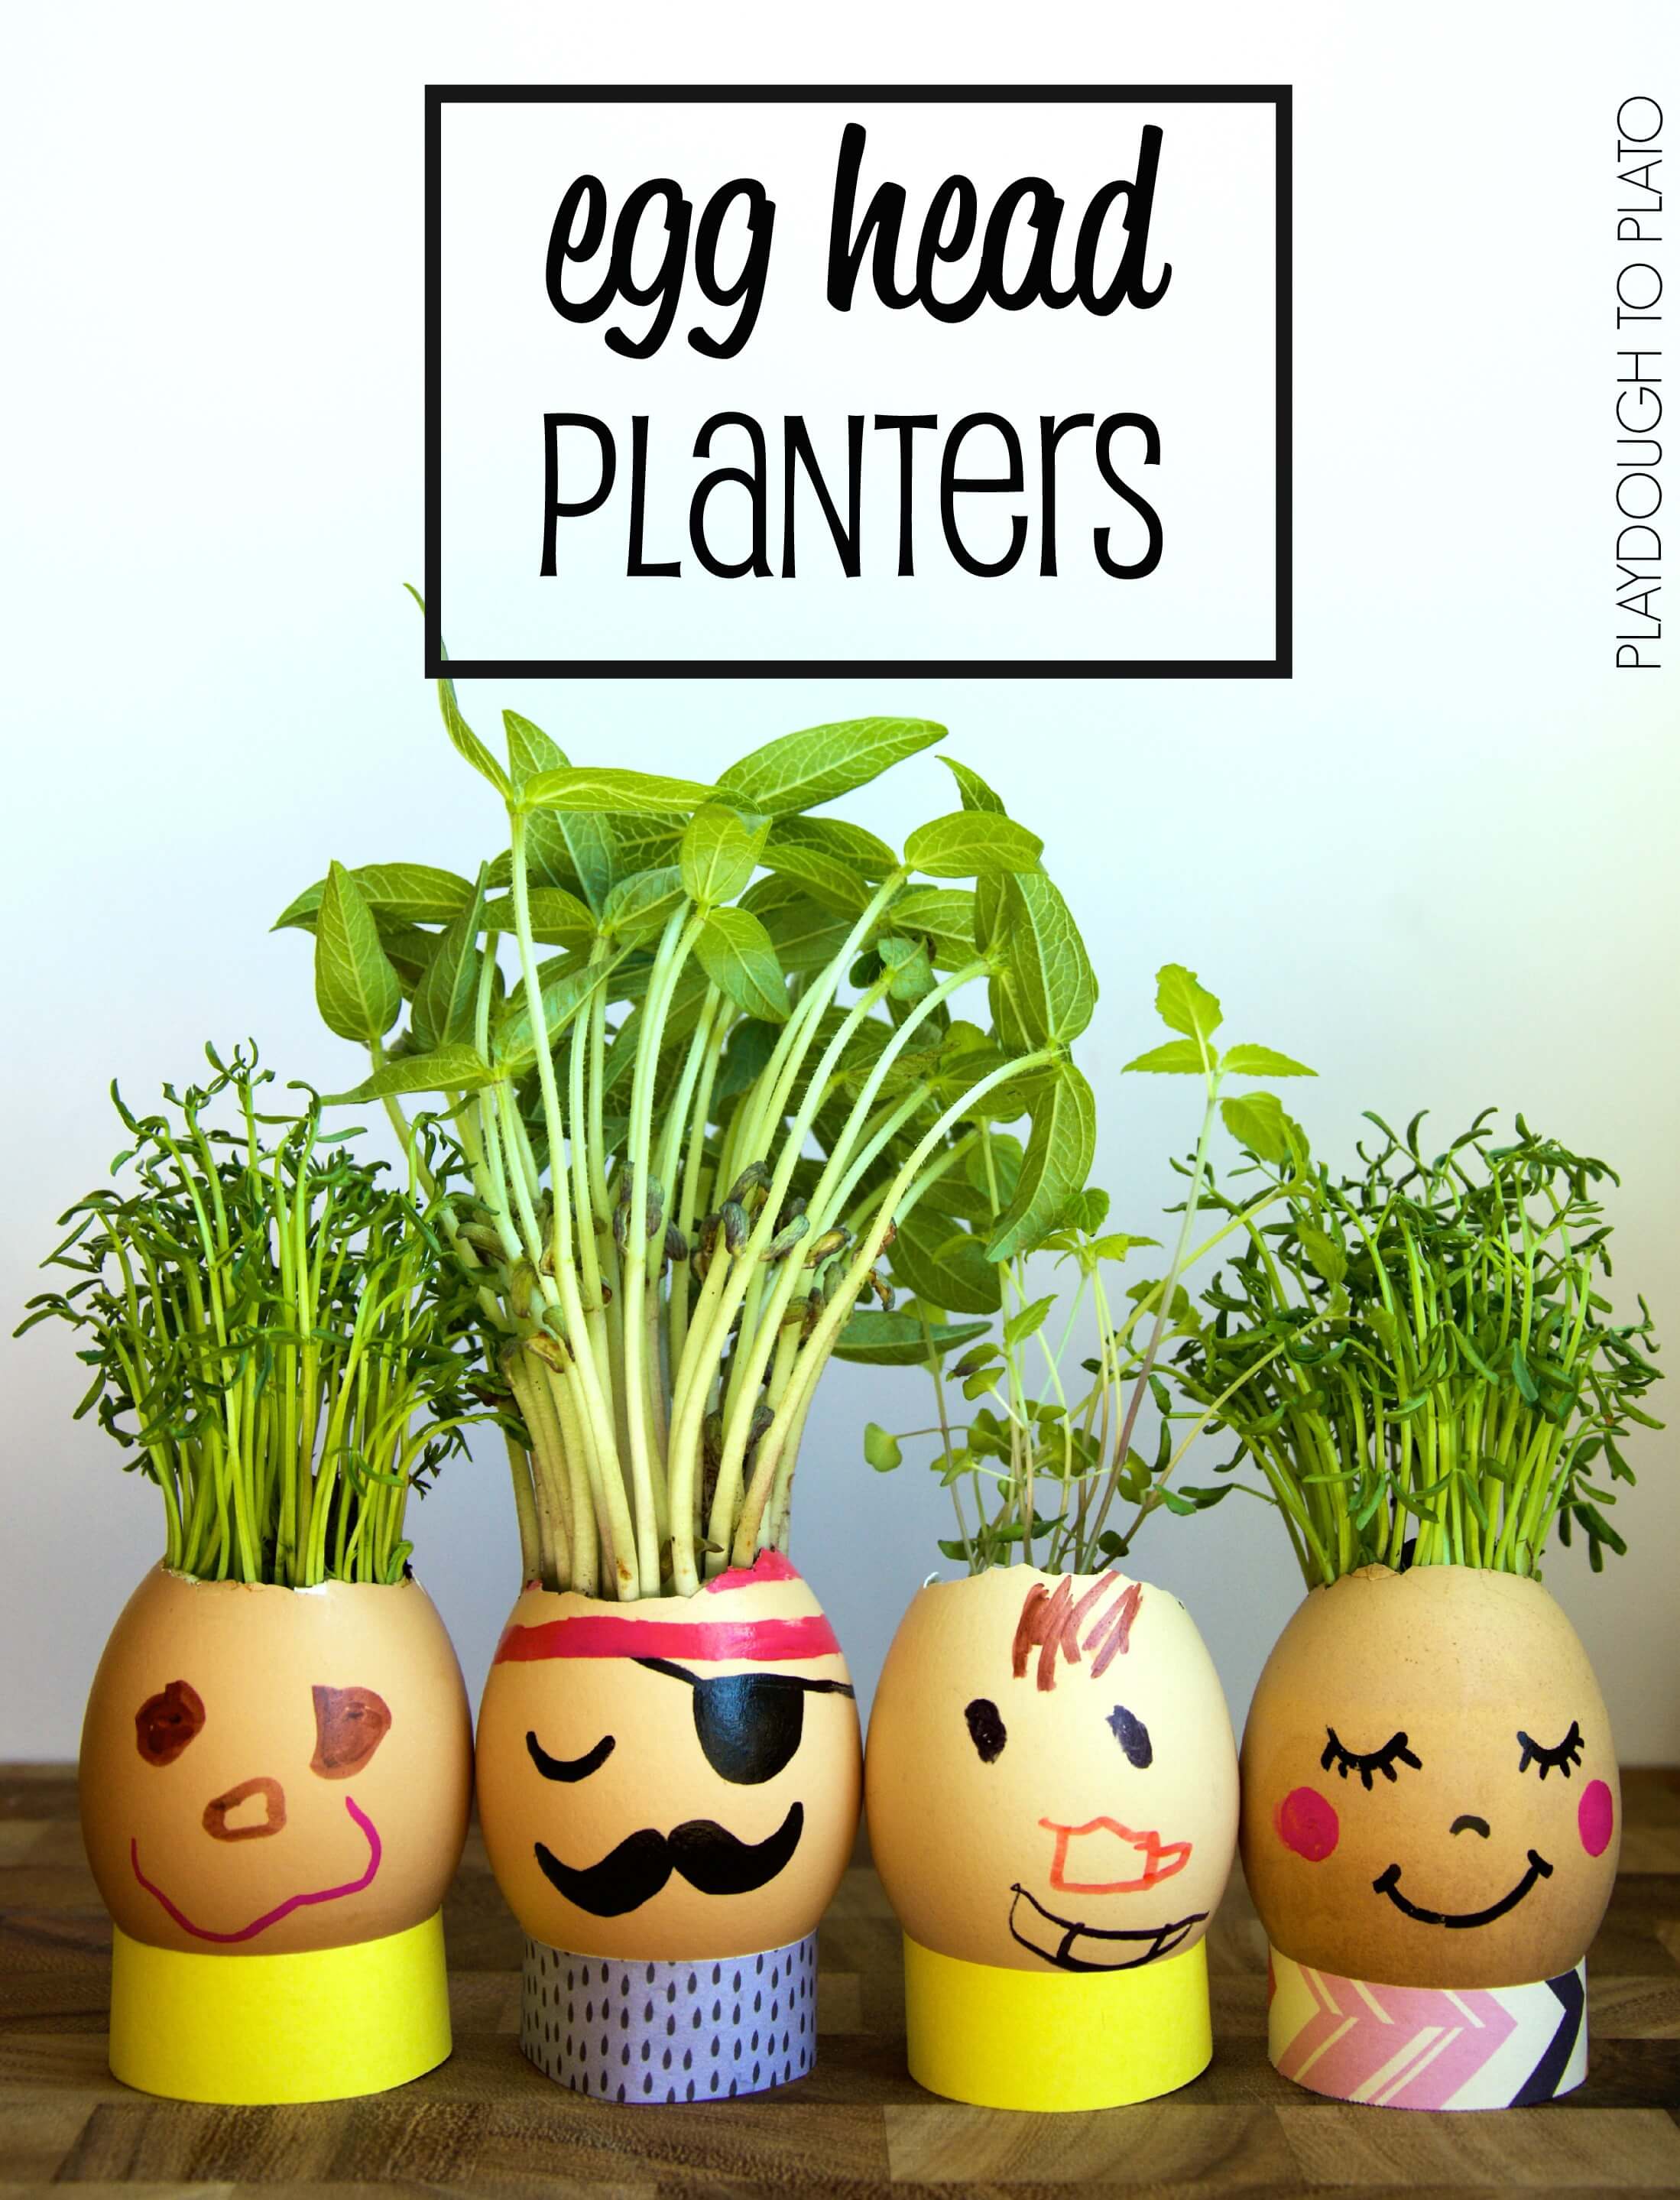
I love kids’ science and spring is the perfect time to learn about plants. My family’s favorite way to watch seeds grow is from our very own plant activity: egg head planters. With a quick trip to the grocery store or your refrigerator, you can create these funny egg heads, too!
Follow the simple step-by-step below and then grab 30 more easy-to-follow science experiments kids will beg to repeat (plus a no prep science journal to keep track of their results!) in our shop!

Getting Ready
For this activity, I first gathered a few supplies:
- Eggs
- Seeds
- Soil (we just scooped some up from the back yard)
- Permanent markers (we used Sharpies and Sharpie paint pens)
- Cardstock
In past years, we’ve made these silly egg heads using wheat grass and alfalfa, both of which sprout quickly and work well for this kids’ science project. Recently, however, my 2.5-year-old has been curious about what some of his foods look like while growing.
So, we visited our natural foods store and I let the kids choose a few items that they were curious about from the bulk section. They chose lentils, chia and mung beans. You only need a small handful of seeds to make several egg heads so buying bulk (or looking in your pantry) is much cheaper than buying a packet of sprouting seeds.
Making the Egg Heads
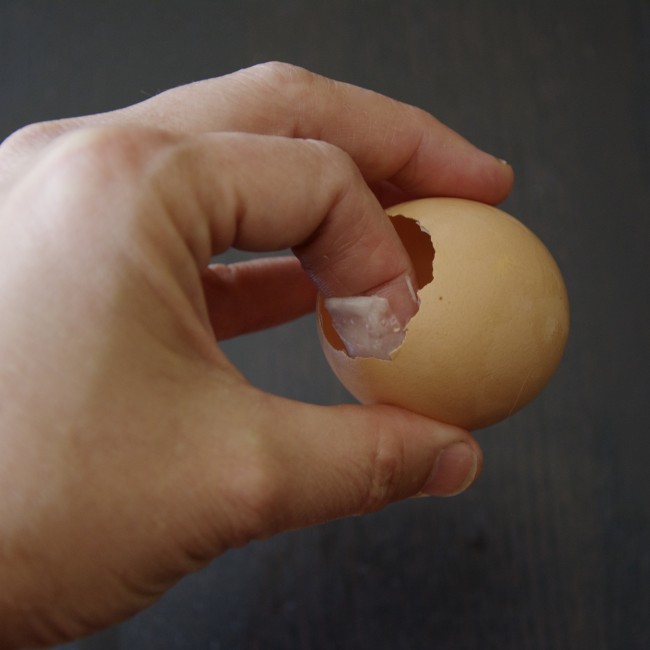
To being the planting activity, we made the egg planters. I made a small hole in the top of the egg by tapping it gently with the edge of a butter knife.
I then carefully picked the small bits of shell off until I had a hole the size of a quarter.
After I removed the egg, I gently rubbed the inside of the eggshell with my pointer finger to remove the egg’s membrane. This step is a bit tedious and isn’t necessary but, if the membrane is left on, it could cause mold to grow on your sprouts as it decomposes.
Planting Activity: Sowing the Seeds
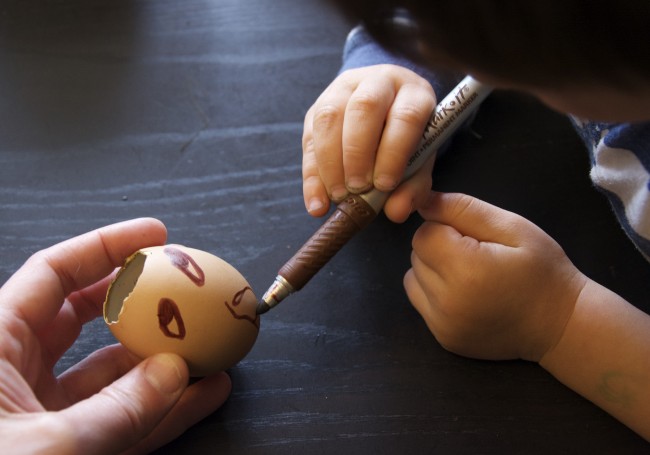
Once the shells were rinsed, we were ready to plant. We started by drawing the faces on the eggs with a permanent marker. It’s a good idea to have a few extra shells on hand in case one cracks.
I then asked my 5-year-old, A, and little brother, Q, what seeds need to grow.
“Water and dirt!” they replied.
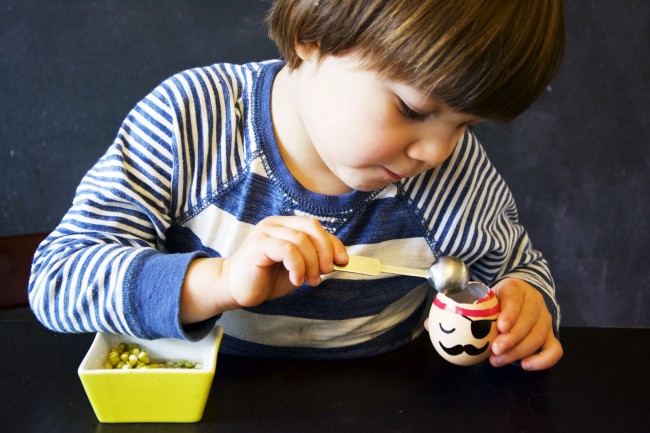
We decided they needed dirt first so they used a teaspoon to fill the eggshell about halfway full of soil.

Then, they spooned the seeds into each shell. This planting activity was a great way to practice learning step-by-step instructions.
For the larger seeds like mung beans and lentils, we used about a teaspoon full. For tiny seeds like chia or alfalfa a little (1/4 teaspoon) goes a long way.
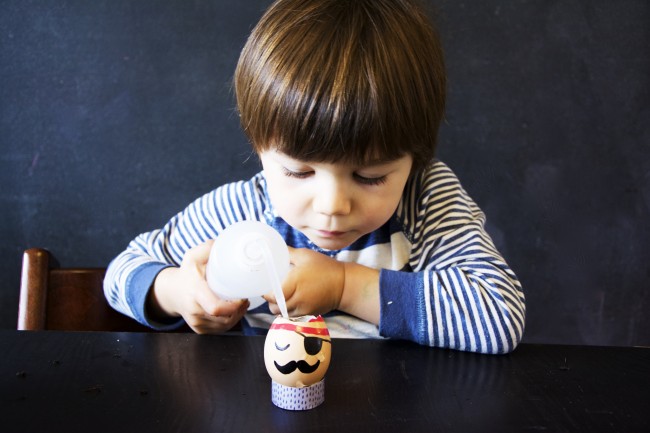
Q, eager to pour something, quickly reminded us the seeds needed water to grow.
A spray bottle works well for this step or simply use a tablespoon to spoon a little water over the seeds.
Be careful not to overwater the seeds. Since there is no drainage, the seeds can rot pretty quick if overwatered.
On the flip side, if your seeds dry out, they may not sprout. If you are worried about this, sprinkling a small amount of soil over your seeds will help them stay moist.
Finally, I asked the kids if there were anything else seeds needed to grow beside soil and water. A quickly shouted out, “the sun!” So, we carefully carried the egg heads to a sunny window.
I made simple egg holders to help them stand upright from 1/2 x 5-inch strips of card stock taped into a ring shape. Our planting activity was complete! Now all we had to do was wait.
I asked the kids to predict which seeds would sprout first.
Every morning they ran out to see whose egg head sprouted first and we were all amazed to see what the seeds actually looked like when they really started growing.
It took about 3 days to first see some growth and a week to get some really funny looking sprout hair on our egg heads. We all giggled at the crazy-looking ones.
It’s been two weeks since our planting activity and the sprouts are getting a little too big for the eggshells. Despite resistance from some very attached kiddos, we are planning on transplanting them in a larger container to see what they look like as they grow bigger. We’ll just have to see what we have in the pantry to sprout next.
Happy Planting!
More Science Experiments You’ll Love
Want a classroom experiment that’s both engaging and educational? This Glowing Bouncy Egg activity lets students explore osmosis and chemical reactions in a hands-on way!


Isn’t this the cutest idea ever? Love it!
Thank you so much Catherine!
So glad you love it!
Warmly,
Ashley // Happiness Ambassador
Love this! I’ll bet you can just transplant the whole eggshell into a pot when the plants get bigger. My guess is that the shell will breakdown and provide some nutrients to the soil in the process.
(Also, I think you meant pantry not panty 😉 )
Yes! Great idea!
And, oops, I’ll go back and fix that now. ?
Warmly,
Ashley // Happiness Ambassador