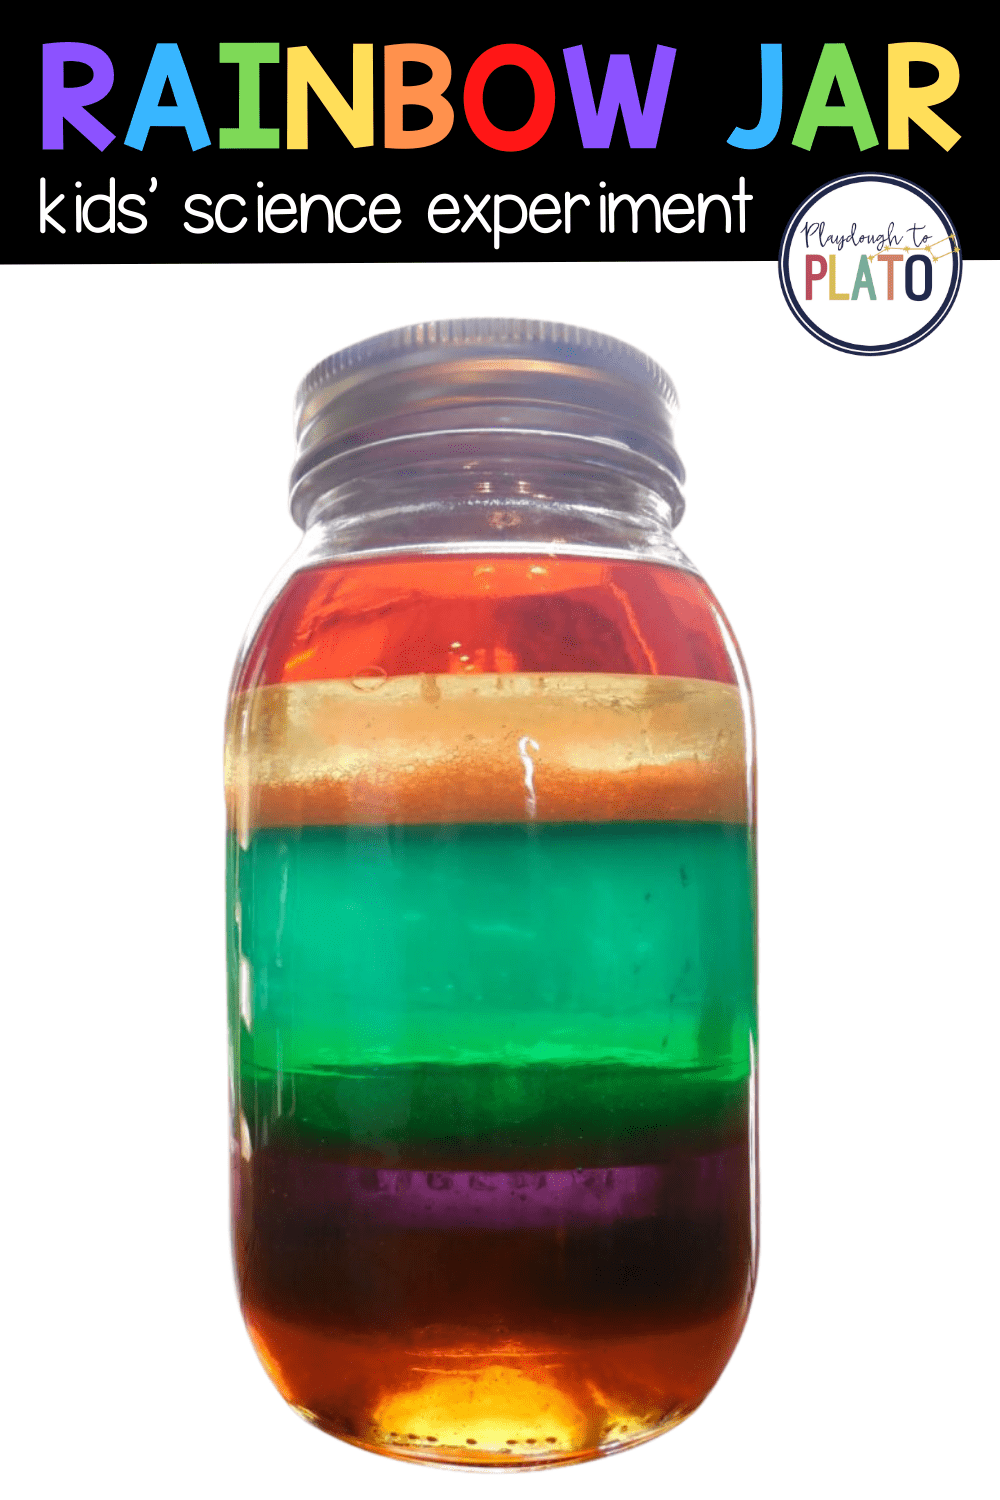
We love fun kids’ science and this easy rainbow jar activity is one of our all-time FAVORITES! With just a few common household ingredients like dish soap and honey, little scientists can actually pour a rainbow in a jar. There’s no need for any magic – just 100% kid-friendly science.
Follow the simple step-by-step below and then grab 30 more easy-to-follow science experiments kids will beg to repeat (plus a no prep science journal to keep track of their results!) in our shop!
Getting Ready
This project requires quite a few supplies, but most of them are probably things you already have in your pantry.
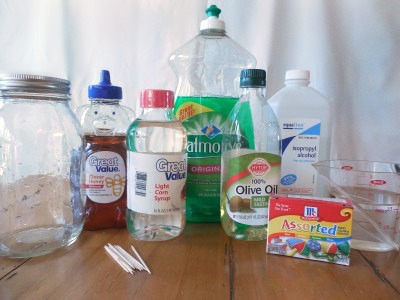
To get ready for the science activity, I grabbed my materials:
- A tall, see-through container (I used a clean mason jar.)
- Honey
- Light corn syrup
- Dish soap (either blue like Dawn or green like Palmolive)
- Olive oil
- Rubbing alcohol
- Water
- Food coloring
- A dropper
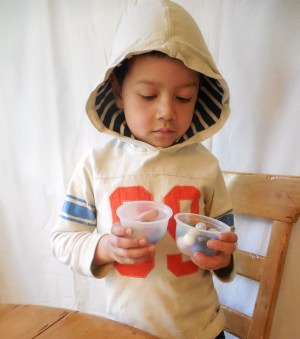
I also grabbed two identical containers and some marbles so that I could give my son a brief explanation about density.
The Science Behind It
As always, my son was really excited when I told him we were going to do some kids’ science with a rainbow jar! Before we jumped into the project though, I wanted him to understand what was about to happen, so I decided to introduce him to the concept of density first.
I explained that different liquids have different weights.
“Everything is made up of teeny tiny things called molecules,” I said. “Some of these liquids have a lot of molecules in them and some of them have only a few.”
I showed him two containers that were the same size. One had a bunch of marbles in it, one only had six.

I had my son hold the two containers and asked him which one was heavier.
“The one with more marbles,” he said. I explained that it was the same with our liquids — the ones with more “marbles” (molecules) were heavier and would stay at the bottom of the jar.
Pour a Rainbow in a Jar
Now it was time to make our rainbow jar! First, my son poured in the honey, being sure to pour it into the middle of our container. He was careful not to let it touch the sides.
Next, he poured in the corn syrup. (We’d colored it purple using the food coloring.) Again, my son poured it into the middle of the container, not touching the sides.
The dish soap came next.
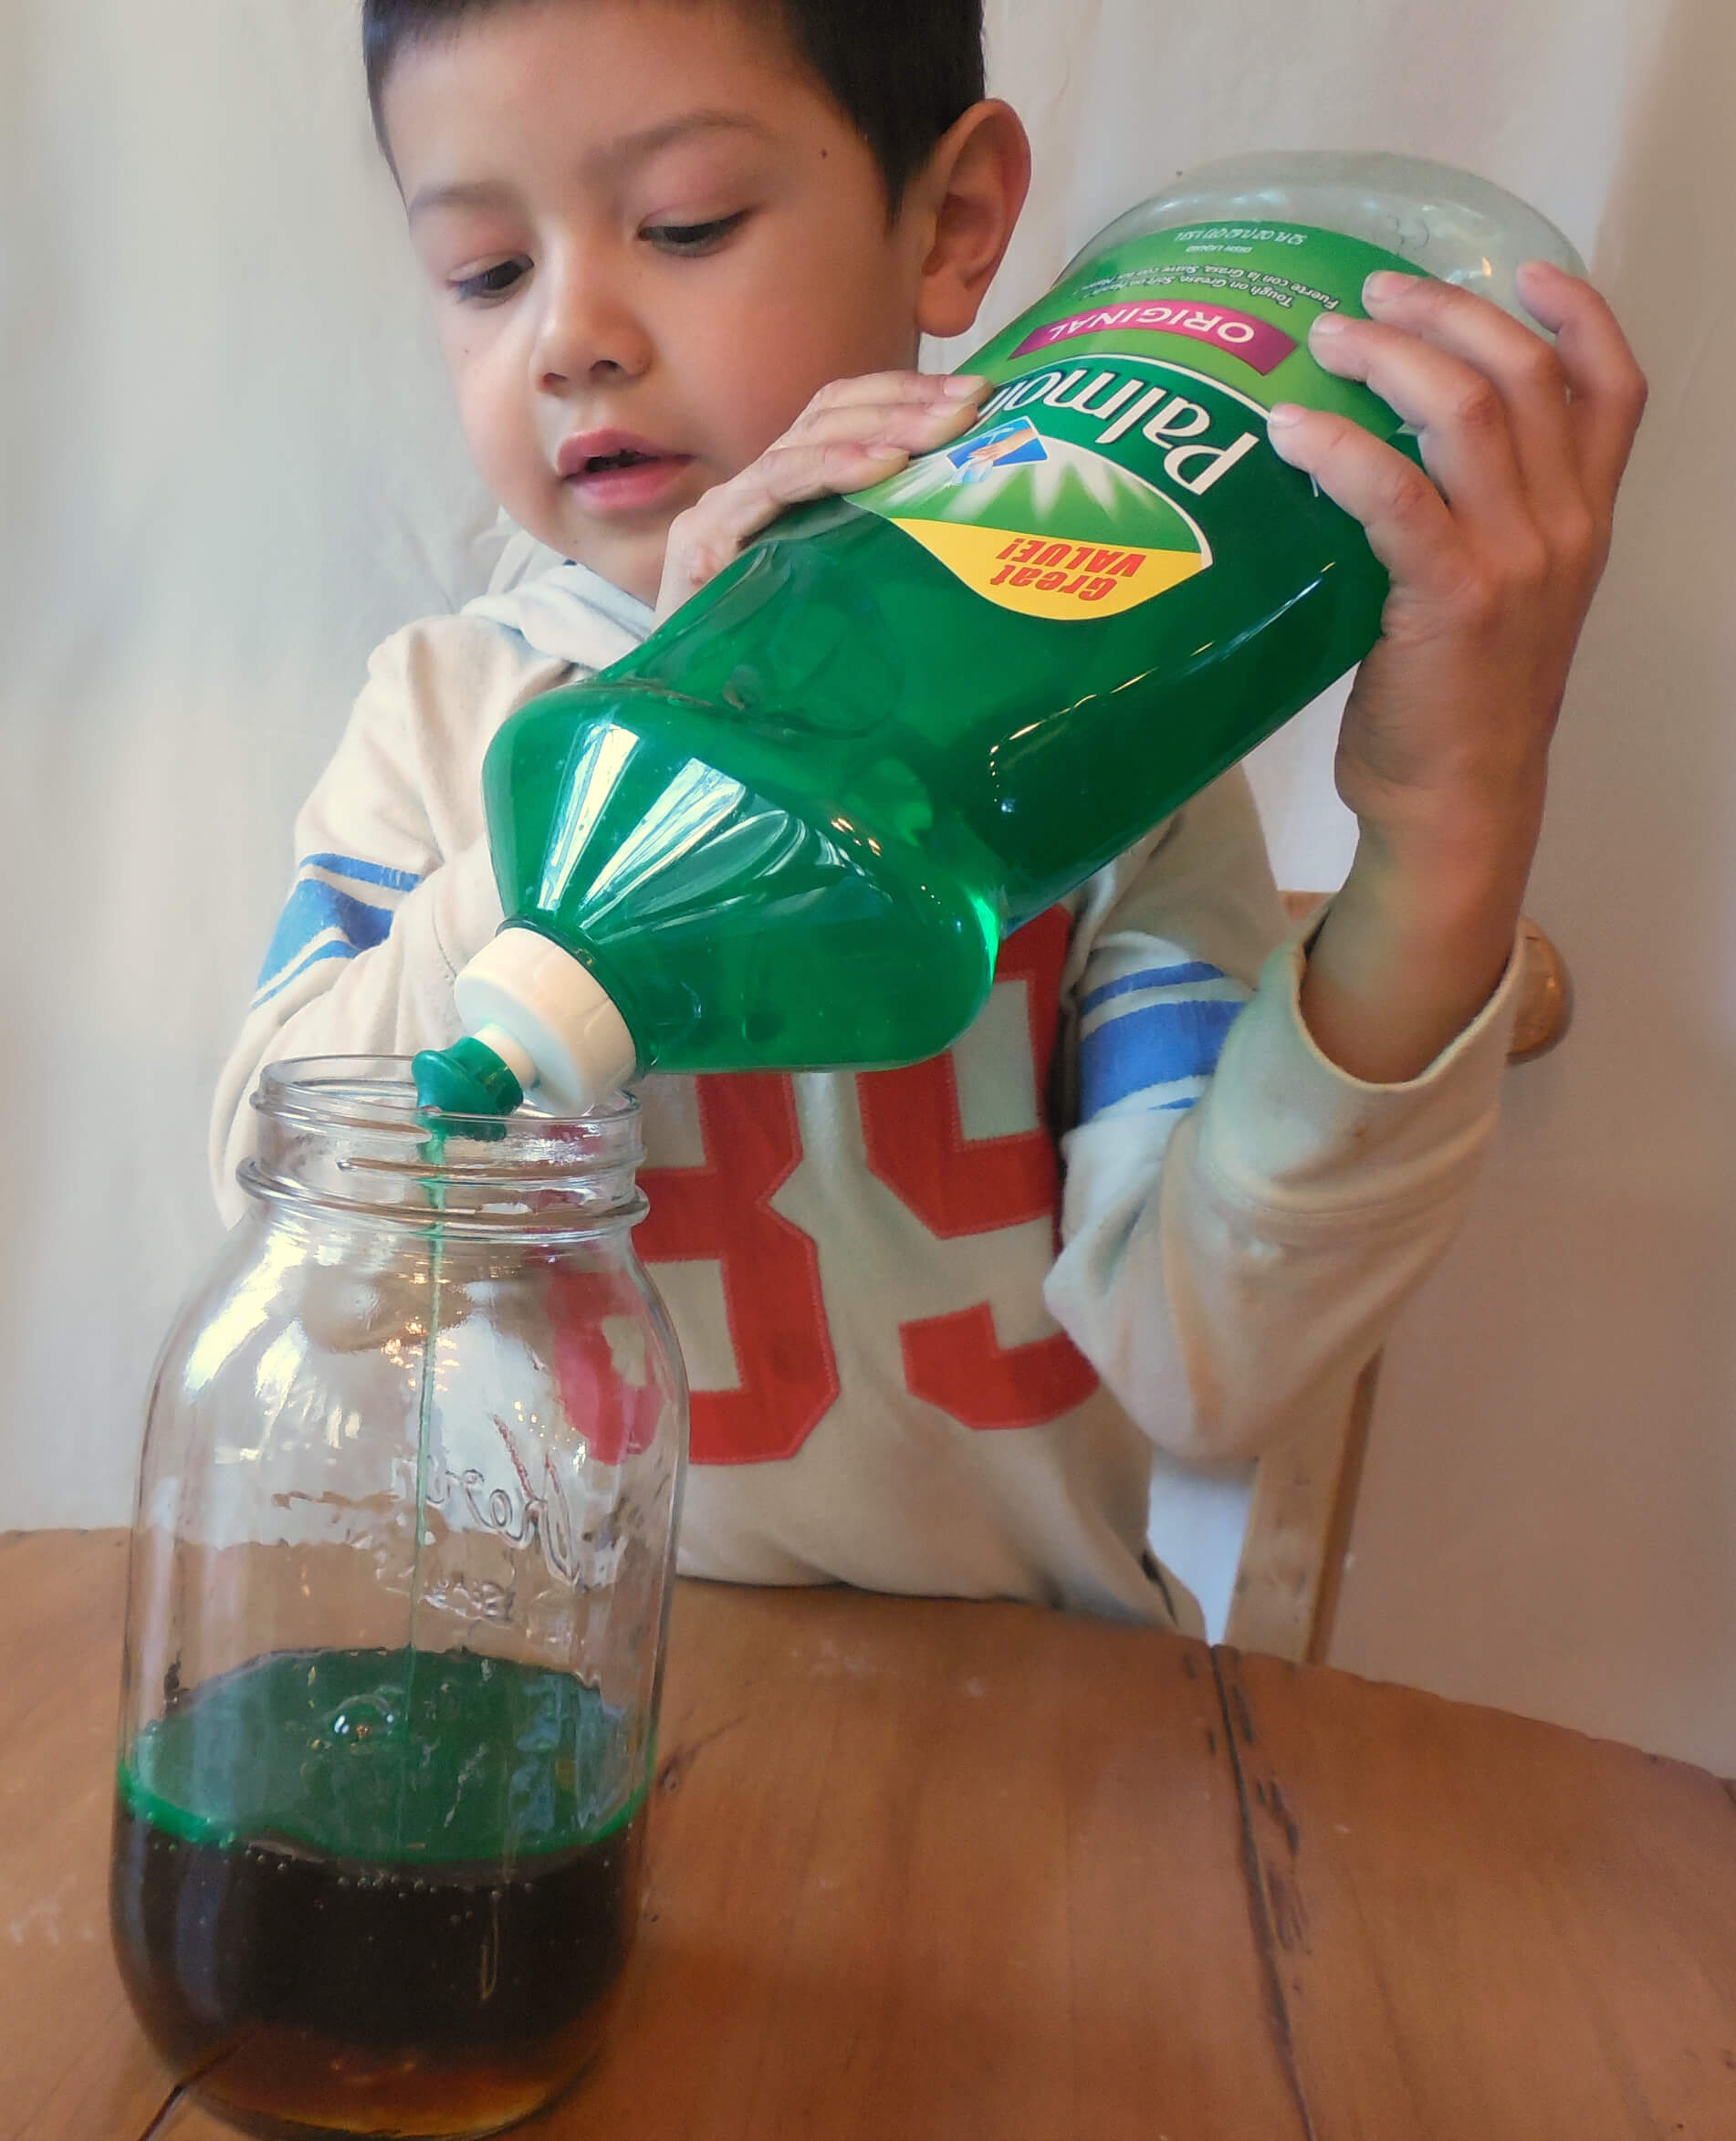
We poured in regular water that we colored blue. (If you’re using blue dish soap, obviously color your water something different. Again, in the middle, in the middle!)
The olive oil went in the rainbow jar next. Do you know what I’m going to say? That’s right, we poured it in the middle! Also, I recommend pouring a fairly thick layer of oil – it will come in handy for the next step.
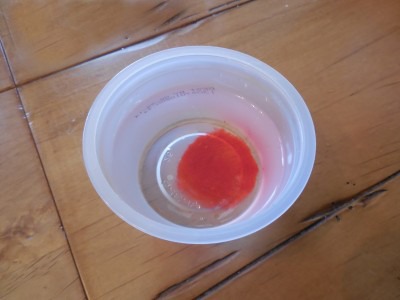
Last but not least was the rubbing alcohol. We colored it red – that in itself is a cool peek at different densities because the food coloring just sits at the bottom of the alcohol when you first drop it in. BUT WAIT! DON’T POUR IT IN THE MIDDLE!
This is where the dropper comes in. If you pour the alcohol straight in, it’ll probably pick up the blue food coloring you used in the water and your rainbow will be ruined.
We found the best way to add it was dropping the alcohol along the side of the container using a dropper. The key was not “breaking through” the oil layer into the blue water layer beneath it – that’s why I suggested putting a thick layer of oil.
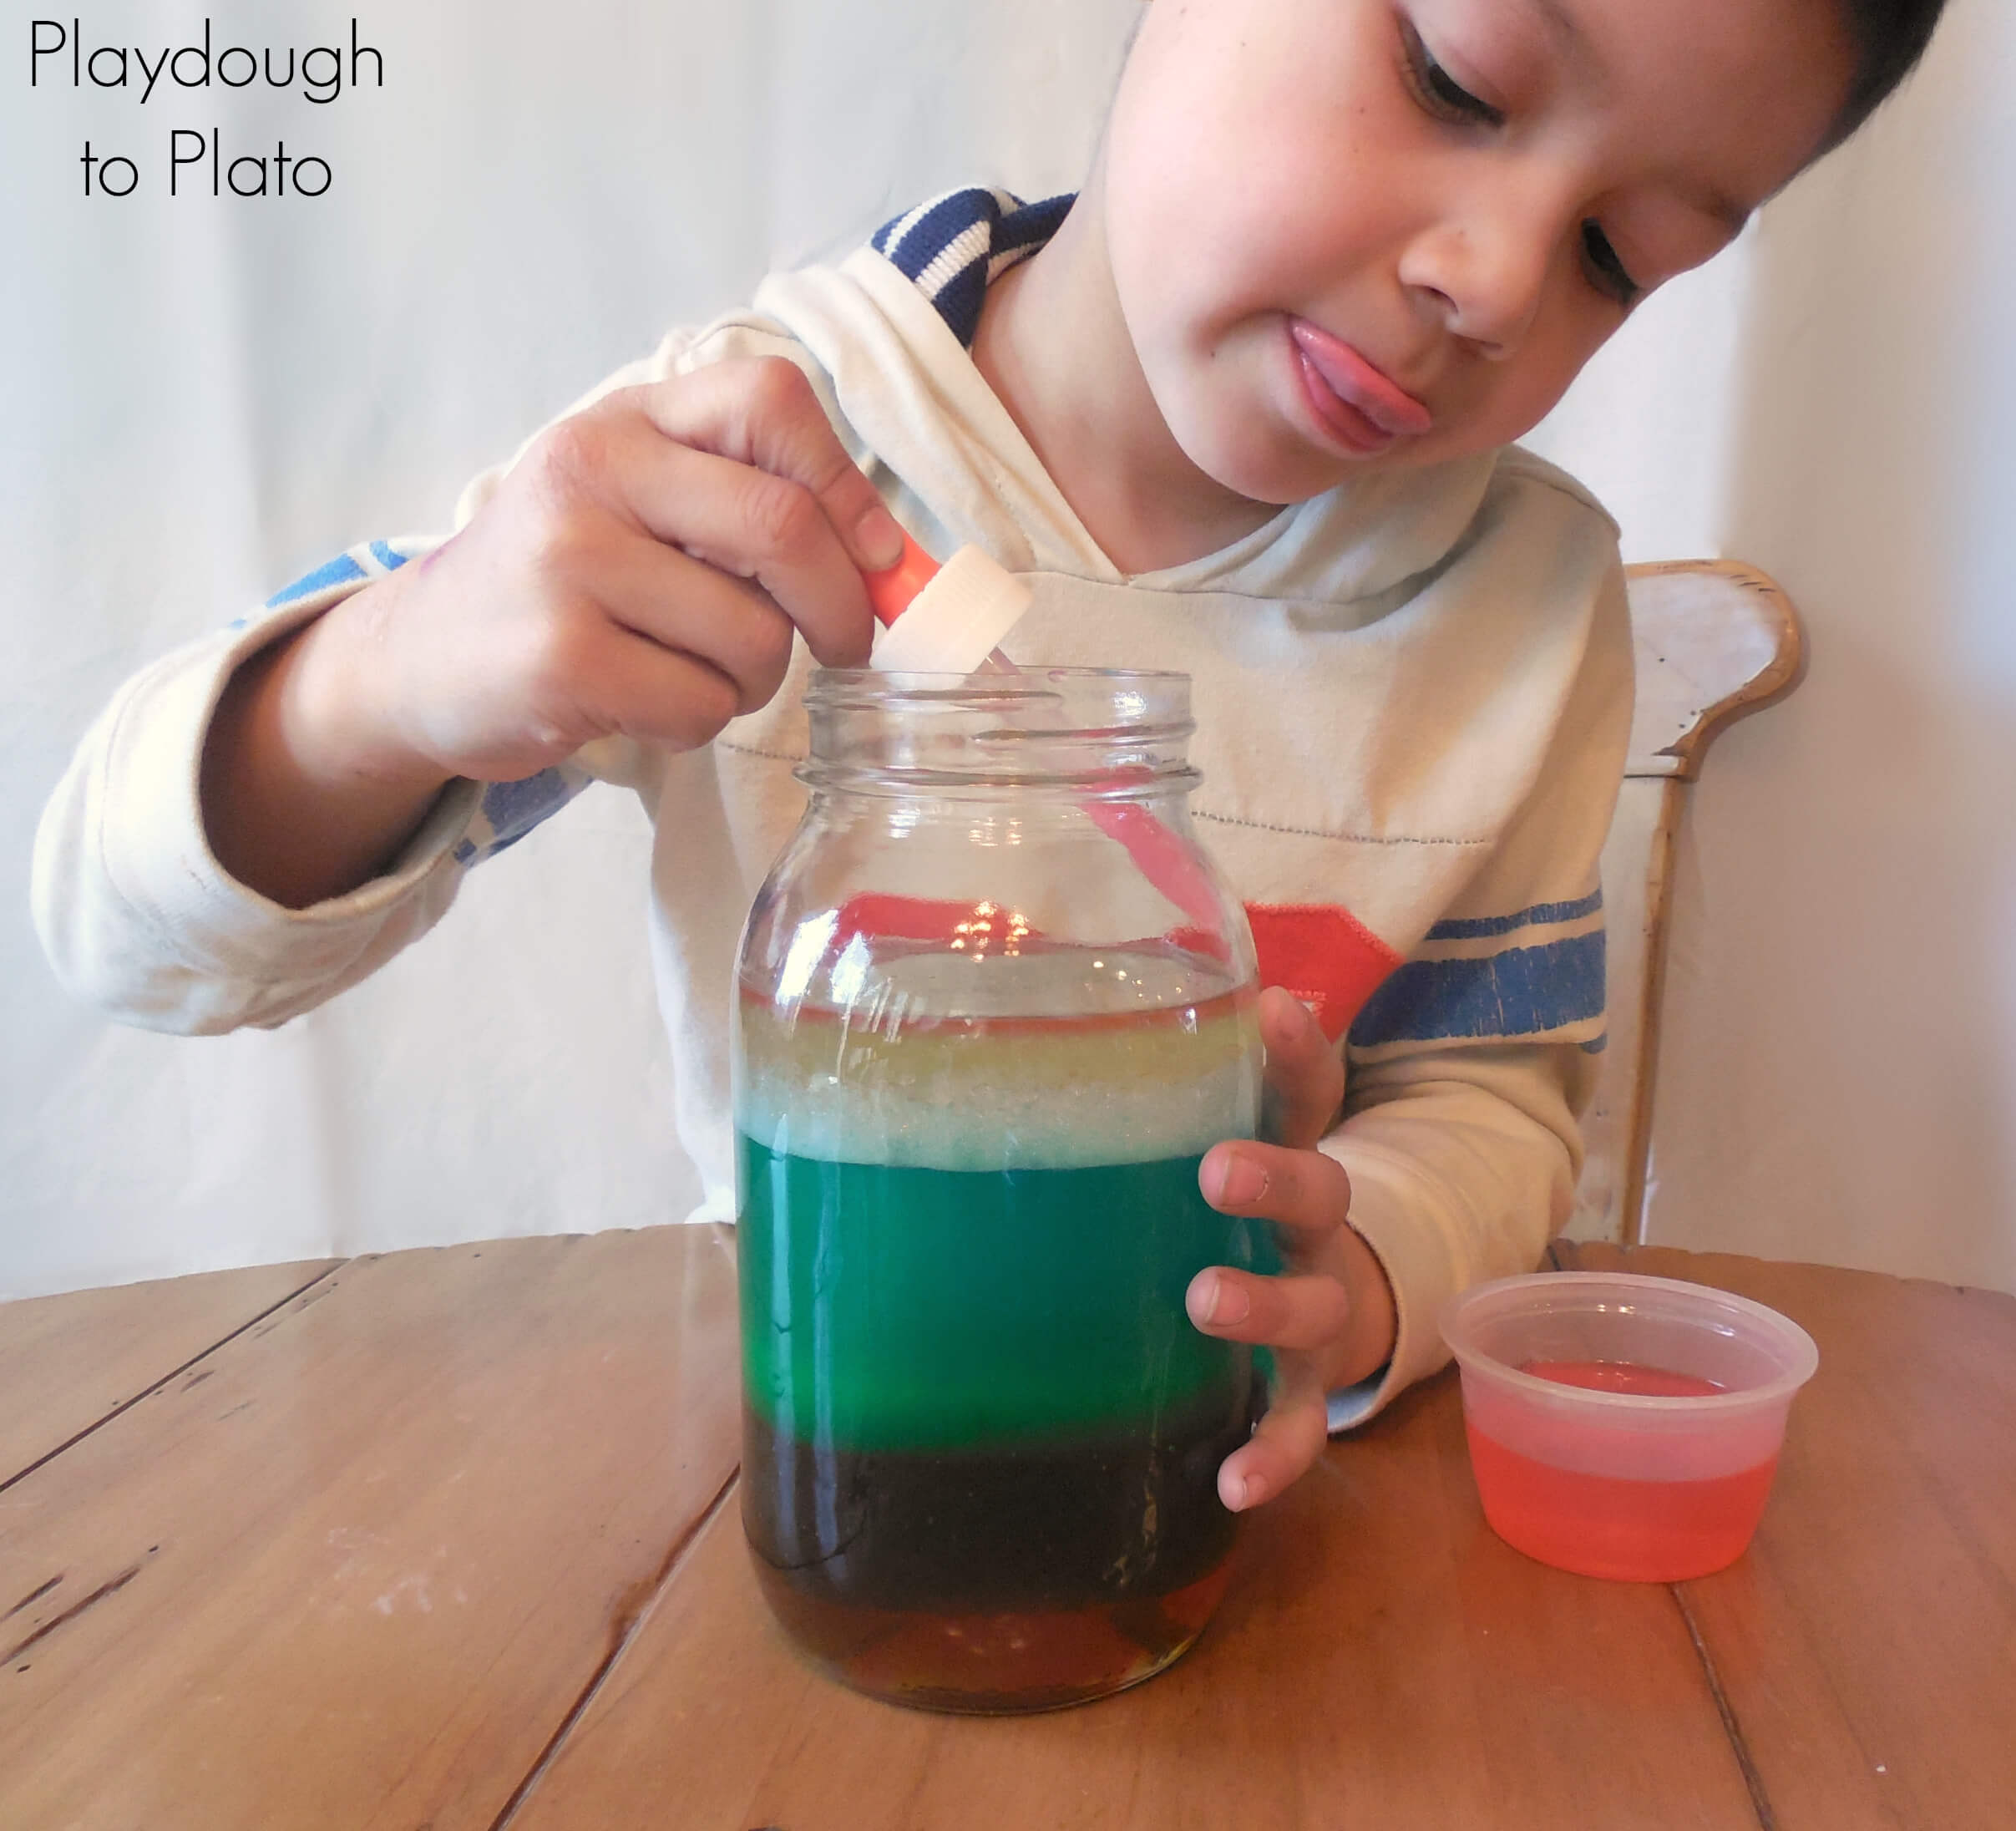
Our rainbow was done! We held it up carefully to the light, making sure not to shake it, and admired our beautiful creation.

More Simple Science Kids Will Love
Inspire kids to LOVE science with 30 more jaw-dropping experiments they’ll beg to repeat!
Grab 30 easy-to-follow science experiments kids will beg to repeat (plus a no prep science journal to keep track of their results!) in our shop!

I’m with Kristi. What happens if the liquids mix? after a while like when the kids come back the next day will it be a rainbow again or will the food coloring mix together but the liquids separate?
This would be fun for Grayson
i think what she is saying by ” don’t touch the sides is don’t pour your liquids down the side of the jar, like if you were pouring a pop/soda into a glass and you pour it on the side of your glass to avoid fizz and making it flat. It will spread to the sides as you pour the layers
well the first thing my little one wanted to do was shake this thing up and we got done with it so we will see if it will separate doesn’t look like it’s going to but we will see and by the way I use the brick density thing for my daughter cuz I kinda thought the marble thing was a little wrong to.
Such a cool experiment! I am adding this to our Summer Fun Pinterest Board!
I would love for you to share this post {and others} at my Show Me Saturday linky party. We are live now!
i hope 3-4 year old children can do this/ with an adults help.
Our rainbow jar is perfect for 3 to 4 year olds to complete with an adult’s help. Hope your kids love it too.
Learning all sorts of things – listening to instructions, patience etc as well as Science – & having fun – great
Thank you, Elisabeth!
After a day will everything mix in the jar
I just made this with my 7 & 9 year olds for a summer activity. We even looked up the molecular density of each of our ingredients and predicted what might happen. They look great and the kids enjoyed doing them!! Thanks for such great idea!!
our flopped just a black blob….lots of wasted ingredients!