You won’t believe how easy it is to whip up this hot ice science experiment! Just like all of our favorite science projects for kids, you just need a few simple supplies from your pantry: vinegar, baking soda and water.
The prep is quick and simple but the results are pure magic! Your kids are going to want to repeat this science experiment over and over again.
Grab 30 easy-to-follow science experiments kids will beg to repeat (plus a no prep science journal to keep track of their results!) in our shop!
Getting Ready
To prep the science experiment, I gathered a few common supplies:
- 4 cups of white vinegar (acetic acid)
- 4 tablespoons of baking soda (sodium bicarbonate)
- A pot
- A glass measuring cup or mason jar (make sure it’s heat safe glass)
- A dish
- A spoon
Making Hot Ice
After I collected the supplies, my kids measured 4 cups of vinegar and poured it into a medium-sized pot.
Then they took turns adding 4 tablespoons of baking soda (one tablespoon at a time) to the pot.
The sodium bicarbonate (baking soda) and acetic acid (vinegar) fizzed like crazy forming sodium acetate.
NOTE: The key is to add the baking soda slowly so it doesn’t erupt over the edges of your pot.
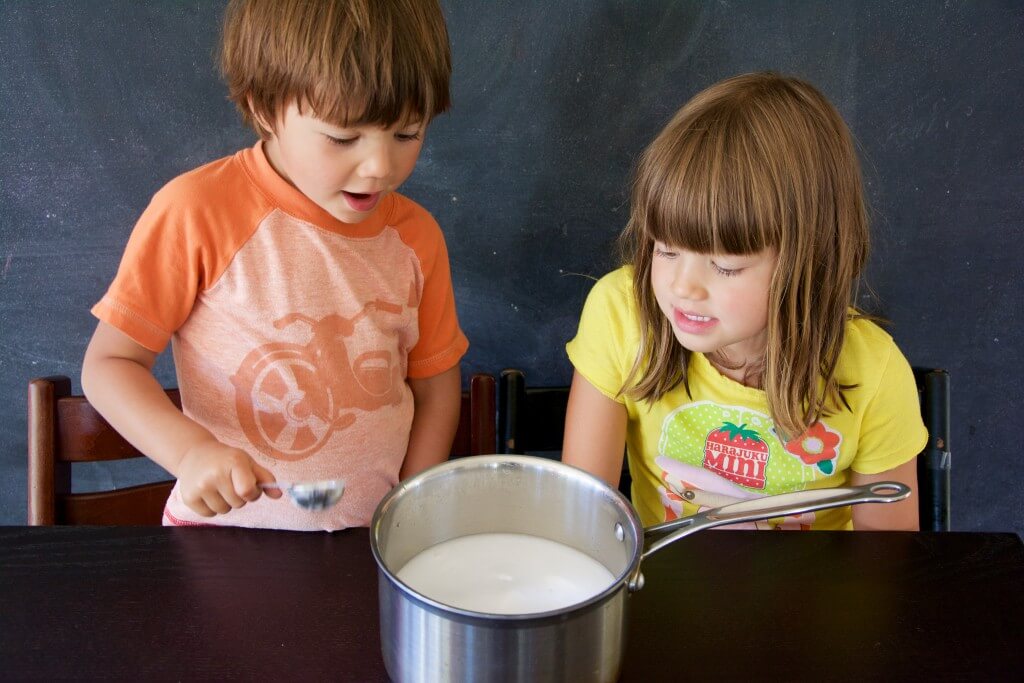
Next, we stirred the mixture until all the baking soda dissolved and stopped fizzing.
Then we slowly boiled the solution over medium-low heat for a little over an hour to remove the extra water.
The solution reduced by about 75% so there was just 3/4 cup remaining. I could see white powdery crystals forming on the sides of the pot near the top of the solution when the solution.
NOTE: If you boil your solution at a higher temperature it may turn yellow-brownish but don’t worry, the experiment will still work!
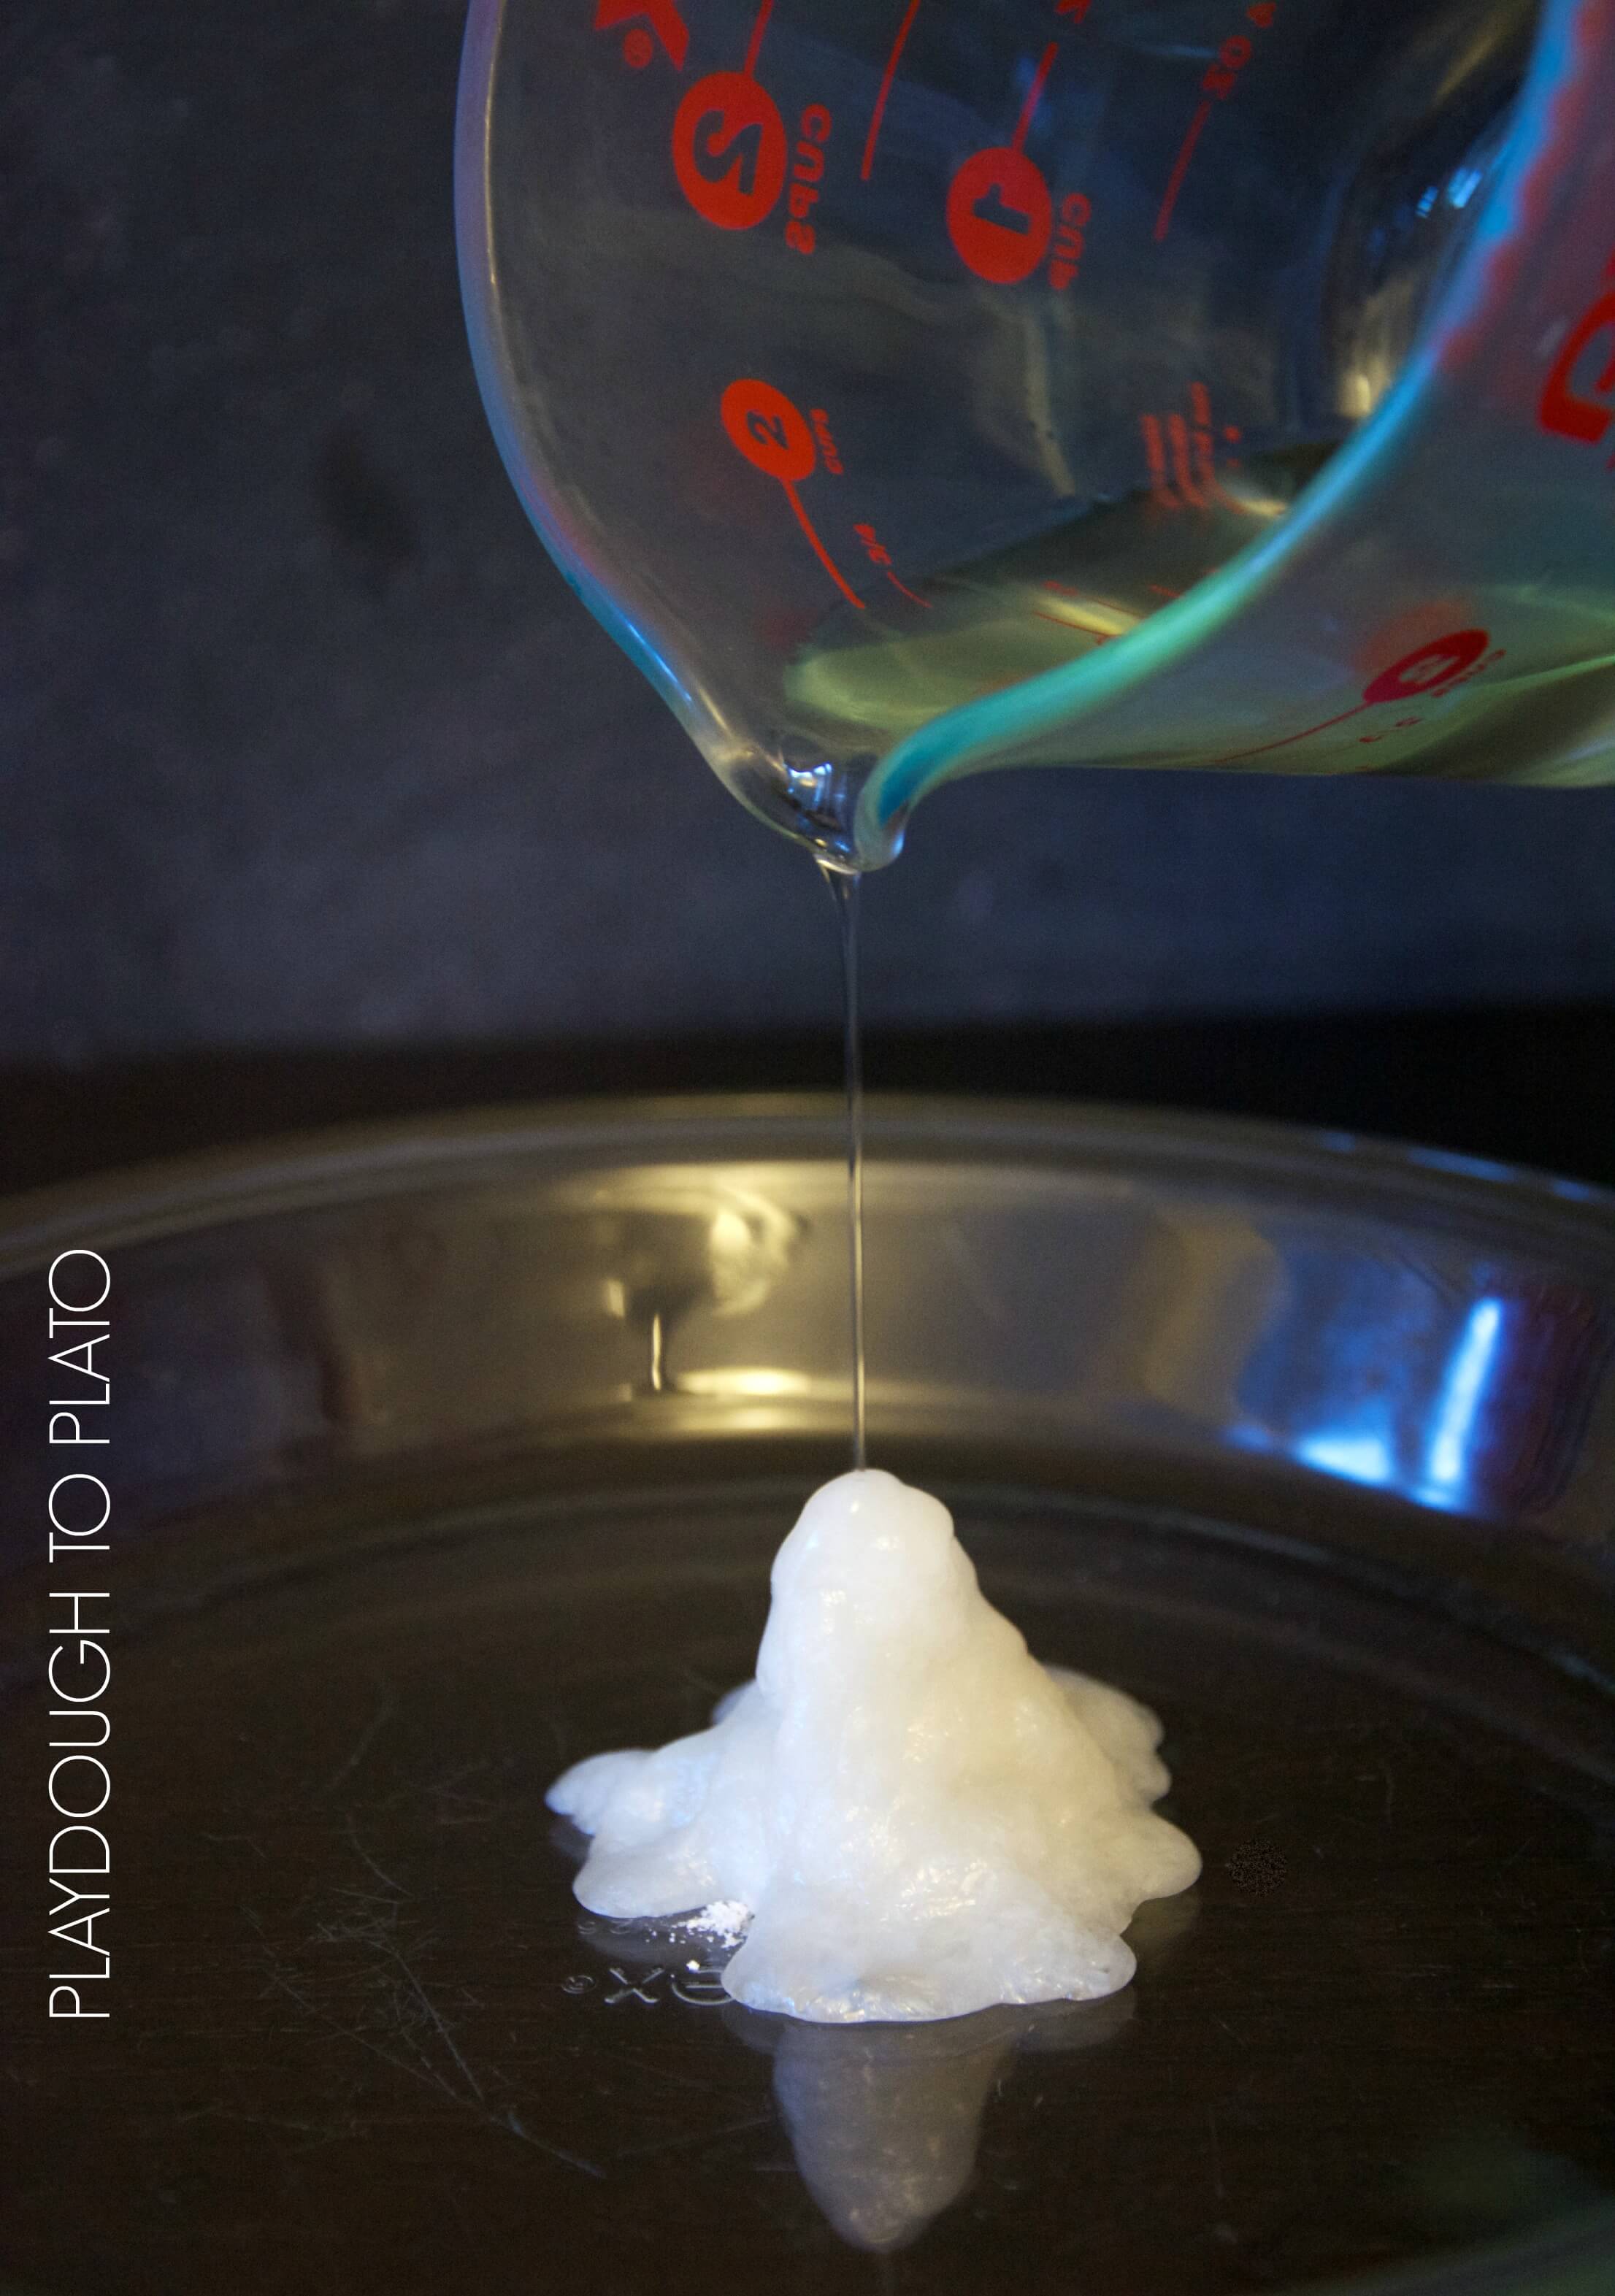
Next, I poured the concentrated sodium acetate into a glass pyrex measuring cup and placed it in the fridge to cool and scraped a little bit of the dried sodium acetate powder off the inside of the pot to use later.
After about 30-45 minutes, the solution was cool enough to turn into ice.
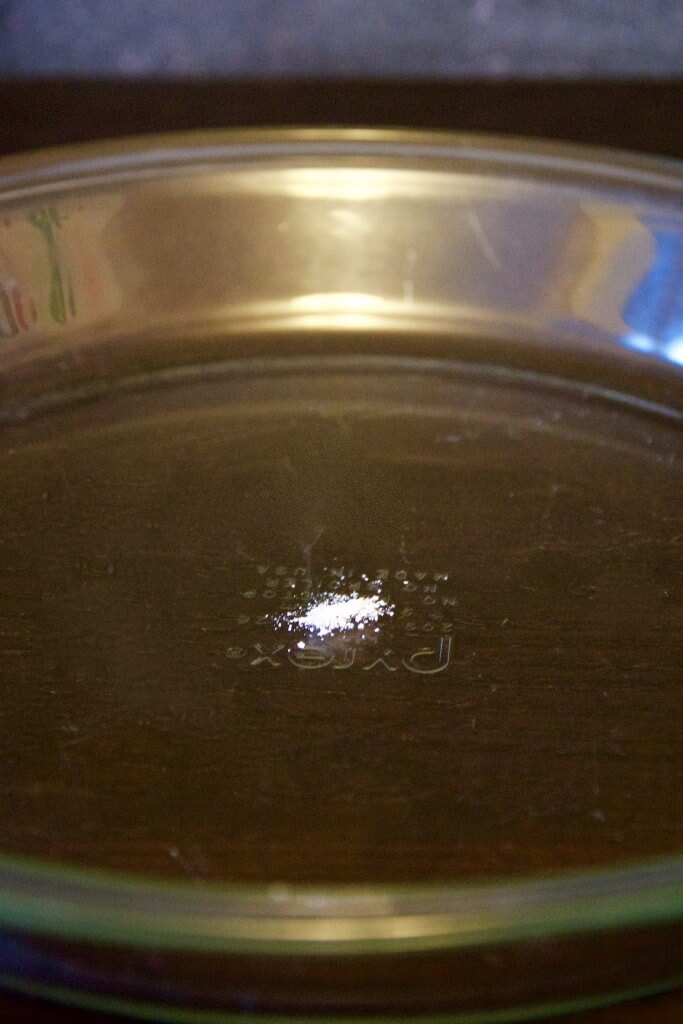
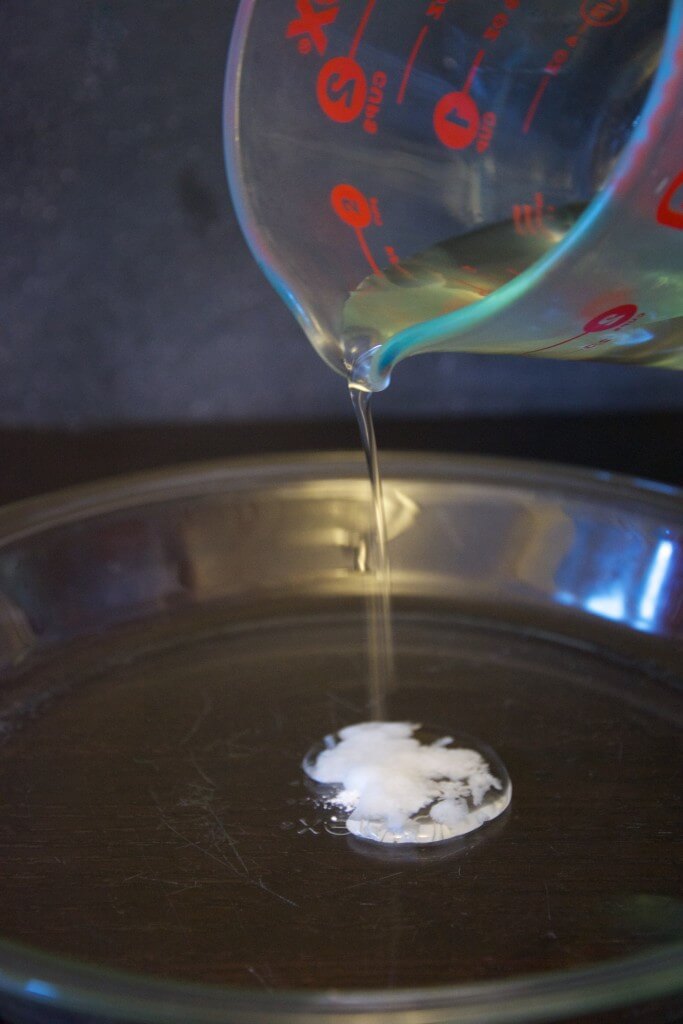
I grabbed my glass dish and placed a small pile of the sodium acetate powder from the pot in the center. This would act as a seed for the crystals to start forming.
I very carefully took the cooled solution out of the fridge because any bump could start the crystallizing process.
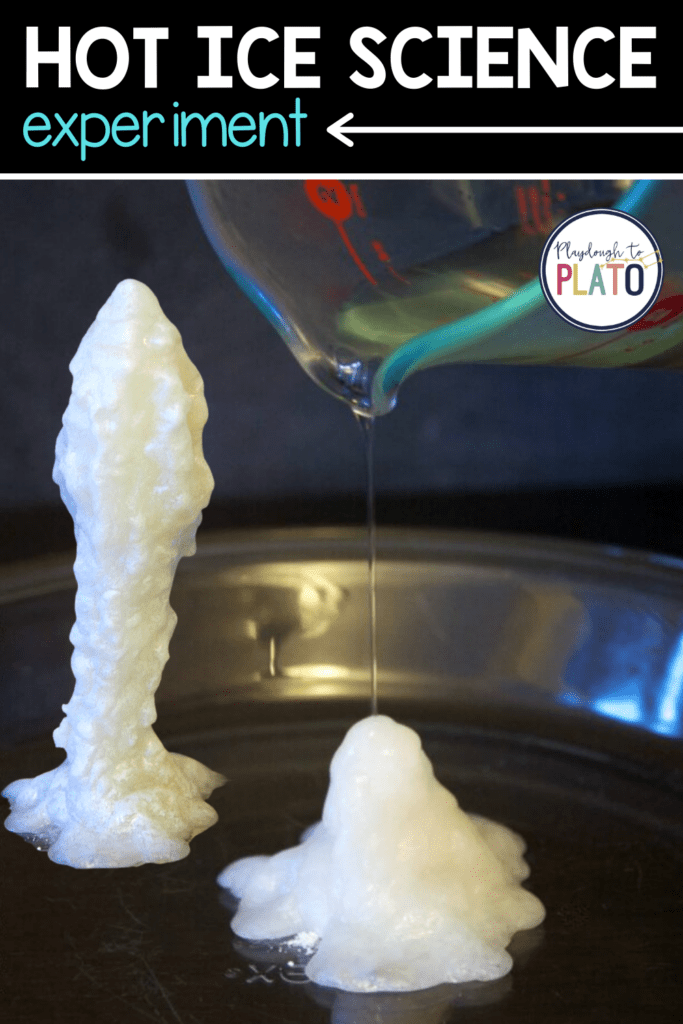
I began pouring the solution very slowly into the pan and crystals began instantly forming.
We all gasped, it was like magic!
As soon as the clear liquid hit the plate white crystals would form like tiny fireworks. I continued to pour and the liquid crystallized forming a solid as soon as it touched the growing “ice”.
The kids wanted a really tall crystal tower so I poured as slowly as I could.
It kept growing…
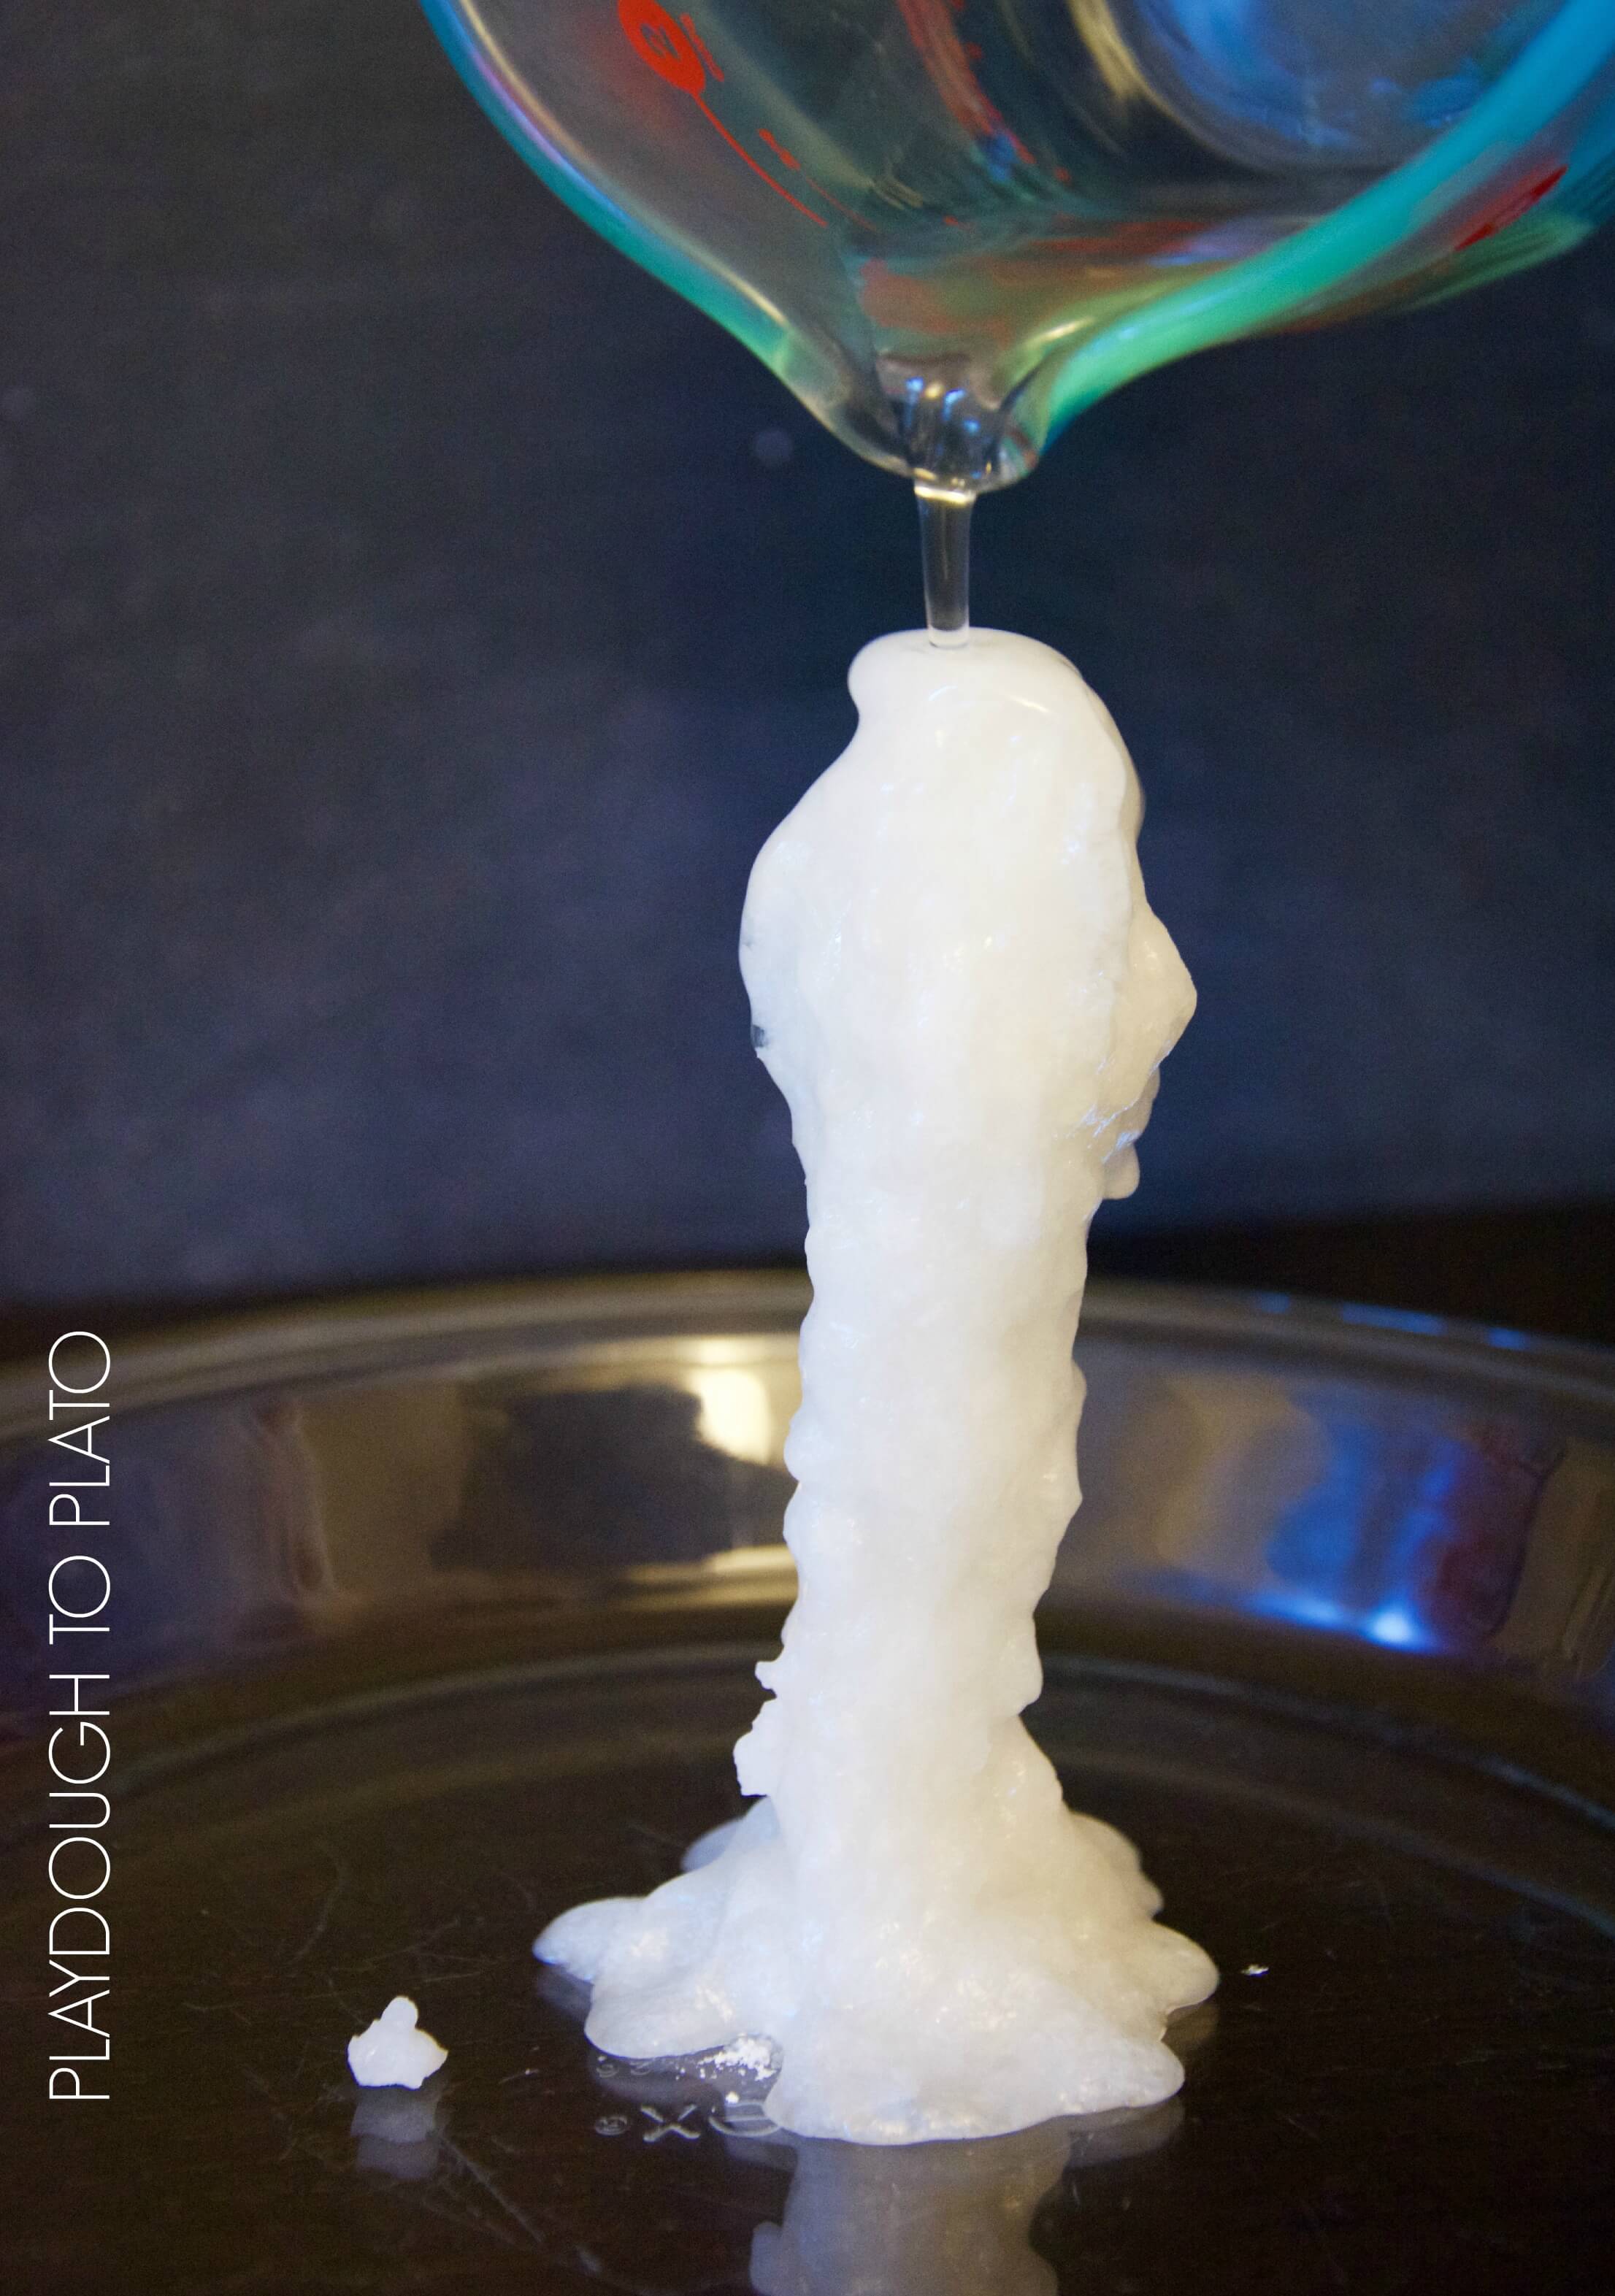
and growing.
In the end it was over 6 inches tall!

Of course we all just had to touch it. It was hard like ice but was hot!
NOTE: This form of sodium acetate while non-hazardous can irritate skin and eyes just like vinegar can. So be careful when handling the crystal. Both of my kiddos ended up crumbling the crystal and didn’t have any reaction but I imagine it wouldn’t feel too good if your kiddo had a cut on his/her hands.
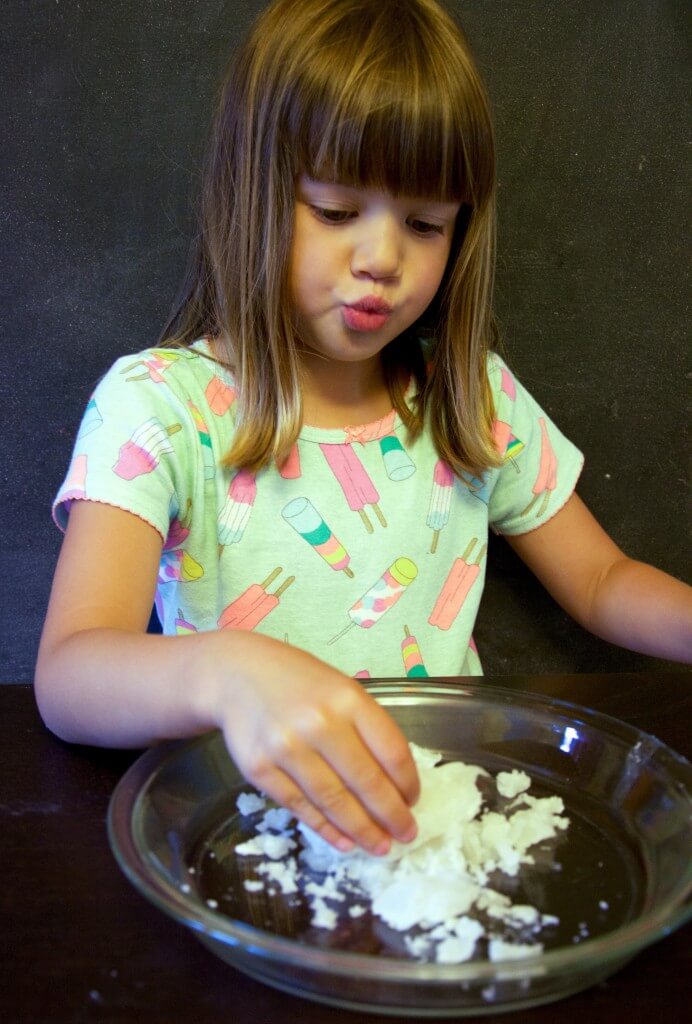
Once you are done creating and exploring the crystallized salt you can remelt it to use again and again.
We ended up repeating the experiment a few more times and every time the cooled solution was ready, the kids came running with excitement!
Extensions
- After explaining nucleation, ask your students if they can think of any other processes that begin with nucleation. (Hint: rock candy, borax crystals, clouds and carbon dioxide bubbles in soda.)
- Ask students if they can think of other reactions that release heat like hand warmers and burning candles.
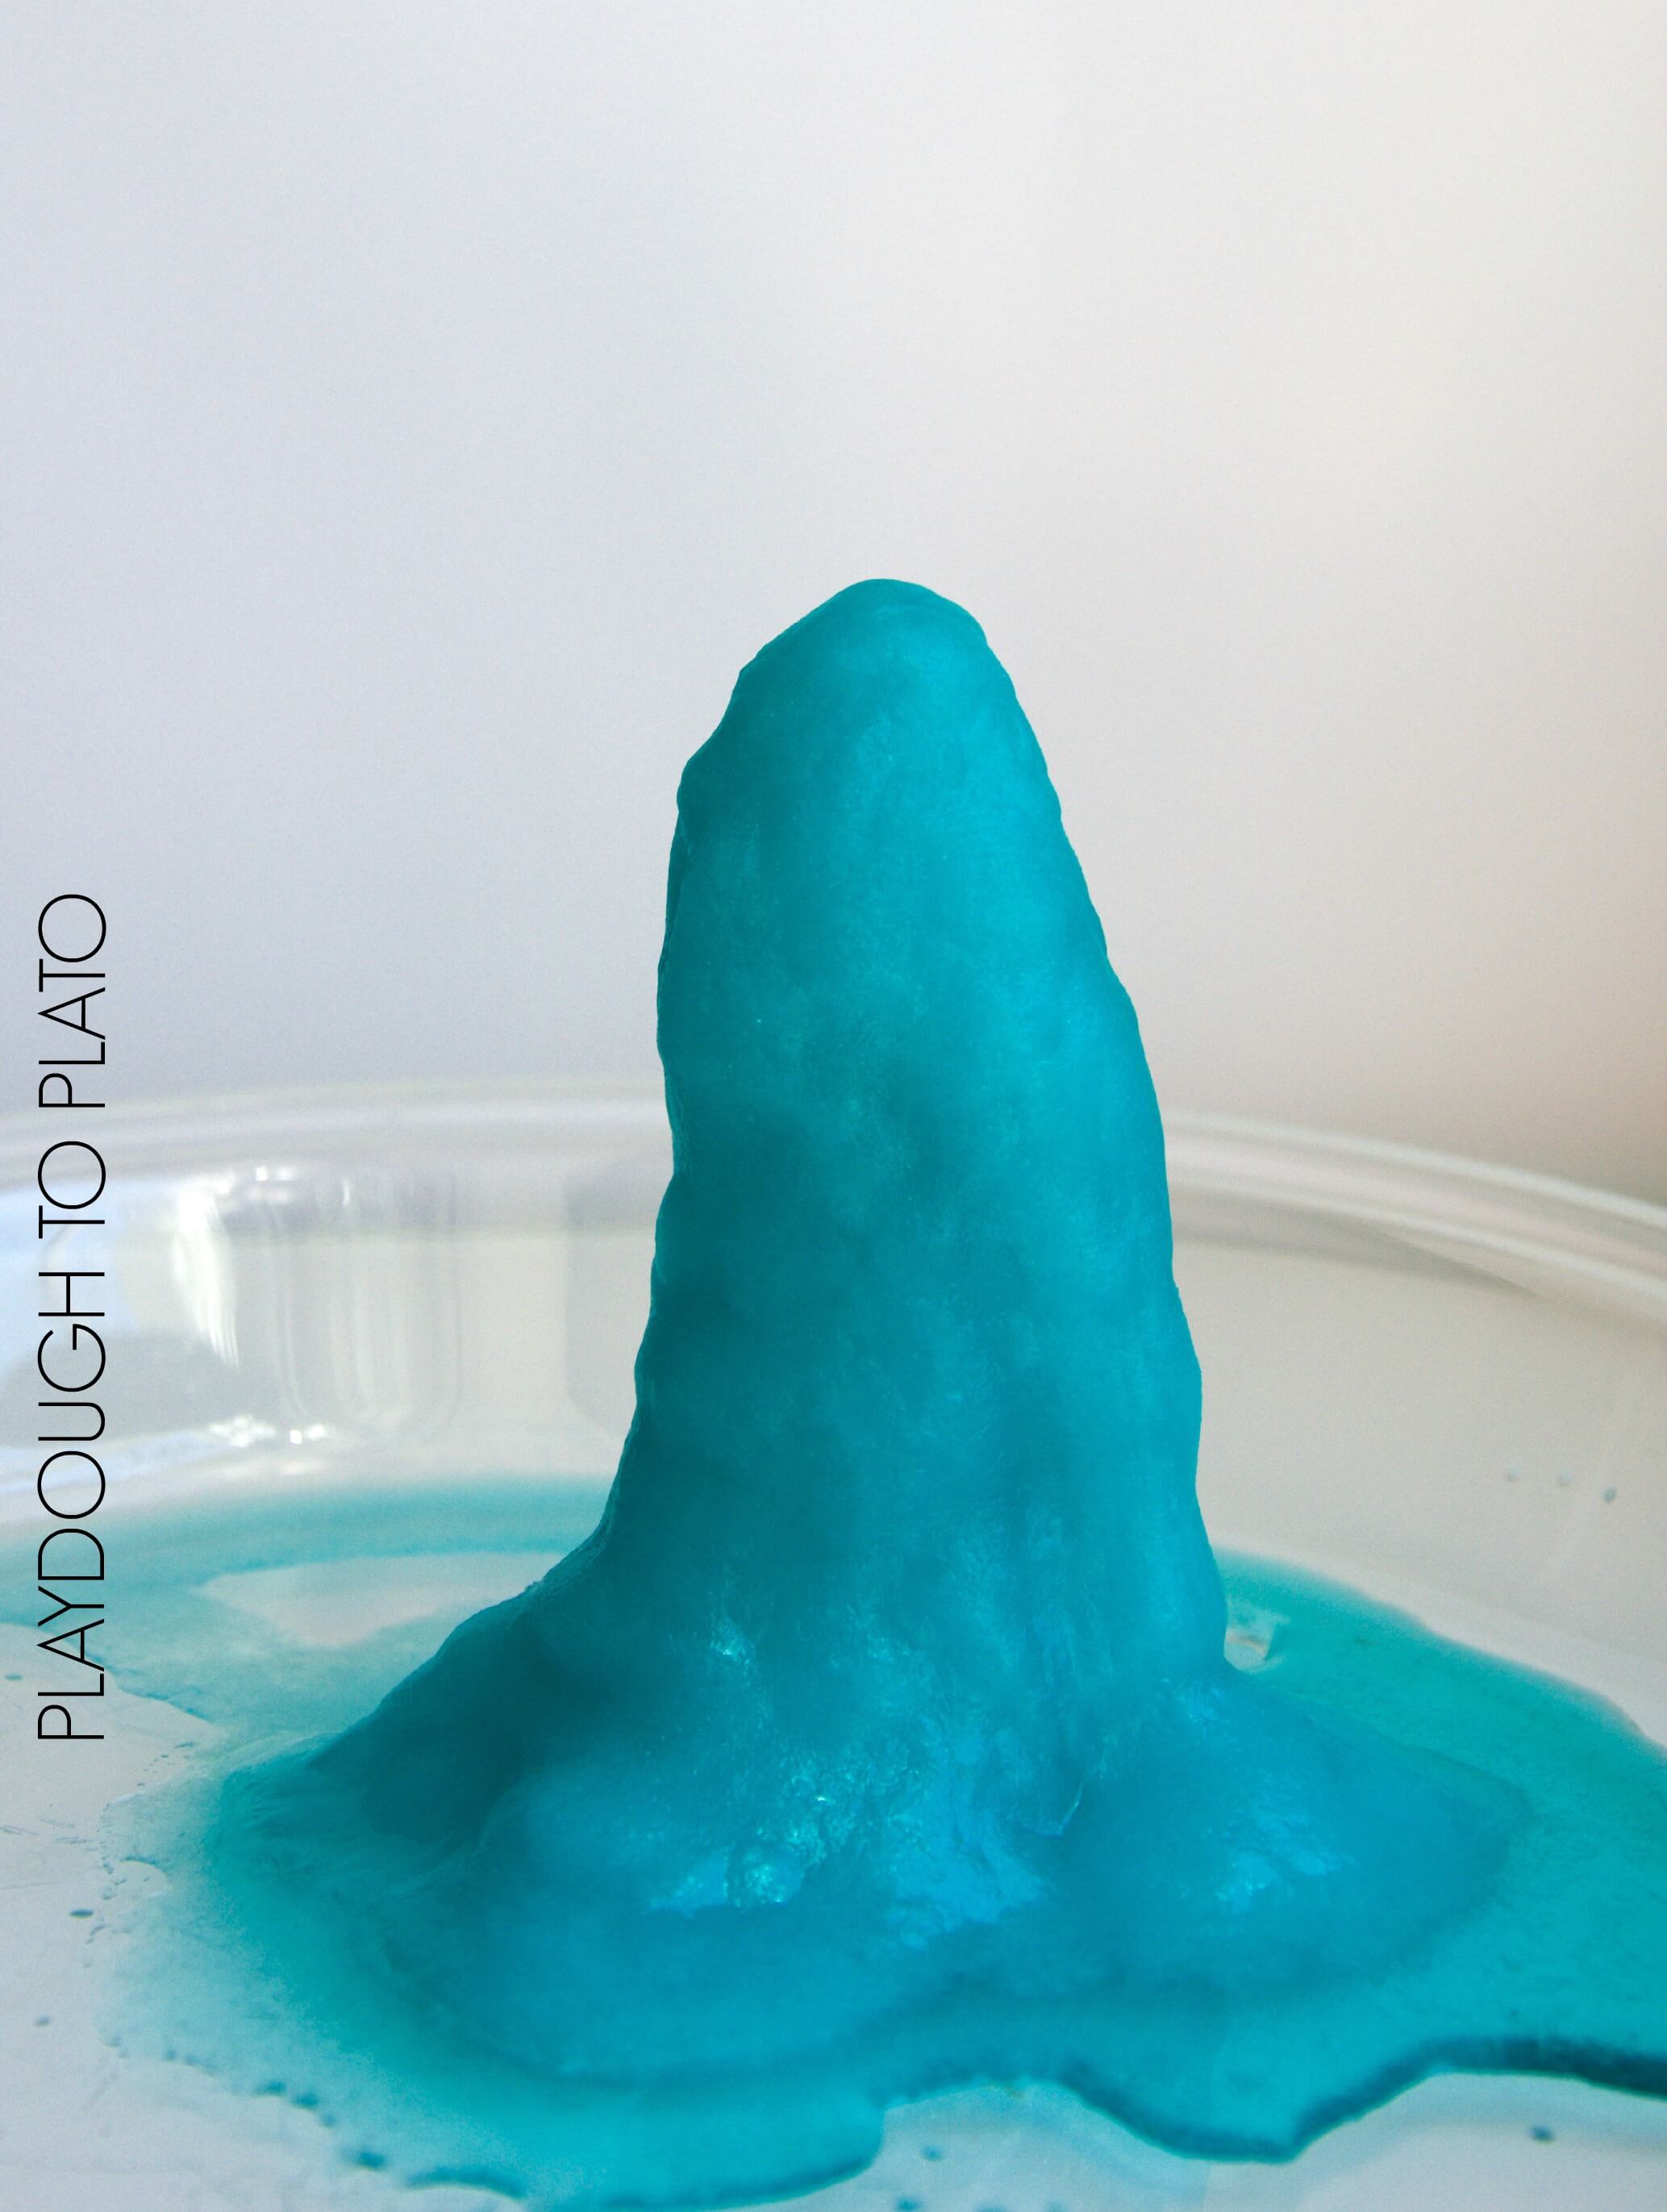
- Try adding a drop of food coloring to see if you can make colored crystals.
The Science Behind Hot Ice
The sodium acetate solution in the refrigerator is what is called a supercooled liquid. That means the sodium acetate is in liquid form below its usual melting point.
Once you touch, bump, or add a small crystal that is not liquid, crystallization will begin and the liquid will change to a solid.
When the molecules in the solute (sodium acetate) are in a solution, they normally are surrounded by a solvent (in this case water molecules).
Occasionally, a few solute molecules will bump into each other and stick together for a little while but they will eventually break apart.
If enough solute molecules stick together, they can overcome the forces in the solvent that would normally break the solute molecules apart.
When that happens, the clump of solute molecules serves as a seed (or nucleation site) for other solute molecules to cling to so the crystallization process can take off again.
The sodium acetate powder we placed on the plate acted as a nucleation site for the dissolved sodium acetate in the solutions.
The crystallizing sodium acetate releases energy in the form of heat and is an example of an exothermic process. Sodium acetate is often used in hand warmers as it release heat when crystallizing!
More Simple Science Kids Will Love
Inspire kids to LOVE science with 30 more jaw dropping experiment!
Grab 30 easy-to-follow science experiments kids will beg to repeat (plus a no prep science journal to keep track of their results!) in our shop!


Can’t wait to try this!
We may try this for Science Fair. Thanks for the idea!
I tried it and it didn’t work don’t know what we did wrong my daughter put the glass in the fridge and put the lid on the glass jar I didn’t realize she did that till the 40 mins were up and then I took off the lid and put it in for 15 more minutes cuz it was still warm? Do you think that’s why. How cold is it supposed to be before you take it out of the fridge? And if you want to try again you just warm up the liquid again ? Since it didn’t crystallized? Thanks
Hi Anita,
Yes, you can simply reheat the solution but since it didn’t crystallize it may need to be boiled down more. If you definitely saw small crystals form on the edge of the pot when boiling then it probably was that it was still too warm. I hope you figure it out, it’s really worth trying again!
This did not work no crystals formed and after 45 mins in the fridge it poured n filled the glass plate up like liquid normally does
I’m so sorry it didn’t work for you. I would try boiling down your solution a little more. I really has to be super saturated for the crystals to form instantly when poured. When we made our colored crystal I didn’t boil off enough water and while a crystals did form they were slushy and there was a lot of water too. So I suspect your solution still contains too much water. I hope you decide to try again, it really is super cool when it works!
It also did not work for me. I tried multiple times. Did you leave lid on the pot while boiling?
Hi Kandace,
Yes, I left the lid off the pot while boiling. You want as much water to evaporate as possible. If you leave the lid on then the solution has no way of becoming super saturated and the demo won’t work. We started with 4 cups of liquid and ended up with a little less than a cup after boiling the solution down for 45 minutes. I hope this helps!