When Easter is over, what do you do with those extra plastic eggs? Instead of tucking them back into storage, keep them out for this hands-on word family game!
See the surprisingly simple step-by-step below and then request an invite to our 4 week course, The Reading Roadmap, so you can get the proven, ready-to-deploy system for helping EVERY student thrive!
To Prep
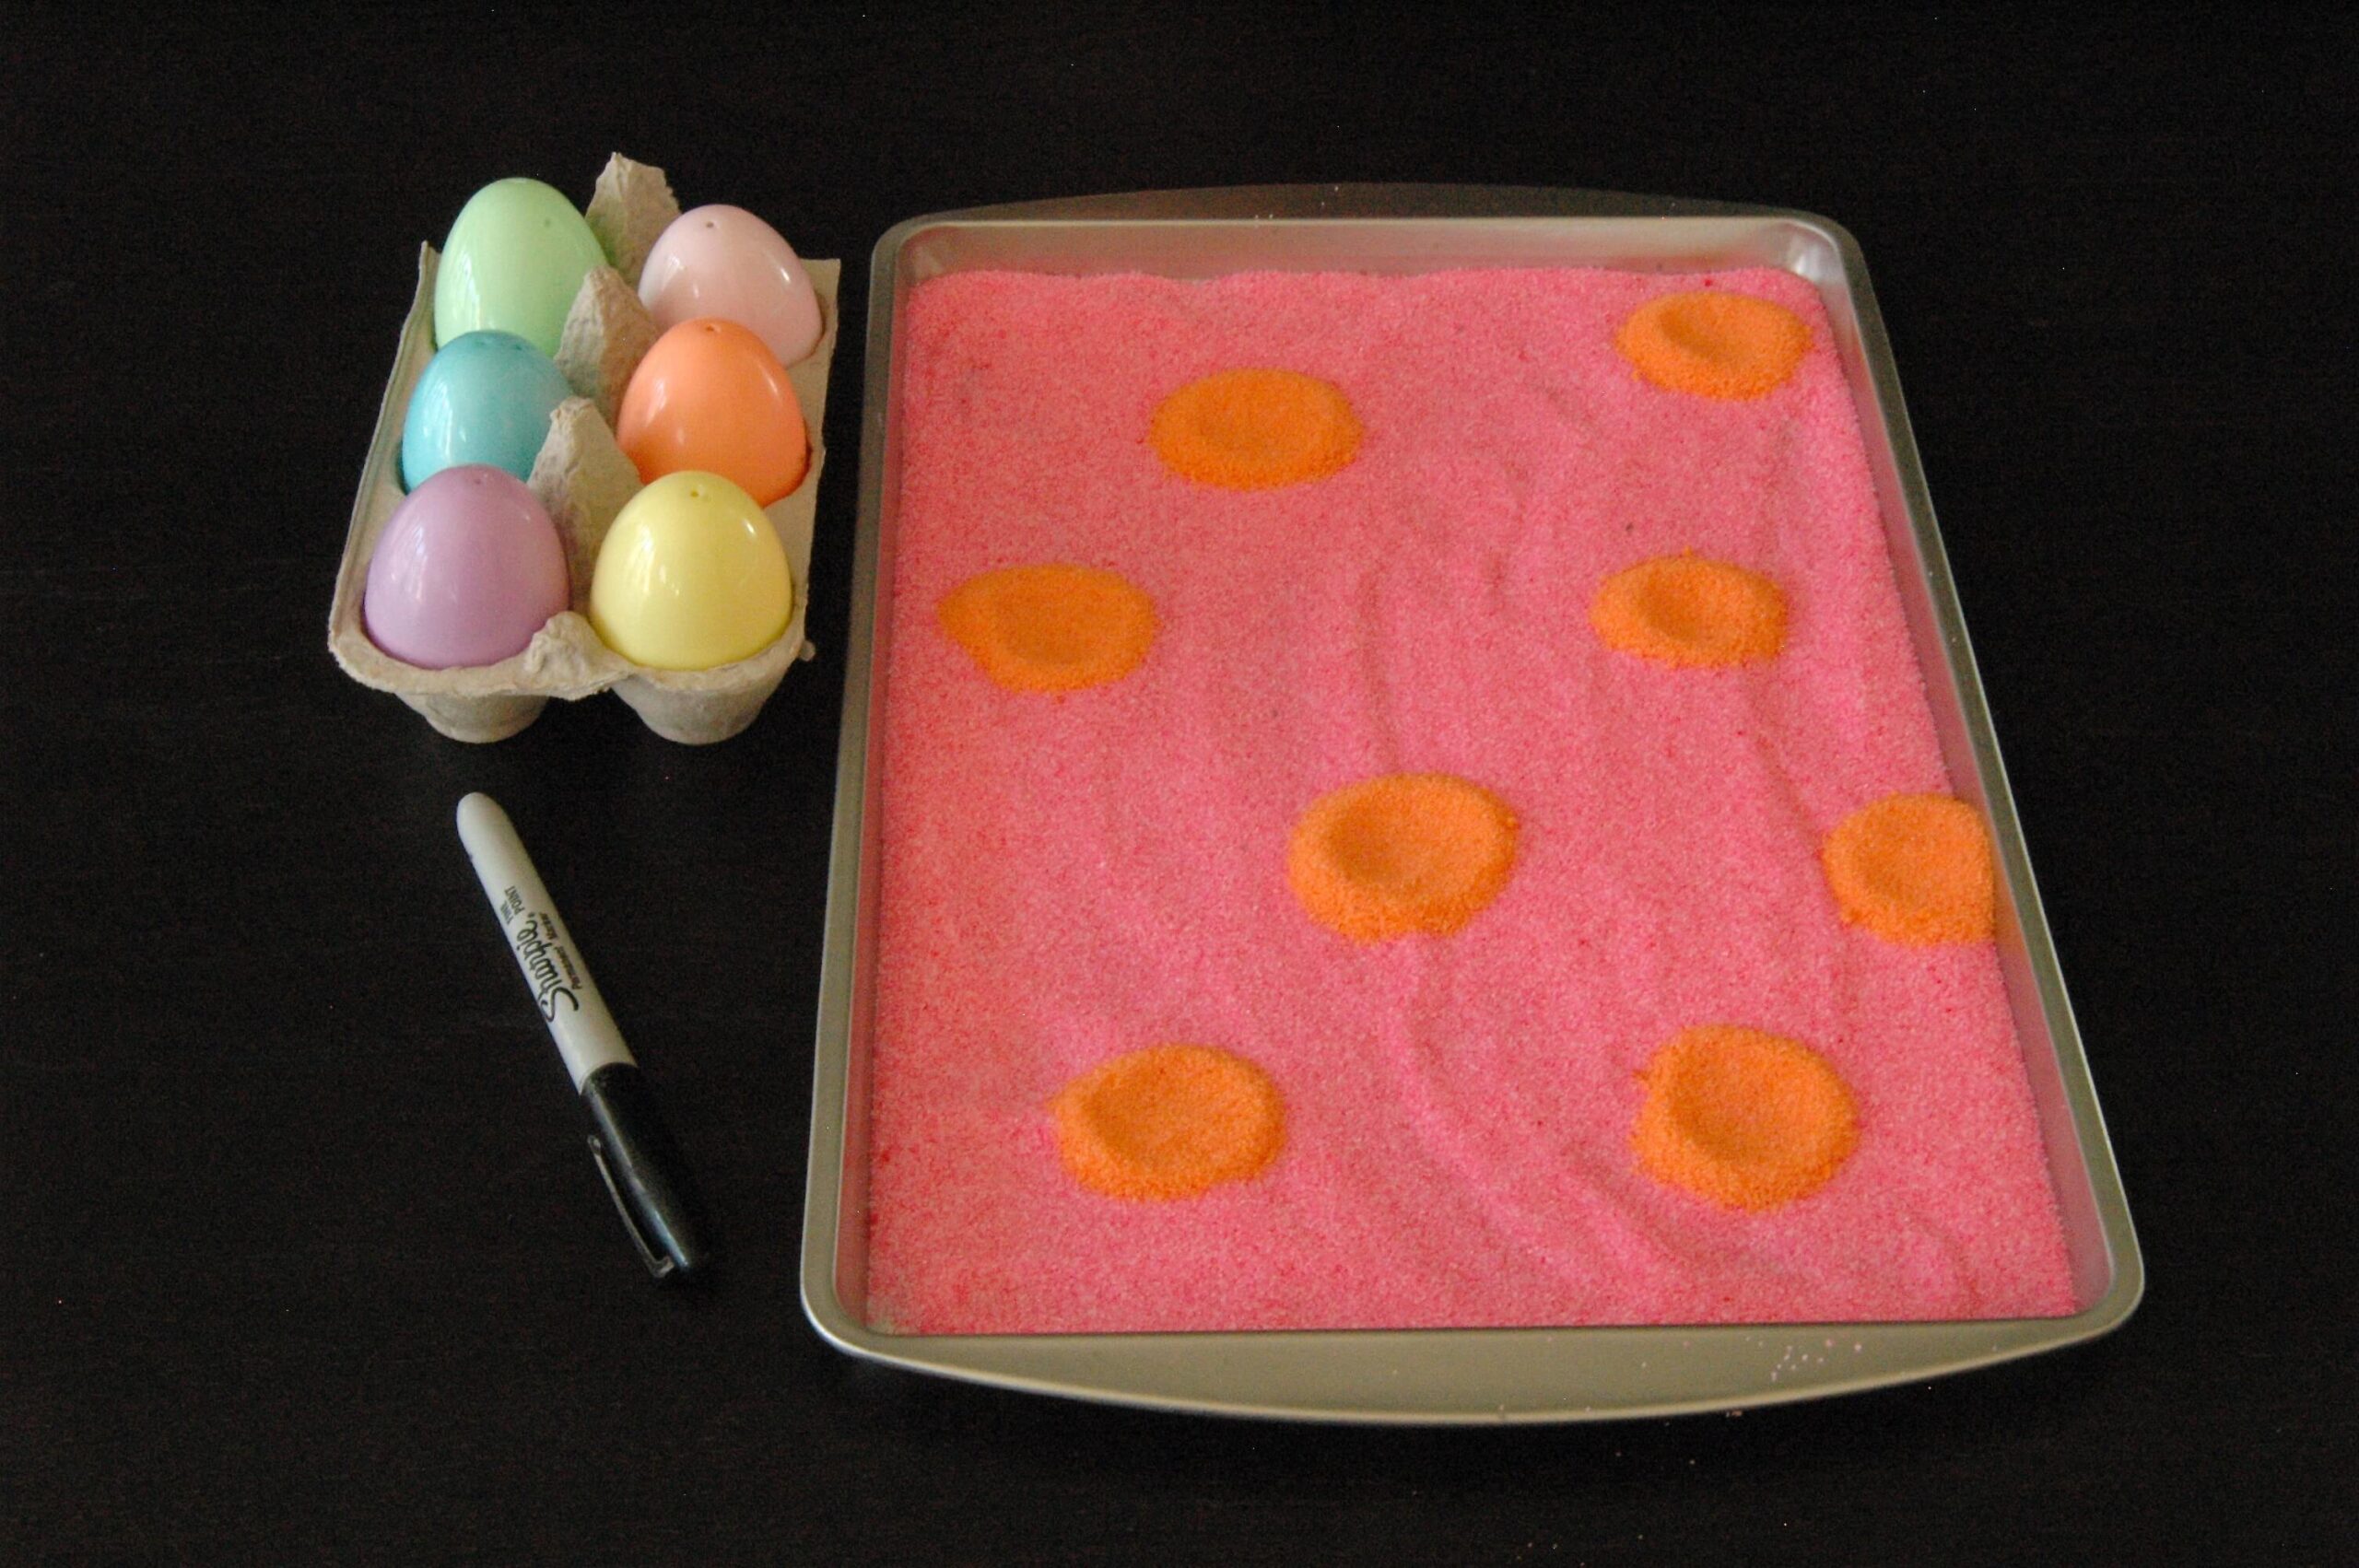
I gathered a few supplies:
-
- Plastic Easter eggs (one for each word family)
- Permanent marker
- Baking pan (one with a lip to contain the salt)
- Salt, cornmeal or sand

While A ran around with her little brother hiding and finding eggs, I grabbed 6 plastic eggs, an empty egg carton and a Sharpie. After cutting the carton in half, I took the pink egg and holding it sideways wrote “at” on the pointy top half. I then rotated the other half around writing letters, like b, c and f, to make different words in the -AT word family. In a few minutes, I had 6 eggs with 6 word families for A to practice.

Next, I raided an old sensory bin for some colored salt and used it to cover the bottom of a baking pan. There are a couple tricks to make writing in salt, sand or cornmeal successful.
First, try to use a thin layer of salt. Too much salt makes the letters hard to read. Second, line your baking pan with paper that contrasts with your salt to help the letters stand out and help the salt stay in place on the smooth pan surface.
To dye it, I simply placed a couple cups of salt in a Ziploc bag, added a few drops at a time of food coloring and massaged the salt until all the little chunks of dye were mixed thoroughly.
Liquid watercolor works as well.
Once it was mixed, I let the salt sit out overnight to dry. (You can also bake it on low for 10-15 minutes.)
Voila! Now I had a beautiful medium for letter trays, sensory bins and numerous art projects.
Word Family Game
While her brother was napping, I called A over and explained we would be working on word families. I reminded her that a word family is a group of words that share a similar spelling pattern, such as bat, cat and fat. I asked her to pick an egg and read the word she saw.
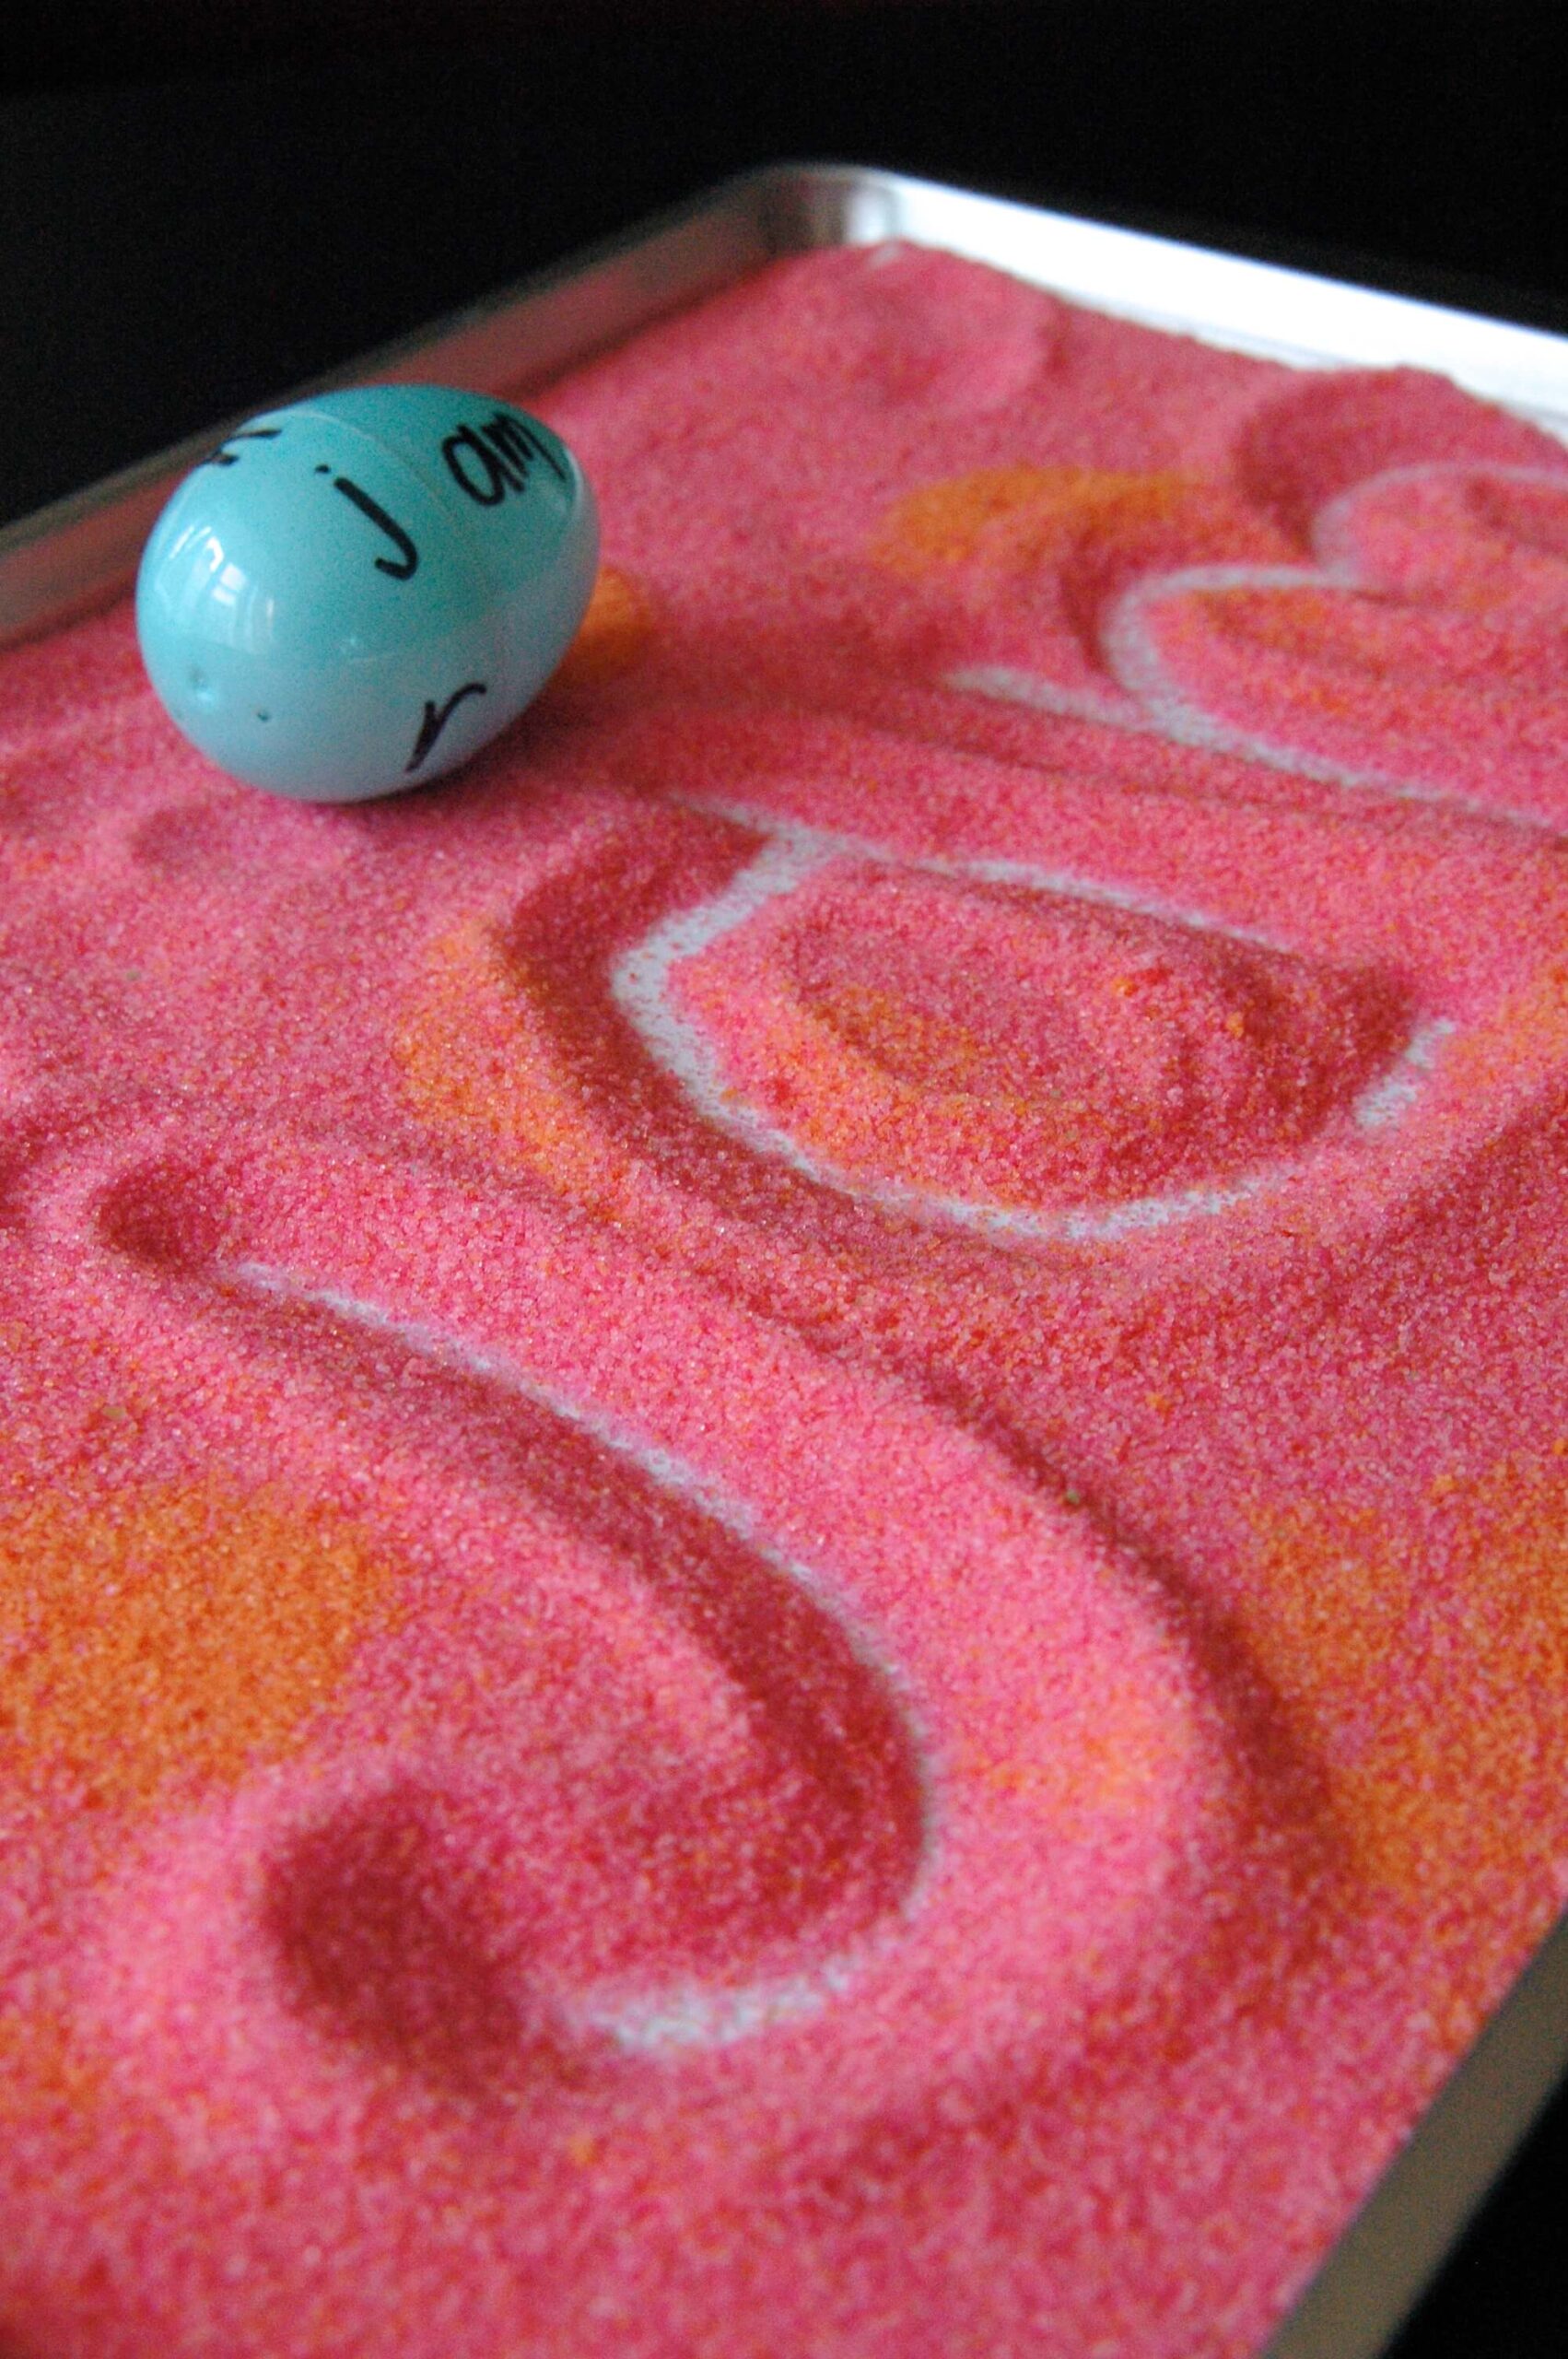
A grabbed the green egg with the -OT family on it. She slowly sounded out the letters C-O-T then exclaimed, “cot!” I had her write the word in the sand, making sure she said the letter name as she wrote it.

“Ok, now you can rotate the egg to make a new word,” I explained as I showed her how to spin just the top of the egg to get a new beginning letter. A loved spinning the tops around to make more -OT words. She did it over and over for a minute before returning to the more difficult task of writing.

As you can see in the photo, A is still working on writing her lowercase letters and occasionally substituted an uppercase.
No worries! I knew that any writing she does at 4 years old is great practice.
After a couple eggs and a dozen words, A grew tired of writing. Instead, she turned her attention to rotating the shell around and reading the words as fast as she could, ” Ham, jam, ram, slam, dam, ham, jam…”.
In this case, the high speed repetition was a pleasing sound to my ears – which cannot be said for most of the things A insists on repeating!
Get More!
Request an invite to our 4 week course, The Reading Roadmap, so you can get the proven, ready-to-deploy system for helping EVERY student thrive!

I recently made this activity following another blogs directions. I was upset to find that the permanent marker wiped off of my eggs upon touching them. Were your eggs a specific kind?
Hi Amanda,
I used Sharpie brand permanent marker and made sure I let it dry for a few minutes before handling them. They can rub or smear if they are touched right away. The writing does wear off a little over time, especially if rolled around in the salt. I used whatever cheap mini eggs I could find. The only other thing that I think might help is scratching the eggs up a little with a fine grained sand paper. That might provide a less slippery surface for the marker and help keep those words on there. I hope this helps!
After permanent marker has dried, coating with a layer of clear fingernail polish might help.