Show kids how candy gets its color using a surprisingly simple science technique called chromatography – separating the different components of a mixture.
Follow the step-by-step below and then grab 30 more easy-to-follow science experiments kids will beg to repeat (plus a no prep science journal to keep track of their results!) in our shop!

Getting Ready
The prep for this activity is quick and easy.
I asked my daughter to pick out some candy that came in many colors. Any color coated candy like Skittles or jellybeans would work but my daughter chose classic M&M’s.
Just a note, dark colored candies like purple Skittles, black jelly beans, or brown M&M’s have the most dramatic results so it’s best to choose a candy that has at least one dark option.
We opened the candy packet and counted 6 different colors. Then I headed to the kitchen for the rest of the supplies:
- 6 small plates (one for each color candy)
- 6 basket coffee filters (one for each color candy)
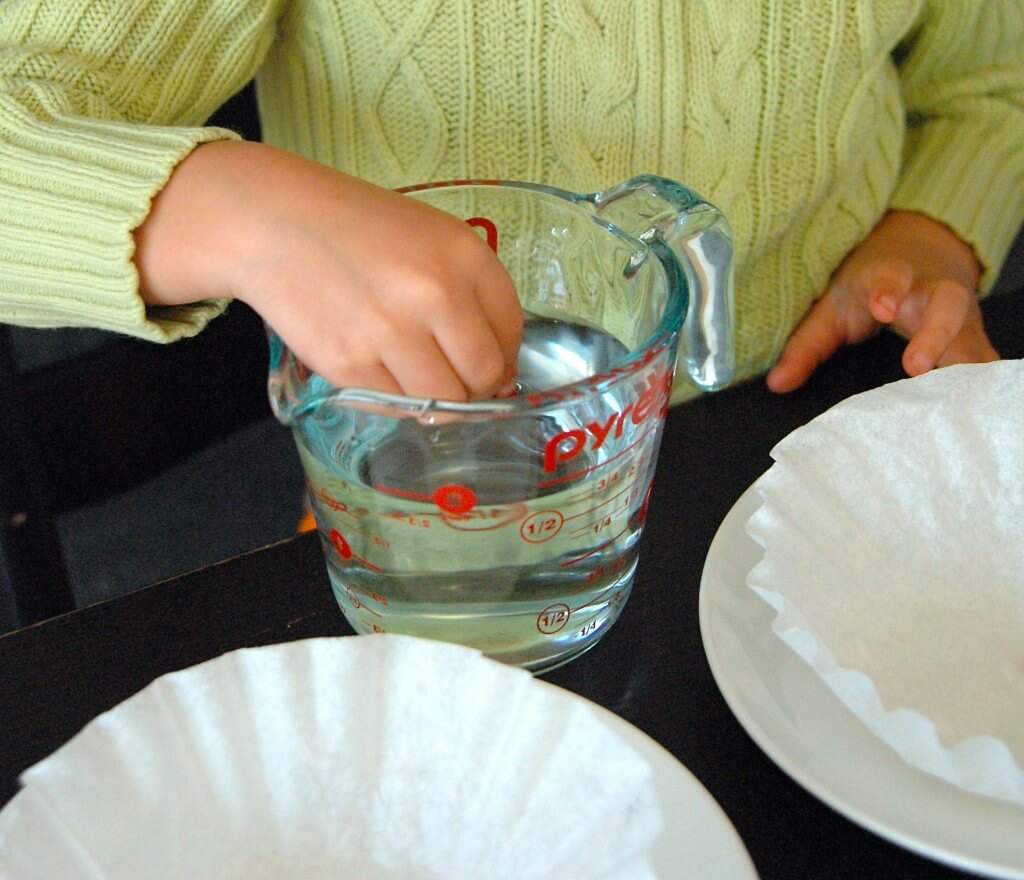
- small bowl of warm water
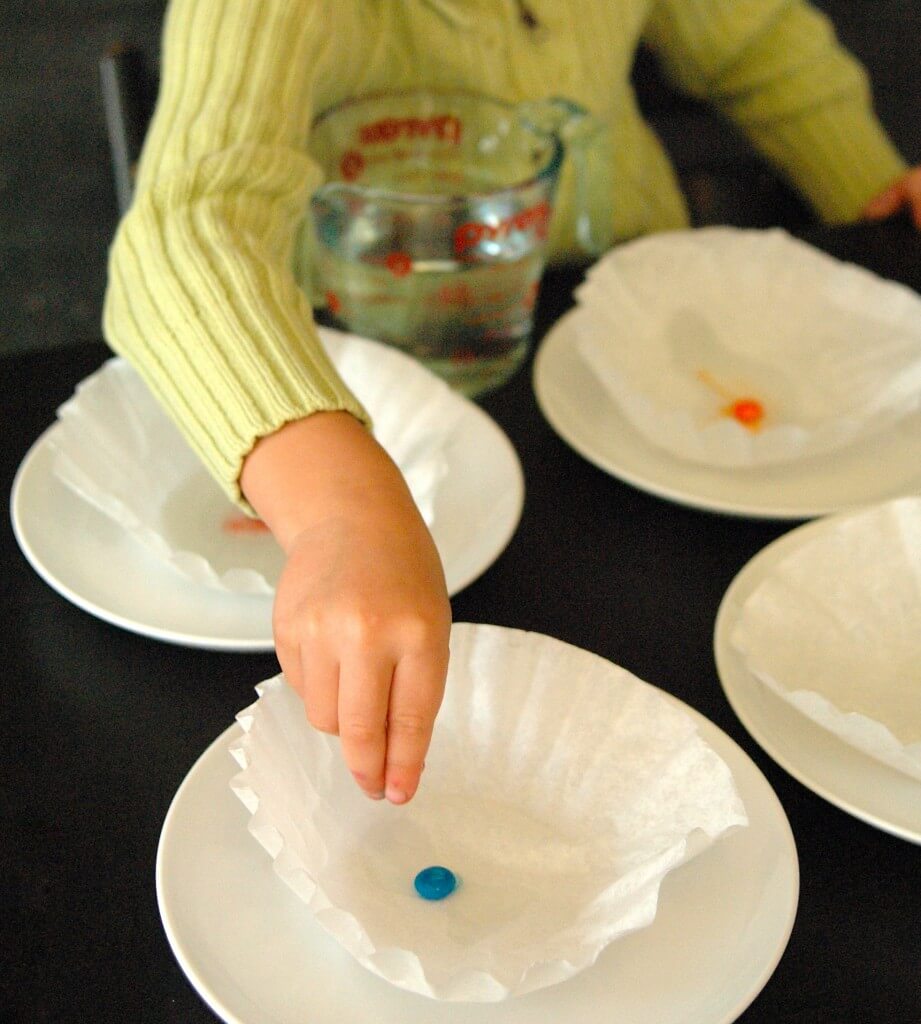
I had A set one filter on each plate. Then she carefully dipped one M&M into the bowl of warm water and placed it in the middle of a filter.
My daughter repeated dipping and placing the M&M’s on the filters until all 6 colors were done. Voila, it was easy as that. Now we just had to wait to see what colors would emerge from each candy.
The results were subtle and pretty difficult to photograph. There are other candy chromatography experiments that have more pronounced results but require concentrating the colors and way more prep. My daughter did notice that some candies were actually made up of a couple different colors mixed together and that really was the point of this super simple introduction to chromatograph.
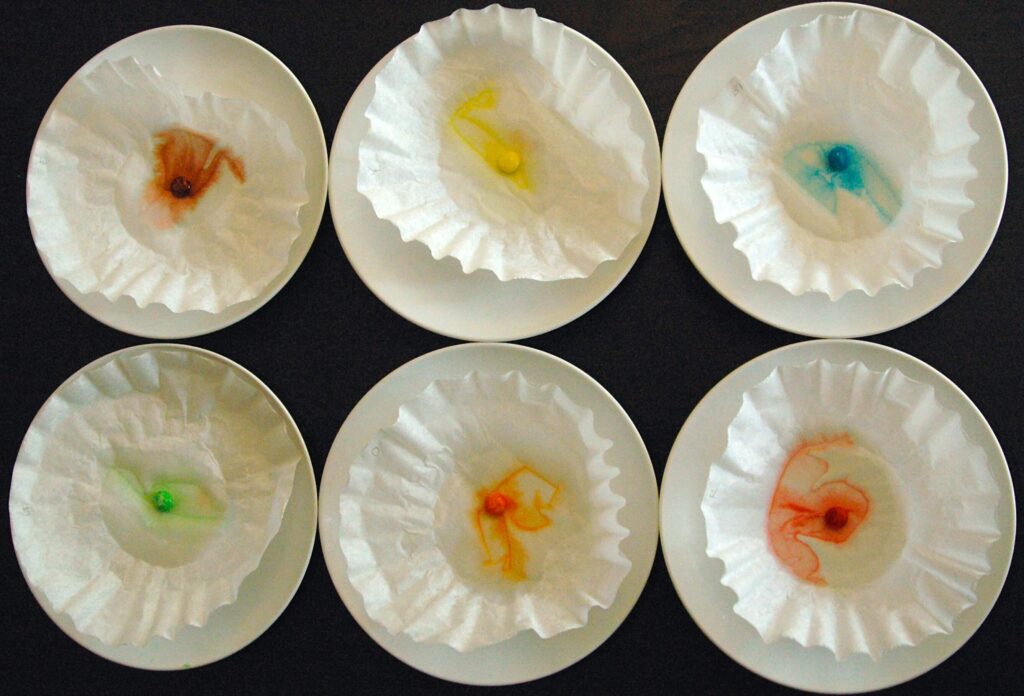
She also observed that the red, yellow, green, and blue colored M&M’s didn’t separate into different colors. “That is because the red, yellow, and blue candies only used one color dye,” I explained. The green dye is actually made up of blue and yellow but the blue masks the yellow and simply shows up as green on the filter paper.
When I showed her the brown M&M she replied, “whoa, there’s blue in the brown?”
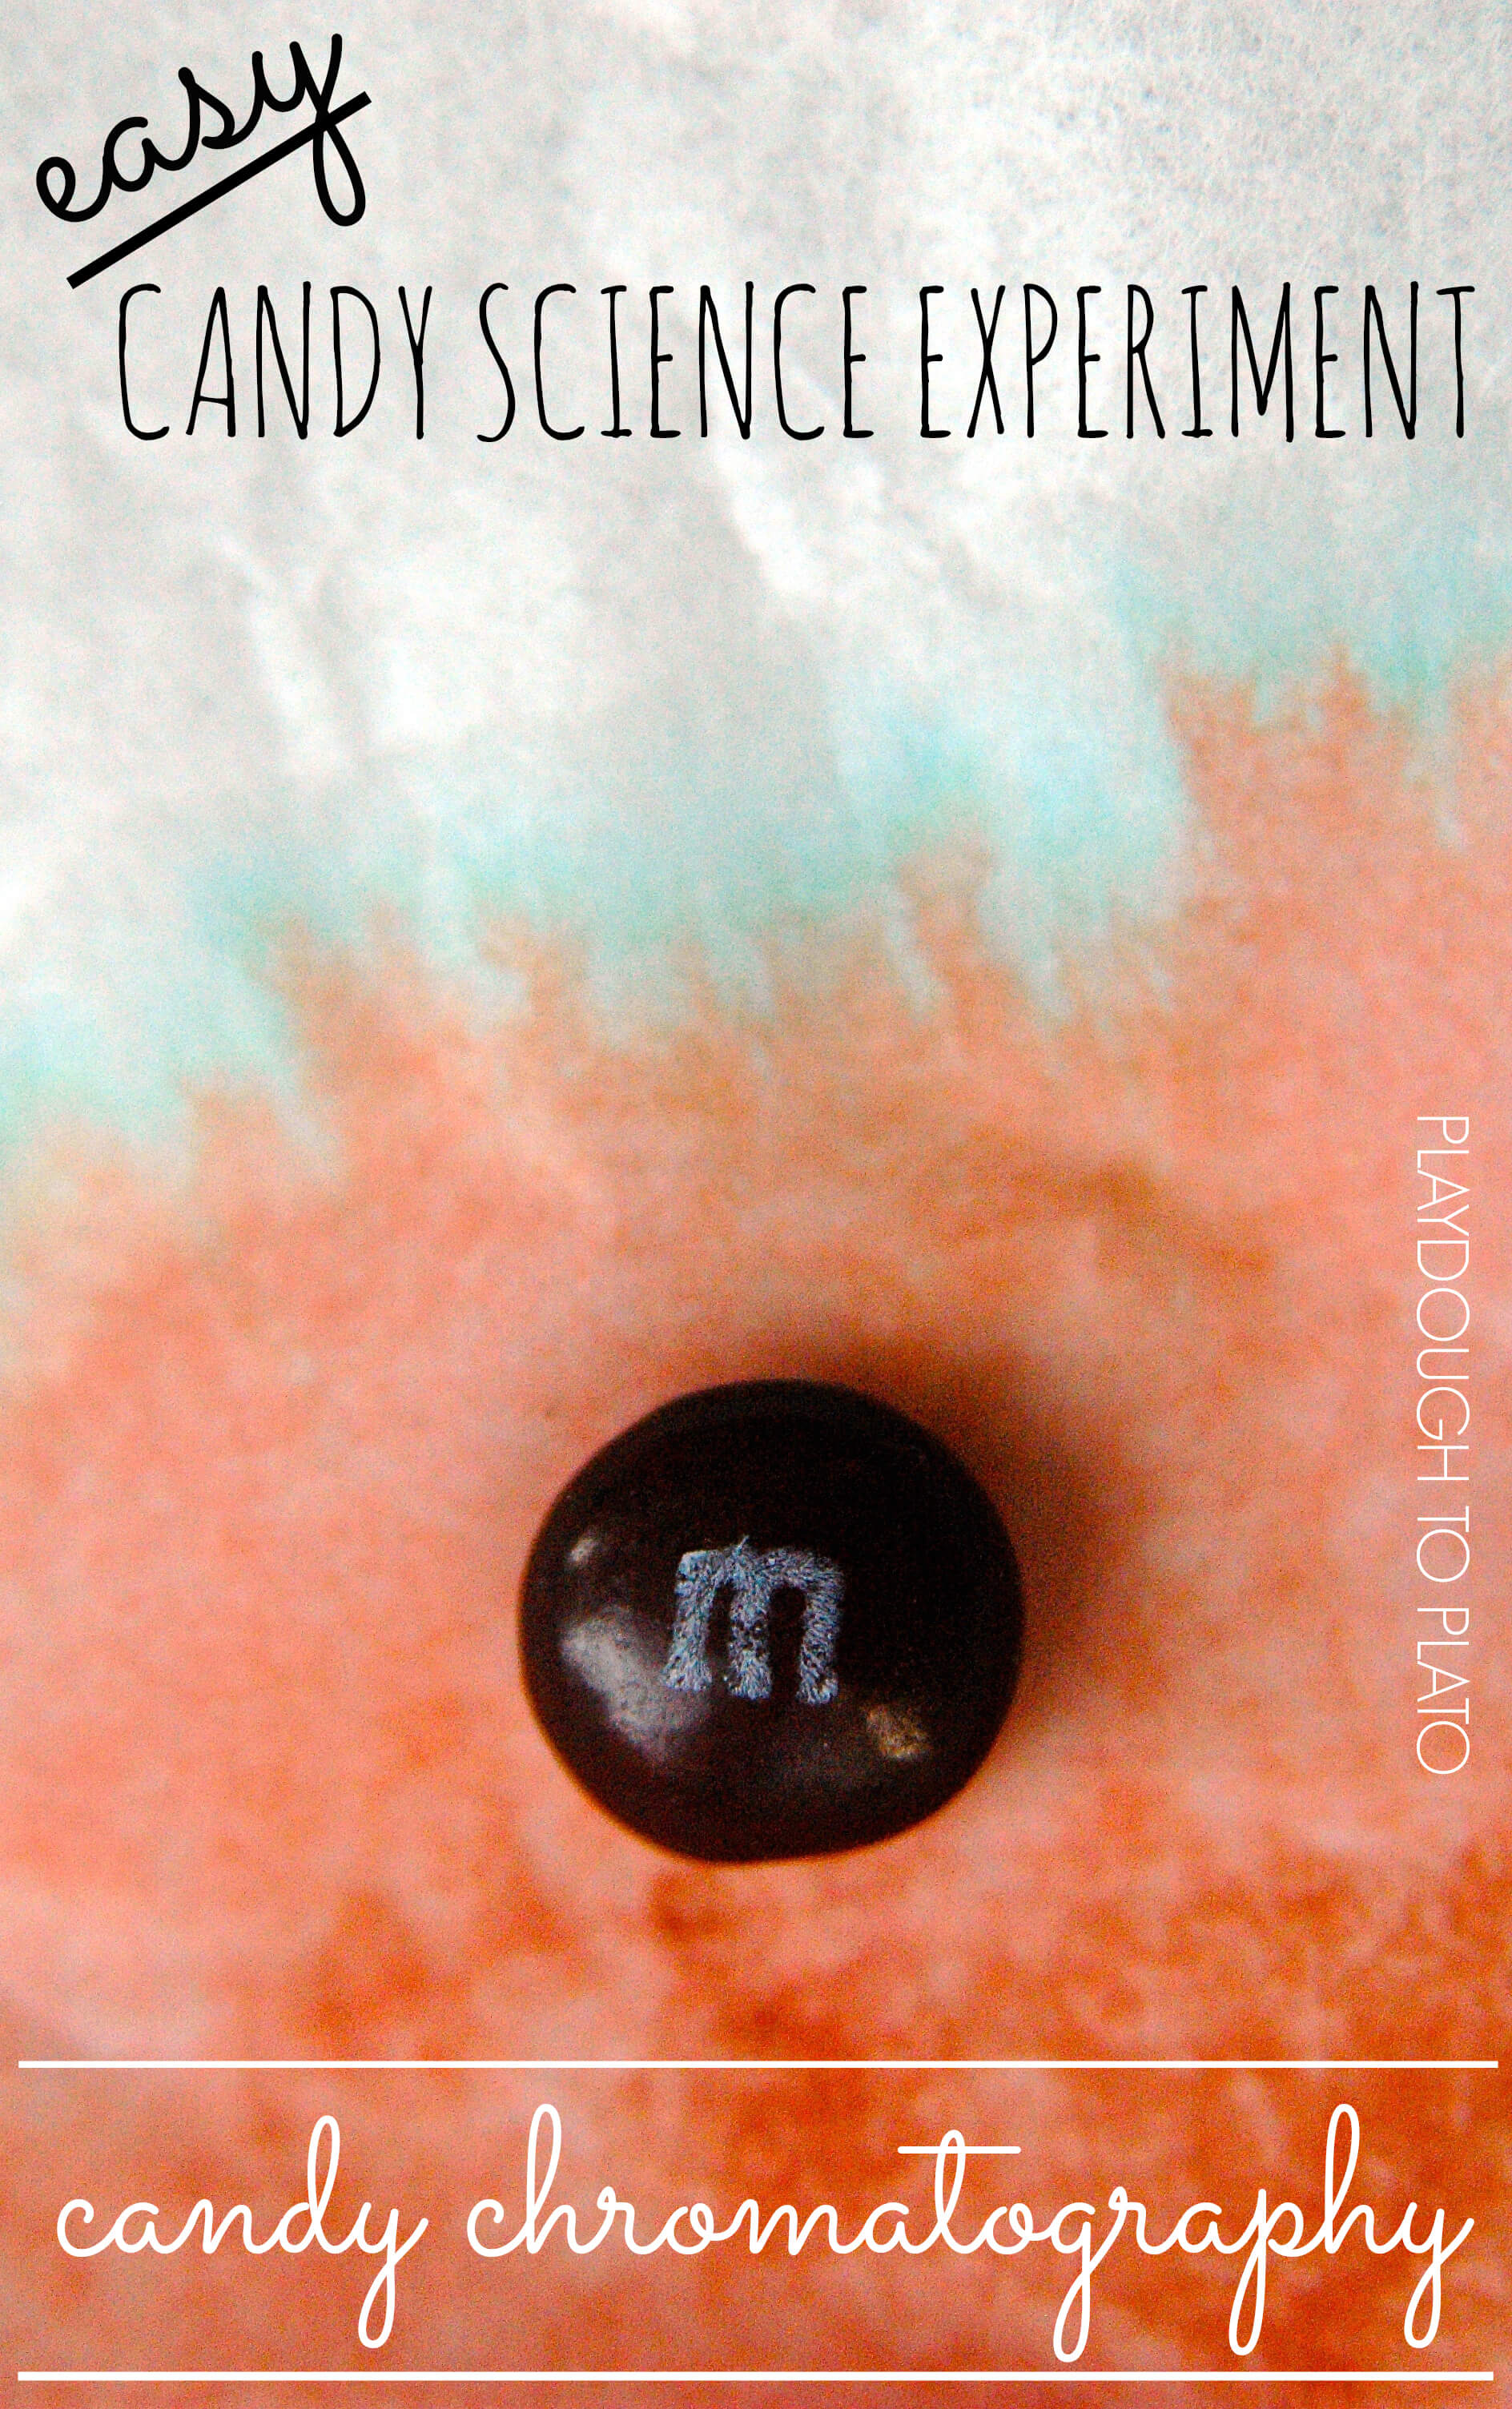
I explained the the different colors used to make brown flowed up the paper at different rates and that is why you can see the different colors. The brown M&M is actually made from red and blue dye.
The Science Behind It
Chromatography is a method of separating the different components of a mixture.
In this paper chromatography activity, you are using paper as a solid support to separate the different dye molecules used to color M&M’s.
Even though the brown M&M appears to be brown, it is actually made up of 2 different dyes.
Some dye molecules in the brown candy (like the blue dye) are more attracted to the paper and move up the filter while the red dye dissolves more easily in water and doesn’t move up the paper as well.
The different rates of attraction and how well a substance dissolves in water determined how much separation you will see with your dyes.
More Inspiring Science
For even more scientific fun, grab 30 easy-to-follow science experiments kids will beg to repeat (plus a no prep science journal to keep track of their results!) in our shop!


13 Comments